Flaky Low Carb Keto Coconut Flour Pie Crust Recipe
Crafting a delectable low-carb keto coconut flour pie crust recipe doesn’t have to be complicated or time-consuming.
This versatile pastry creates a golden, flaky base that rivals traditional crusts without the carbohydrate overload.
Bakers seeking a healthier alternative will love how coconut flour delivers remarkable texture and subtle nutty undertones.
The simple ingredients come together quickly, requiring minimal prep and kitchen skills.
With just a few pantry staples, you can whip up a pie crust that’s both nutritious and delicious.
Whether you’re making a savory quiche or a sweet dessert pie, this keto-friendly crust will become your new go-to recipe.
Grab your mixing bowl and let’s dive into a game-changing pastry technique that will elevate your baking game.
Quick Recipe Overview
Ingredients for Coconut Flour Pie Crust (Low Carb)
For Dry Base Ingredients:For Fat and Sweetener Components:For Binding and Moisture Ingredients:Tools That Make Pie Crust Mixing Easy
Mix, Press, and Bake: Instructions for Keto Pie Crust

Warm up the oven and get your baking space ready for a delightful pie adventure.
Grab your food processor and blend coconut flour with creamy butter, sweet monk fruit sweetener, and a pinch of sea salt until everything comes together smoothly.
Pour in fresh eggs and a splash of vanilla, then pulse until a soft, crumbly dough forms that’s ready to become your perfect pie base.
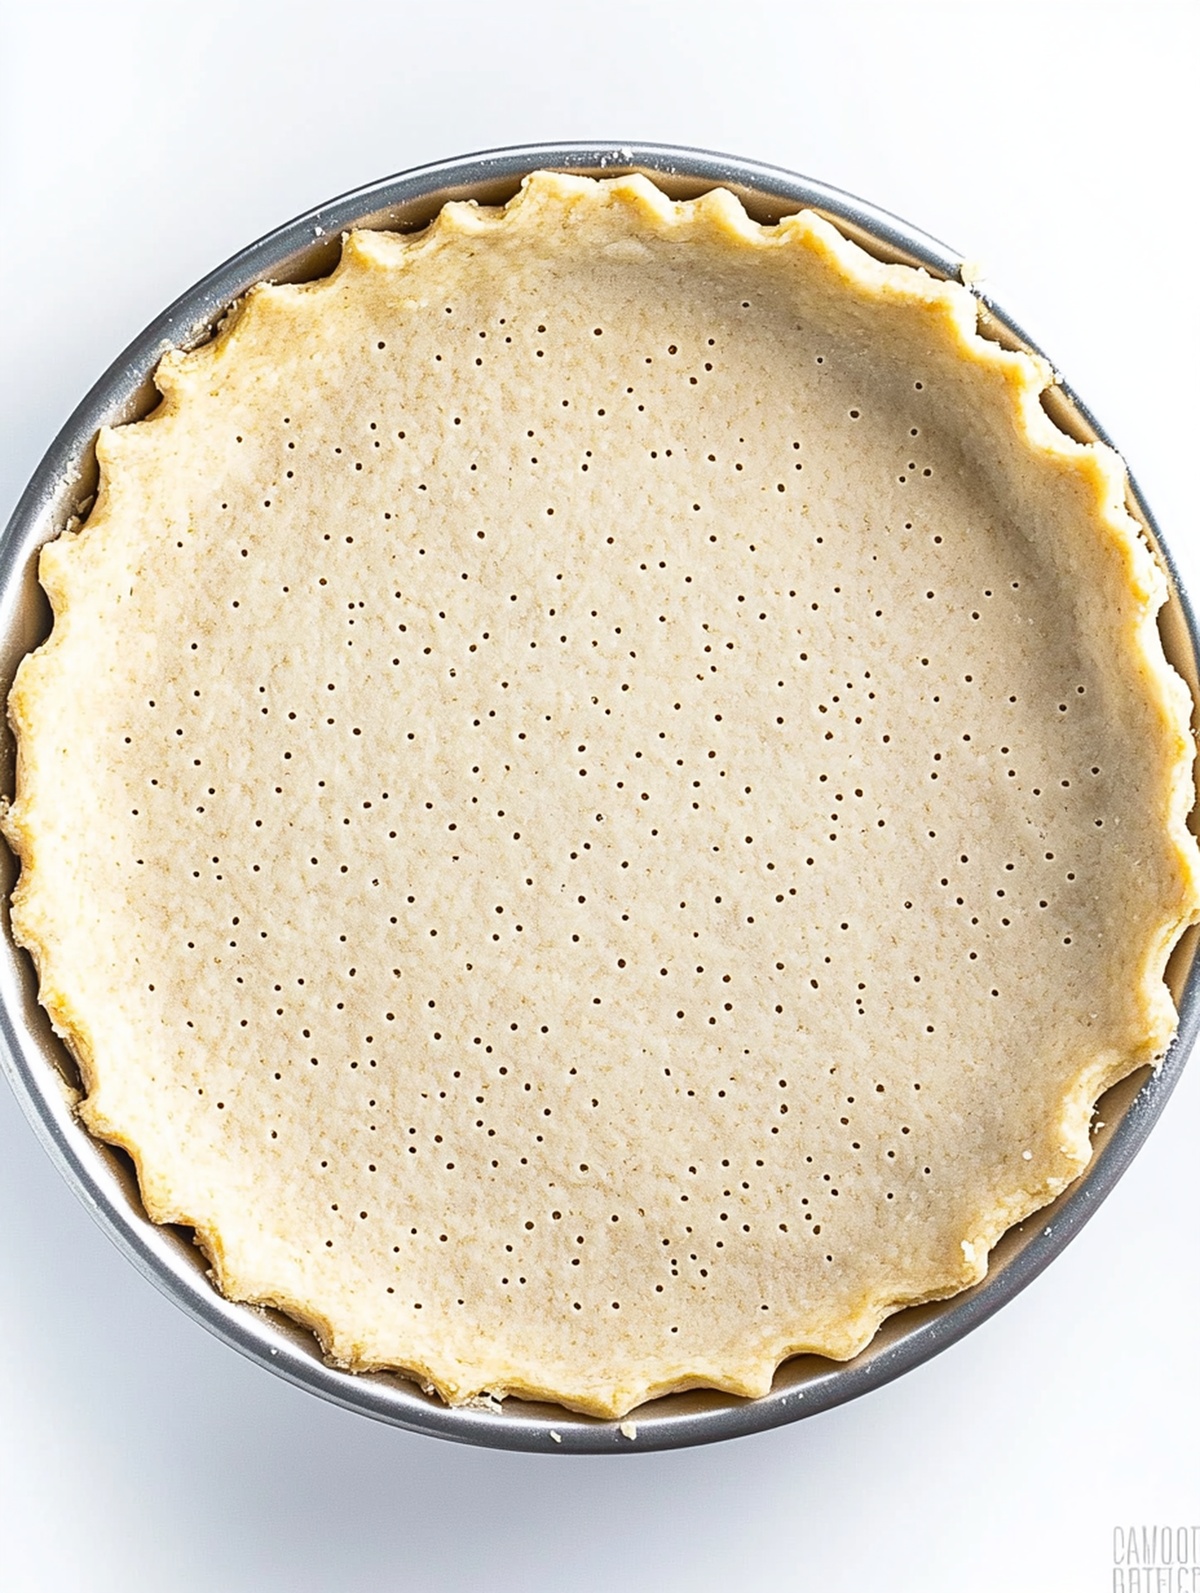
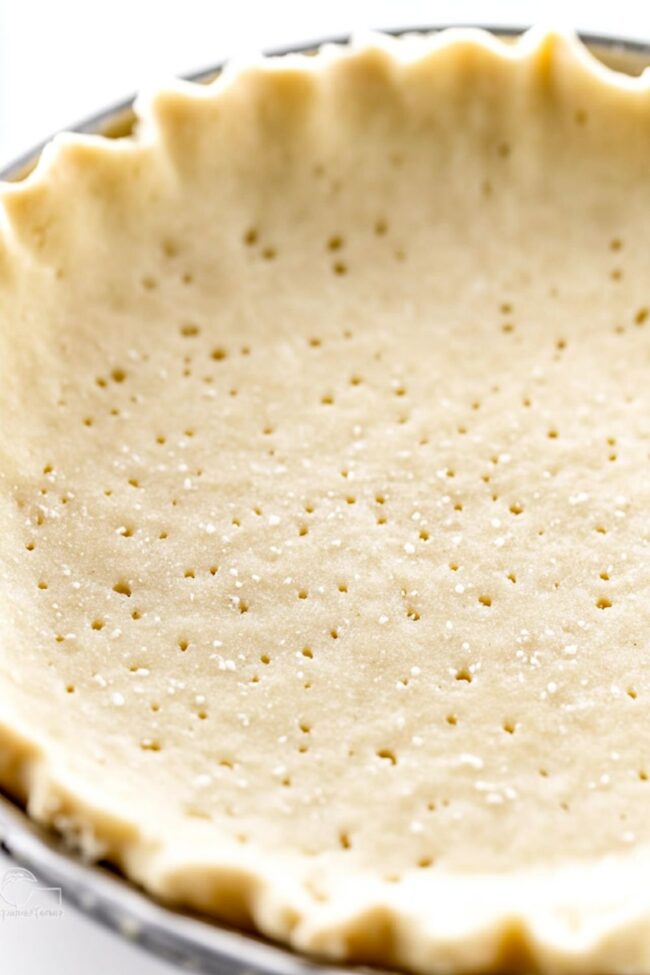
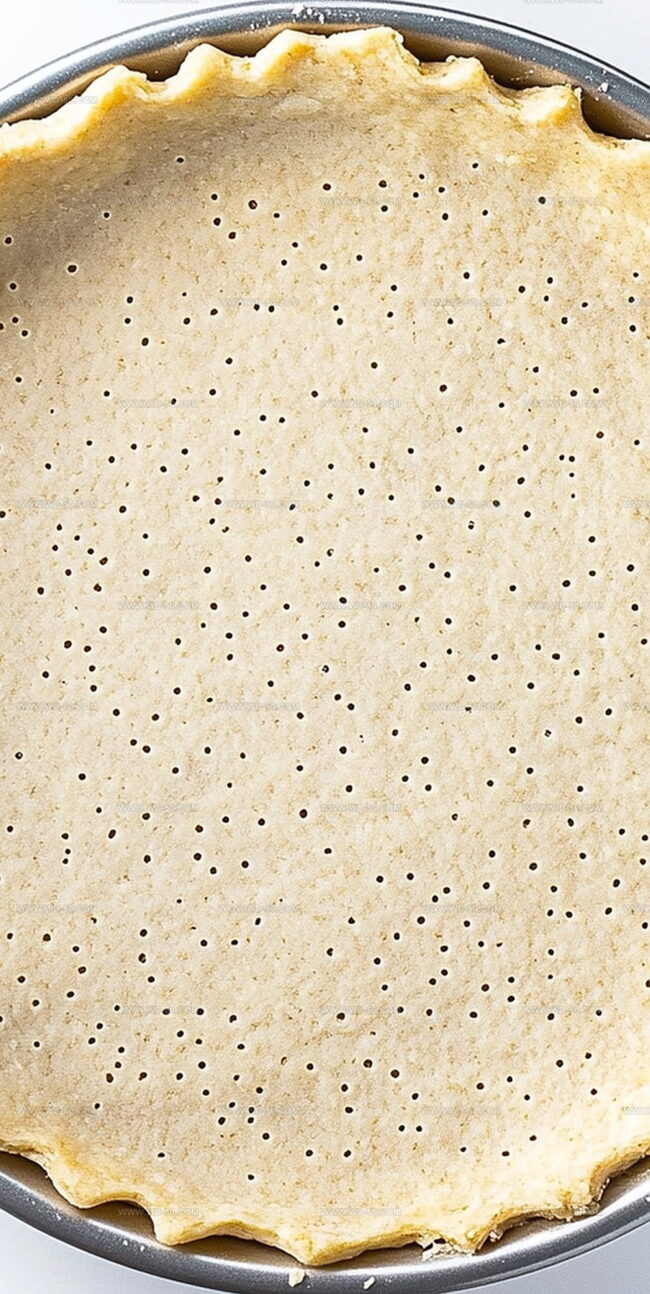
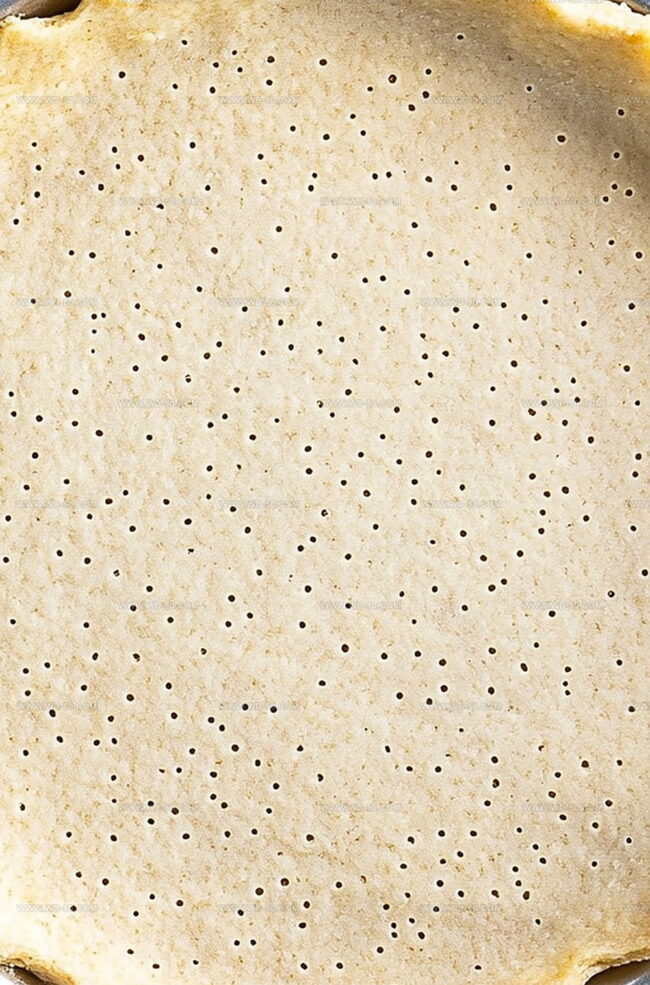
Gently press the dough into your pie pan, creating a beautiful canvas with little fork pokes across the bottom to help it bake evenly.
Slide the crust into the heated oven and watch it transform into a golden, crisp foundation. Keep an eye out for those delicate edges – they should turn just slightly tan.
Let your masterpiece rest and cool completely. If the edges start looking too brown, give them a cozy foil blanket for protection. Your keto-friendly pie crust is now ready for whatever delicious filling your heart desires.
Tips for Getting the Crust Crisp and Light
Serving This Crust with Fillings That Fit Your Diet
How to Keep It from Getting Soggy in the Fridge
Print
Foolproof Keto Coconut Flour Pie Crust Recipe
- Total Time: 20 minutes
- Yield: 8 1x
Description
Delectable low carb keto coconut flour pie crust brings classic pastry traditions into modern healthy eating. Crisp, buttery layers provide perfect foundations for sweet or savory fillings you can confidently craft in minutes.
Ingredients
- 2 large eggs
- ½ cup (115 g / 4 oz) unsalted butter, cold, cut into pieces
- ¾ cup (90 g / 3.2 oz) coconut flour
- ¼ cup (50 g / 1.8 oz) monk fruit allulose blend (skip for savoury crust)
- ¼ teaspoon (1 g) sea salt (or ½ teaspoon for savoury crust)
- ½ teaspoon (2.5 ml) vanilla extract (optional, skip for savoury crust)
Instructions
- Preparation: Preheat the oven to 350°F (177°C) and prepare a 9-inch pie pan by lining with parchment paper or generously greasing the surface to prevent sticking.
- Mixing Base: Utilize a food processor to combine coconut flour, softened butter, monk fruit allulose blend, and sea salt. Pulse the ingredients until they form a uniform, sandy-textured mixture that resembles coarse crumbs.
- Dough Formation: Incorporate eggs and vanilla extract into the processor, blending thoroughly until the mixture transforms into a cohesive, moldable dough that holds together when gently pressed.
- Crust Shaping: Delicately transfer the prepared dough into the prepared pie pan, using fingertips or the back of a spoon to spread and press the mixture evenly across the bottom and sides, creating a smooth, consistent layer.
- Baking Preparation: Perforate the crust bottom with multiple small holes using a fork or toothpick to prevent air bubble formation and ensure uniform baking. Place the pan in the preheated oven and bake for 10-15 minutes until the crust appears firm and displays a delicate golden hue around the edges.
- Cooling and Finishing: Remove the crust from the oven and allow it to rest at room temperature for at least 10 minutes, enabling the crust to set and stabilize. If edges begin to brown excessively during subsequent baking, shield them with aluminum foil to prevent overcooking.
- Final Instructions: Confirm the crust is completely cooled before adding any filling or attempting to cut, preserving its structural integrity and optimal texture.
Notes
- Precision Measurement: Use exact measurements for coconut flour and butter to guarantee the perfect texture and consistency.
- Temperature Control: Allow butter to soften naturally at room temperature for better dough integration and smoother mixing.
- Moisture Management: Coconut flour absorbs liquid quickly, so mix ingredients thoroughly to prevent dry or crumbly texture.
- Cooling Technique: Let the crust cool completely before adding fillings to maintain structural stability and prevent soggy bottom.
- Prep Time: 10 minutes
- Cook Time: 10 minutes
- Category: Desserts, Snacks
- Method: Baking
- Cuisine: American
Nutrition
- Serving Size: 8
- Calories: 188
- Sugar: 1 g
- Sodium: 62 mg
- Fat: 18 g
- Saturated Fat: 11 g
- Unsaturated Fat: 7 g
- Trans Fat: 0 g
- Carbohydrates: 6 g
- Fiber: 3 g
- Protein: 4 g
- Cholesterol: 123 mg
Michael Reynolds
Founder, Head Recipe Developer & Cuisine Specialist
Expertise
Recipe Development and Testing, Modern American and European Cuisines, Food Styling and Photography, Culinary Education and Workshops
Education
Johnson & Wales University
Auguste Escoffier School of Culinary Arts
Michael Reynolds is the founder and head recipe creator at wd-50.com. With over 15 years of experience in the kitchen, he’s spent time working in top restaurants and now focuses on making great food easy for everyone at home.
Michael studied culinary arts at Johnson & Wales University and later trained in pastry at the Auguste Escoffier School. He knows his way around both savory meals and sweet treats.
At wd-50.com, his goal is to help you feel confident in the kitchen, whether you’re trying something new or cooking a favorite dish. He loves using fresh ingredients and simple steps that still bring out big flavors.