
The Best Ina Garten Cheddar & Chutney Grilled Cheese Recipe Ever
Cheddar & chutney grilled cheese represents the ultimate comfort food fusion of tangy and rich flavors.
Sophisticated palates crave this elevated sandwich that transforms humble ingredients into a gourmet experience.
International influences dance across familiar culinary boundaries with each carefully crafted bite.
Crisp bread becomes a canvas for melting cheese and sweet-savory condiment combinations.
Unexpected flavor profiles elevate this classic dish from ordinary to extraordinary.
Melted cheese transforms simple ingredients into a mouthwatering masterpiece that satisfies deep cravings.
Why Cheddar & Chutney Grilled Cheese Is Anything but Basic
What Goes in Ina Garten’s Grilled Cheese Sandwich
Bread and Butter:Cheese and Spread:Optional Finishing:How to Make Ina’s Melty Cheddar Grilled Cheese

Step 1: Gather Sandwich Essentials
Collect all ingredients for a mouthwatering grilled cheese adventure:Step 2: Butter Up the Bread
Melt butter in a small saucepan. Using a pastry brush, generously coat one side of each bread slice with warm, golden butter. This creates a crispy, golden exterior.
Step 3: Spread Tangy Chutney
Flip bread slices and spread a generous layer of chutney on the unbuttered side. The sweet and tangy flavor will dance with the sharp cheddar.
Step 4: Grate and Layer Cheese
Grate cheddar cheese using a box grater. Sprinkle an even layer of cheese over the chutney-covered bread, ensuring complete coverage.
Step 5: Create Sandwich Towers
Top each cheese-covered slice with another buttered bread slice, butter side facing outward. Press gently to create compact sandwich towers.
Step 6: Grill to Perfection
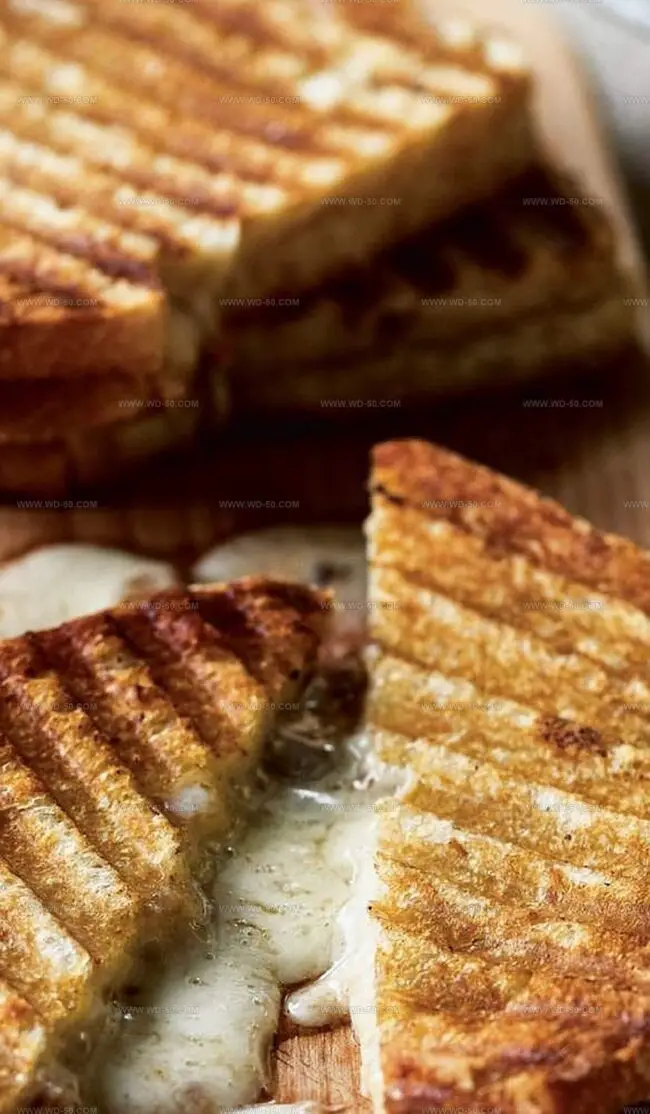
Preheat panini press or skillet on medium heat. Carefully place sandwiches and grill until bread turns golden brown and cheese melts completely, about 3-4 minutes per side.
Step 7: Slice and Serve
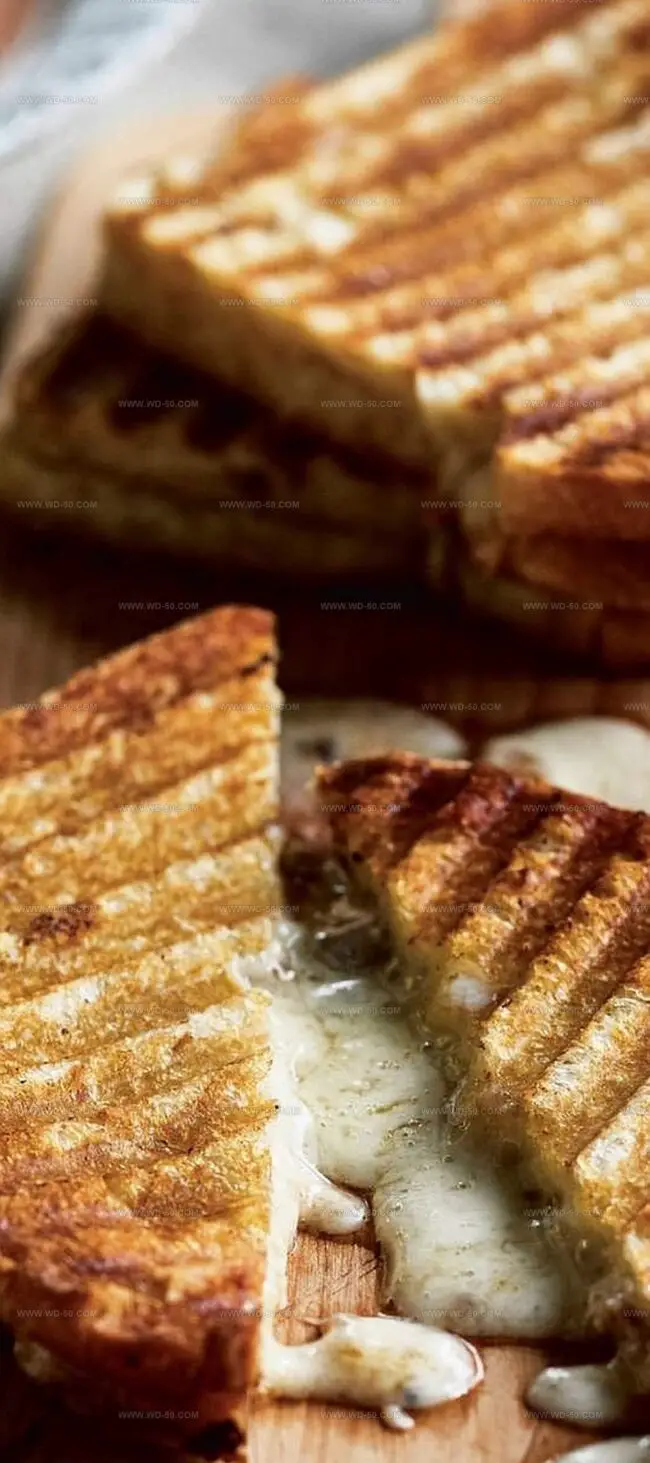
Remove sandwiches from heat. Cut diagonally to create elegant triangles. Serve immediately while cheese is warm and gooey.
Enjoy your crispy, cheesy masterpiece!
Tips for a Crispy, Golden Grilled Cheese
Keep It Crisp: Storage Tips for Grilled Cheese
Twists You’ll Love for Chutney Grilled Cheese
Final Toast on Grilled Cheese Greatness
Garten’s cheddar and chutney grilled cheese elevates classic comfort through sophisticated flavor combinations.
Tangy chutney whispers complexity against sharp cheddar’s bold profile.
Butter-grilled bread creates crisp golden exteriors that crackle with each bite.
Culinary magic happens when simple ingredients merge with thoughtful technique.
Such remarkable dishes connect palates with pure gastronomic joy – you’ll want to share this recipe, snap a photo, and spread deliciousness across social networks.
Print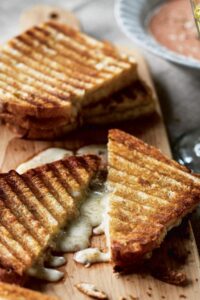
Ina Garten Cheddar & Chutney Grilled Cheese Recipe
- Total Time: 15 minutes
- Yield: 6 1x
Description
Ina Garten’s cheddar & chutney grilled cheese elevates a classic comfort sandwich with tangy mango chutney and sharp cheddar. Melted between golden, buttery sourdough, this gourmet twist brings elegant simplicity to your lunch plate.
Ingredients
Main Ingredients:
- 240g / 8 oz (3 cups) extra-sharp white cheddar, grated
- 12 slices (¼-inch thick) good bakery white bread
- 240g / 8.5 oz mango chutney
Binding/Preparation Ingredient:
- 115g / ¼ lb (1 stick) unsalted butter, melted
Instructions
- Position 6 bread slices on a clean cutting board, applying a generous layer of melted butter across each slice’s surface using a pastry brush.
- Flip the bread slices and carefully spread 1½ tablespoons (22.5 milliliters) of tangy chutney evenly across the unbuttered side of each slice, ensuring complete coverage.
- Distribute precisely 80 grams () of freshly grated cheddar cheese uniformly over the chutney-coated bread surfaces, creating a consistent cheese layer.
- Carefully position the remaining 6 bread slices atop the cheese-covered pieces, creating complete sandwich structures.
- Liberally brush the exterior of each sandwich top with additional melted butter, guaranteeing a crisp golden exterior.
- Preheat a panini press or large skillet to medium-high heat, ensuring the cooking surface is evenly heated.
- Carefully place the prepared sandwiches onto the hot surface, applying gentle pressure to achieve uniform browning and cheese melting.
- Grill each sandwich for approximately 3-4 minutes per side, watching for a rich golden-brown color and completely melted cheese interior.
- Remove sandwiches from heat, allow momentary cooling, then slice diagonally into triangular halves.
- Serve immediately while cheese remains warm and bread maintains crisp texture.
Notes
- Select artisan bread with a sturdy crust that holds up during grilling and provides superior texture.
- Shred cheese directly from a block moments before assembling to ensure maximum melting potential and rich flavor.
- Generously spread softened butter on every bread surface for achieving that perfect golden-brown crispiness.
- Warm the panini press completely before adding sandwiches to guarantee consistent heat distribution and professional-looking grill marks.
- Slice sandwiches immediately before serving to maintain molten cheese consistency and preserve maximum deliciousness.
- Prep Time: 10 minutes
- Cook Time: 5 minutes
- Category: Lunch, Snacks
- Method: Grilling
- Cuisine: American
Nutrition
- Serving Size: 1 sandwich
- Calories: 473
- Sugar: 7g
- Sodium: 847mg
- Fat: 28g
- Saturated Fat: 17g
- Carbohydrates: 33g
- Fiber: 2g
- Protein: 18g
- Cholesterol: 78mg
Isabella Rodriguez
Co-Founder & Content Creator
Expertise
Pastry Arts and Dessert Innovation, French and European Baking Techniques, Food Writing and Blogging, Culinary Event Planning
Education
Le Cordon Bleu Paris
Isabella Rodriguez is the co-founder and pastry chef at wd-50.com. She studied at Le Cordon Bleu in Paris, where she earned the Grand Diplôme®, a top award in both cooking and baking. After working in fancy bakeries and as a personal pastry chef, Isabella now shares her love for desserts in an easy way for home bakers to enjoy.
At wd-50.com, Isabella creates recipes for cookies, cakes, tarts, and more, always with clear steps and helpful tips. She believes baking should be fun, not stressful, and she hopes her recipes bring joy to your kitchen and smiles to your table.