The Barefoot Contessa Apple Pie Bars Recipe: Quick & Scrumptious
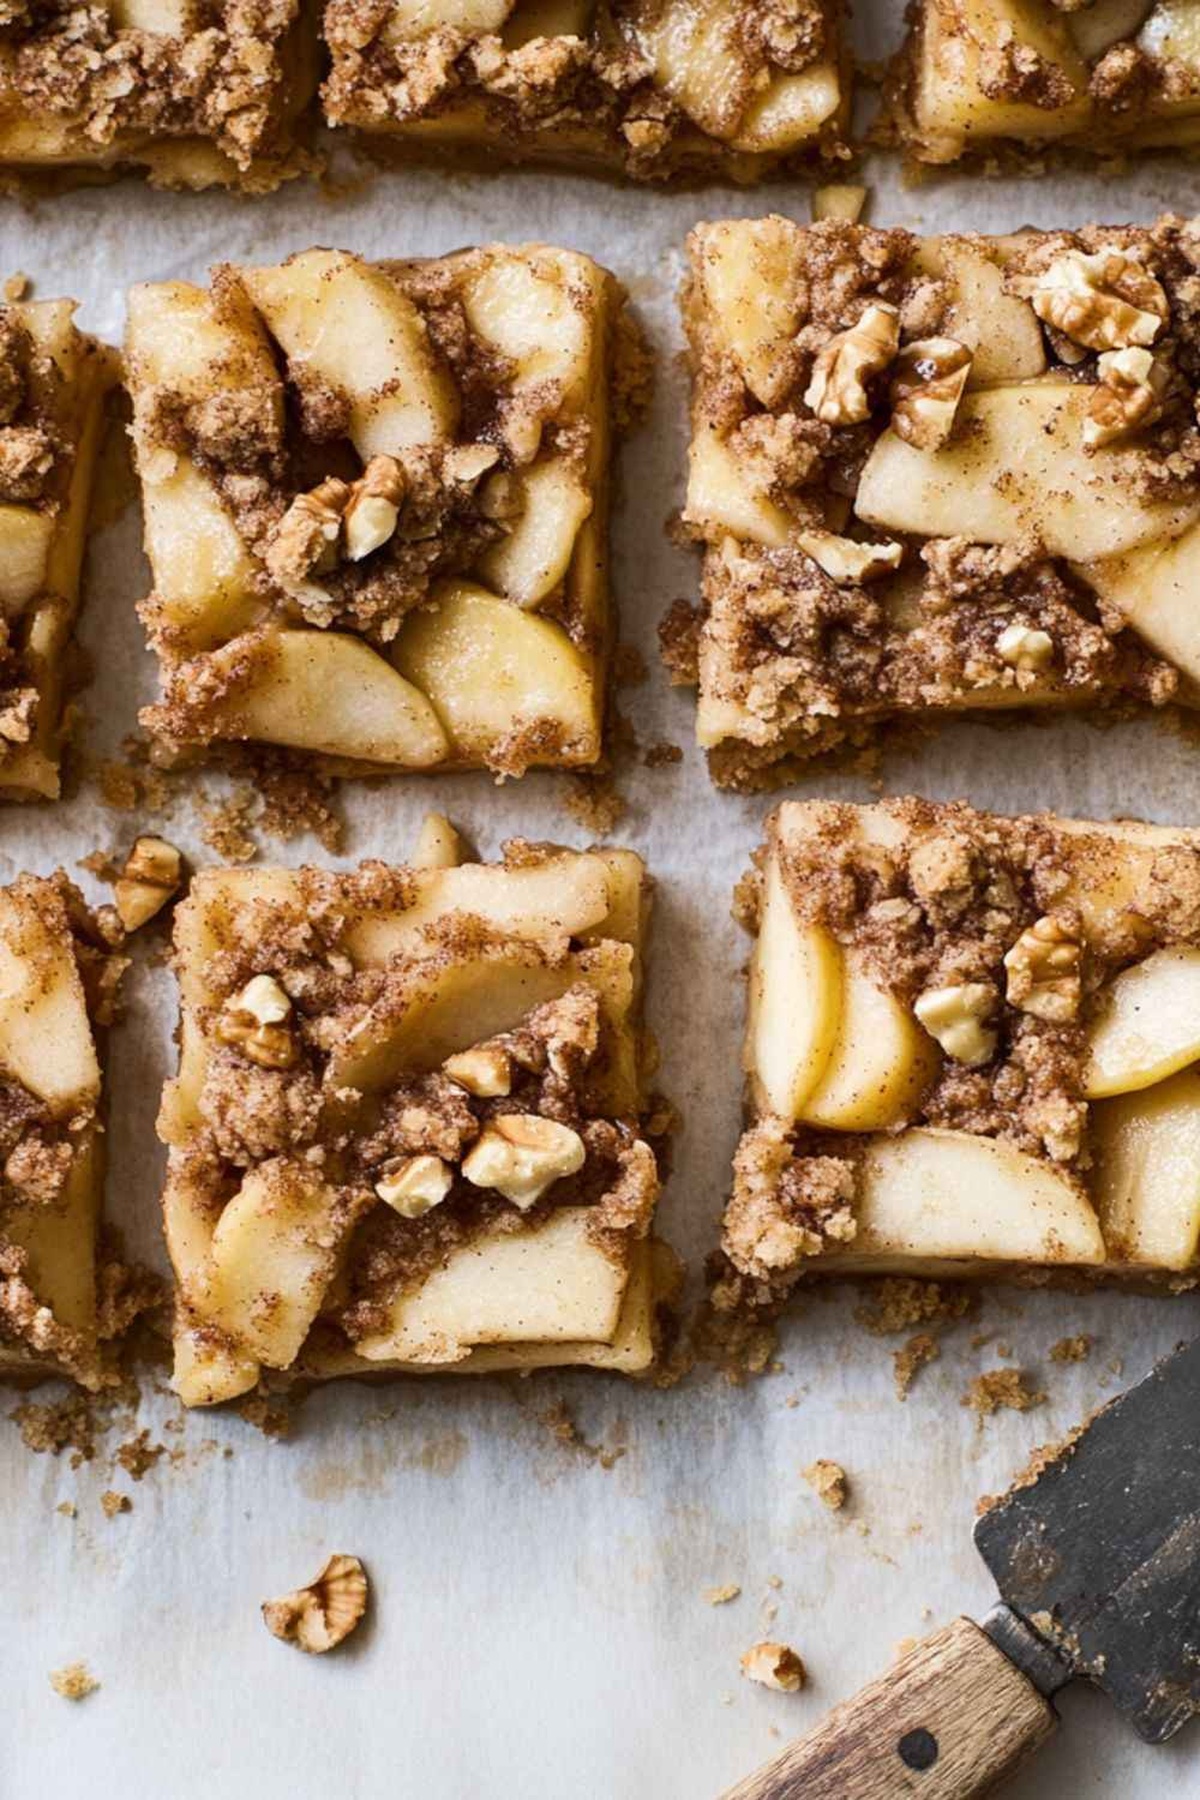
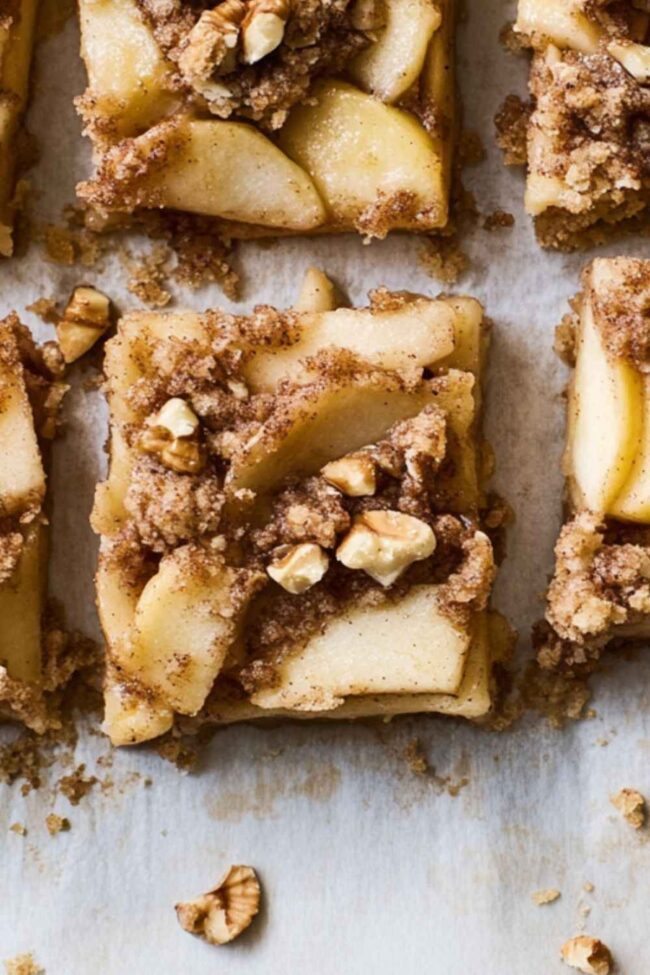
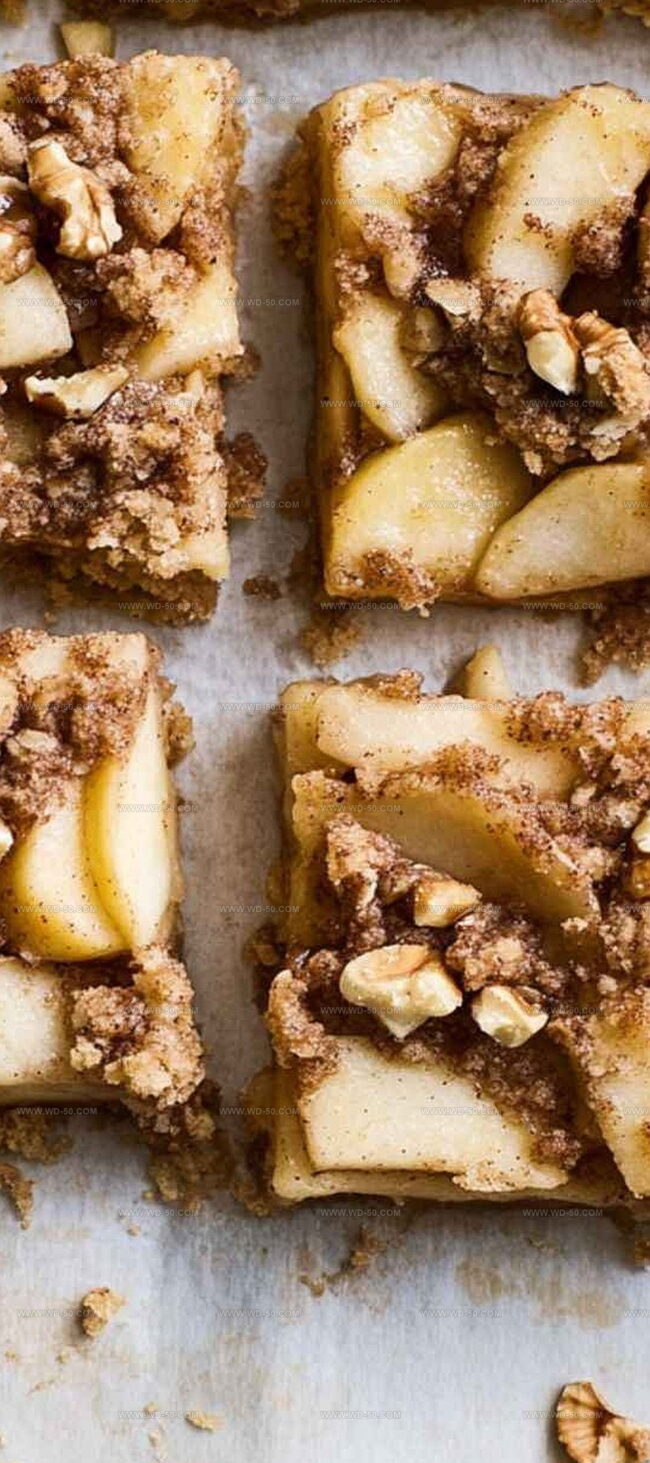
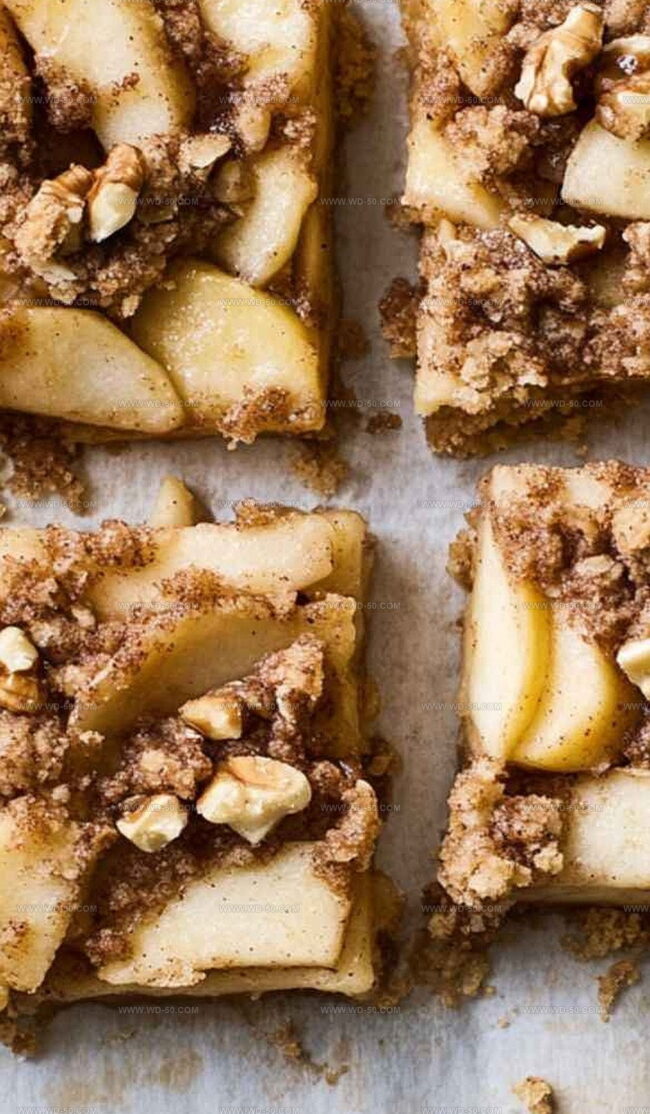
Barefoot contessa apple pie bars transform the beloved dessert into a delightful, handheld treat that captures the essence of comfort baking.
These irresistible squares blend the warm, nostalgic flavors of traditional pie with a more accessible and shareable format.
Packed with rich, spiced apple goodness, the bars offer a rustic charm that appeals to home bakers and dessert lovers alike.
Each bite delivers a perfect balance of tender fruit, crumbly crust, and sweet cinnamon notes.
The recipe simplifies the pie-making process without sacrificing an ounce of deliciousness.
Homemade desserts don’t get much more inviting or crowd-pleasing than these delectable bars: grab your apron and get ready to bake!
Fall for the Sweet Charm of Apple Pie Bars
Essential Picks for Apple Pie Bars
Crust Ingredients:Apple Filling Ingredients:Topping Ingredients:Easy Steps for Apple Pie Bars

Step 1: Prepare the Baking Station
Grab a 9×13-inch baking pan and line it with parchment paper. Set your oven to heat up to 375°F (190°C).
Step 2: Create the Magical Crust
In a mixing bowl, whip together:Beat until the mixture looks light and fluffy like a cloud. Gently fold in:Mix until just combined.
Step 3: Shape and Chill the Crust
Press about two-thirds of the dough into the prepared pan, creating a slight edge along the sides. Pop the pan in the refrigerator for 20 minutes to firm up.
Step 4: First Bake of the Crust
Slide the pan into the preheated oven and bake for 18-20 minutes until the crust turns a gorgeous golden brown. Let it cool completely.
Step 5: Craft the Crumbly Topping
Take the remaining dough and mix in:Set aside for later.
Step 6: Transform the Apples
In a large skillet, melt butter and add:Cook over medium heat, stirring occasionally, until apples soften and liquid reduces (about 12-15 minutes).
Step 7: Assemble the Delightful Bars
Lower oven temperature to 350°F (175°C). Spread the cooked apples over the cooled crust, leaving a small border. Crumble the walnut-cinnamon dough over the top.
Step 8: Final Baking
Bake for 25-30 minutes until the topping turns a beautiful golden brown.
Step 9: Cool and Slice
Allow the bars to cool completely. Cut into square pieces of pure deliciousness.
Expert Hints for Apple Pie Bars
Keep Apple Pie Bars Fresh
Creative Spins on Apple Pie Bars
Closing Reflections on Apple Pie Bars
Barefoot Contessa’s Apple Pie Bars embody classic American dessert craftsmanship with a delightful twist.
Rich buttery crust meets caramelized apple filling, creating pure comfort on each plate.
Walnuts add unexpected crunch while warm spices whisper nostalgic memories of autumn kitchens.
Professional bakers and home cooks alike will adore this sophisticated take on traditional pie.
Complex layers of flavor mingle seamlessly through each carefully constructed bite.
Readers who crave an irresistible dessert experience should absolutely bookmark this recipe, share with passionate baking friends, and comment below with their delicious results!
Print
Barefoot Contessa Apple Pie Bars Recipe
- Total Time: 1 hour 15 minutes
- Yield: 12 1x
Description
Barefoot Contessa Apple Pie Bars deliver classic American dessert comfort in convenient handheld squares. Ina Garten’s signature recipe combines buttery pastry, spiced apples, and crumbly streusel topping, offering a delightful twist on traditional pie that promises to charm family and friends at any gathering.
Ingredients
Fruits:
- 680g (1½ pounds) Granny Smith apples (about 3 large), peeled, cored, and sliced 3mm (⅛ inch) thick
- 680g (1½ pounds) Golden Delicious apples (about 3 large), peeled, cored, and sliced 3mm (⅛ inch) thick
Spices and Sweeteners:
- 50g (¼ cup) caster sugar
- 1 teaspoon ground cinnamon
- ⅛ teaspoon ground nutmeg
- 2 tablespoons fresh lemon juice
Fats:
- 55g (4 tablespoons) unsalted butter
Instructions
- Preheat the oven to 190°C (170°C fan)/375°F, ensuring an evenly heated environment for baking.
- Cream the butter with caster sugar, brown sugar, and vanilla extract in a mixer for 2 minutes until the mixture becomes light and fluffy.
- Gently sift flour and salt together, then gradually incorporate into the creamed mixture on low speed until a cohesive dough forms.
- Take approximately ⅔ of the prepared dough and press it firmly into a 9×13-inch (23x33cm) baking tin, carefully creating a ½-inch (1.3cm) raised edge along the sides.
- Refrigerate the crust for 20 minutes to help it set and maintain its shape during initial baking.
- Bake the crust for 18-20 minutes until it achieves a golden brown color, then remove and allow to cool completely.
- For the crumble topping, combine the remaining dough with chopped walnuts and ground cinnamon, mixing on low speed until well integrated.
- Reduce the oven temperature to 175°C (155°C fan)/350°F in preparation for the final baking stage.
- In a large mixing bowl, gently toss sliced apples with fresh lemon juice, granulated sugar, ground cinnamon, and nutmeg to ensure even coating.
- Melt butter in a large 25-centimeter pan over medium heat, then add the seasoned apple slices.
- Cook the apples for 12-15 minutes, stirring periodically, until they soften and most of the liquid evaporates, creating a rich, caramelized filling.
- Spread the cooked apple mixture evenly over the pre-baked crust, maintaining a ½-inch (1.3cm) border around the edges.
- Pinch the walnut-cinnamon crumble into small, irregular pieces and generously scatter over the apple layer.
- Return to the oven and bake for 25-30 minutes, until the crumble topping turns a beautiful golden brown.
- Remove from the oven and allow the apple bars to cool completely before cutting into square portions.
Notes
- Avoid wet, mushy apples by cooking them down in a skillet until liquid mostly evaporates, concentrating their natural sweetness.
- Select a mix of apple varieties like Granny Smith and Honeycrisp to create a complex, balanced flavor profile in your bars.
- Refrigerate the prepared crust for at least 30 minutes before baking to prevent shrinkage and maintain a crisp, sturdy texture.
- Create space around pie crust edges when adding filling, preventing sticky sides and ensuring clean, professional-looking bar slices.
- Let bars cool completely at room temperature for 2-3 hours, allowing filling to set and develop rich, cohesive flavors before cutting.
- Prep Time: 25 minutes
- Cook Time: 50 minutes
- Category: Desserts, Snacks
- Method: Baking
- Cuisine: American
Nutrition
- Serving Size: 12
- Calories: 320
- Sugar: 18
- Sodium: 150mg
- Fat: 18g
- Saturated Fat: 11g
- Carbohydrates: 38g
- Fiber: 2g
- Protein: 3g
- Cholesterol: 45mg
Isabella Rodriguez
Co-Founder & Content Creator
Expertise
Pastry Arts and Dessert Innovation, French and European Baking Techniques, Food Writing and Blogging, Culinary Event Planning
Education
Le Cordon Bleu Paris
Isabella Rodriguez is the co-founder and pastry chef at wd-50.com. She studied at Le Cordon Bleu in Paris, where she earned the Grand Diplôme®, a top award in both cooking and baking. After working in fancy bakeries and as a personal pastry chef, Isabella now shares her love for desserts in an easy way for home bakers to enjoy.
At wd-50.com, Isabella creates recipes for cookies, cakes, tarts, and more, always with clear steps and helpful tips. She believes baking should be fun, not stressful, and she hopes her recipes bring joy to your kitchen and smiles to your table.