Easy Barefoot Contessa Coconut Cream Pie Recipe for Sweet Bliss
Coconut cream pie transforms ordinary dessert into a tropical paradise of pure indulgence.
Rich, velvety custard nestled in a buttery crust promises a delectable journey for sweet enthusiasts.
Silky smooth filling celebrates the luxurious essence of toasted coconut, blending creamy textures with subtle nutty undertones.
Each generous slice whispers promises of decadent comfort and nostalgic warmth.
Delicate layers meld together, creating a harmonious symphony of flavors that dance across your palate.
Home bakers can effortlessly craft this elegant dessert that balances sophistication with comforting simplicity.
Weekend gatherings deserve something extraordinary that sparks conversation and delights taste buds: dive into this irresistible coconut cream pie experience.
Why Contessa Coconut Cream Pie Is a Crowd-Pleaser
All You Need for Contessa Coconut Cream Pie
Pie Crust:Filling Base:Coconut and Flavoring:Topping:Simple Steps for Contessa Coconut Cream Pie
Step 1: Prepare Toasted Coconut
Crank up your oven to 350°F. Spread shredded coconut evenly on a baking sheet. Slide into the oven and bake for 5 minutes, watching carefully until the coconut turns a gorgeous golden brown. Stir occasionally to ensure even toasting.
Step 2: Create Creamy Filling Base
Grab a medium saucepan and combine:Cook over low heat, whisking constantly to prevent lumps. Continue stirring for about 2 minutes until the mixture starts to thicken and coats the back of a spoon.
Step 3: Enhance Filling Flavor
Remove the pan from heat. Fold in:Mix thoroughly to distribute coconut and vanilla evenly throughout the creamy mixture.
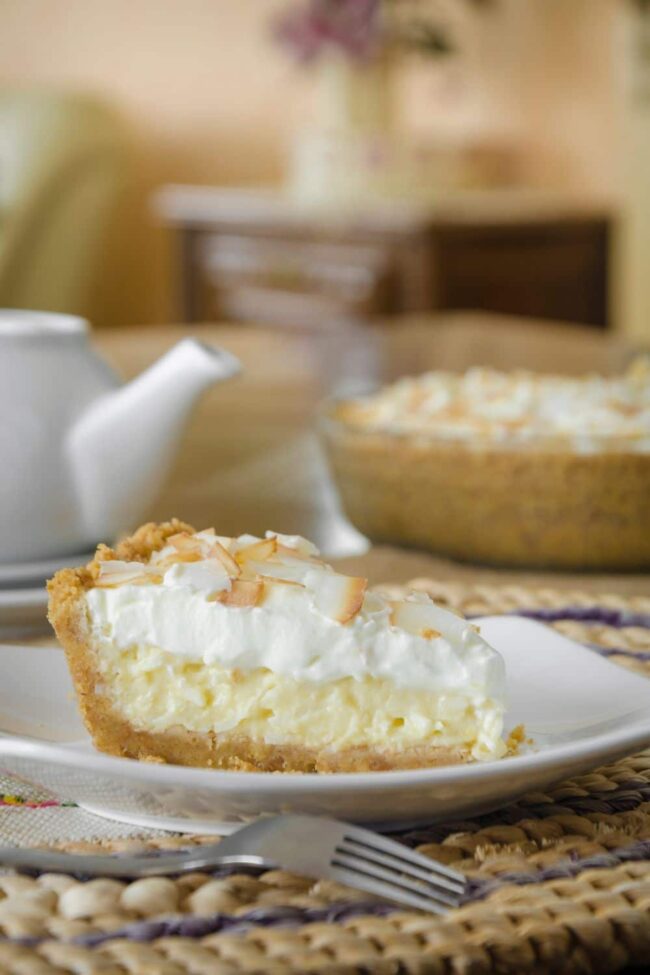
Step 4: Chill and Set Pie
Pour the luscious filling into a pre-baked pie crust. Refrigerate for 4 hours or until the filling is completely set and firm.
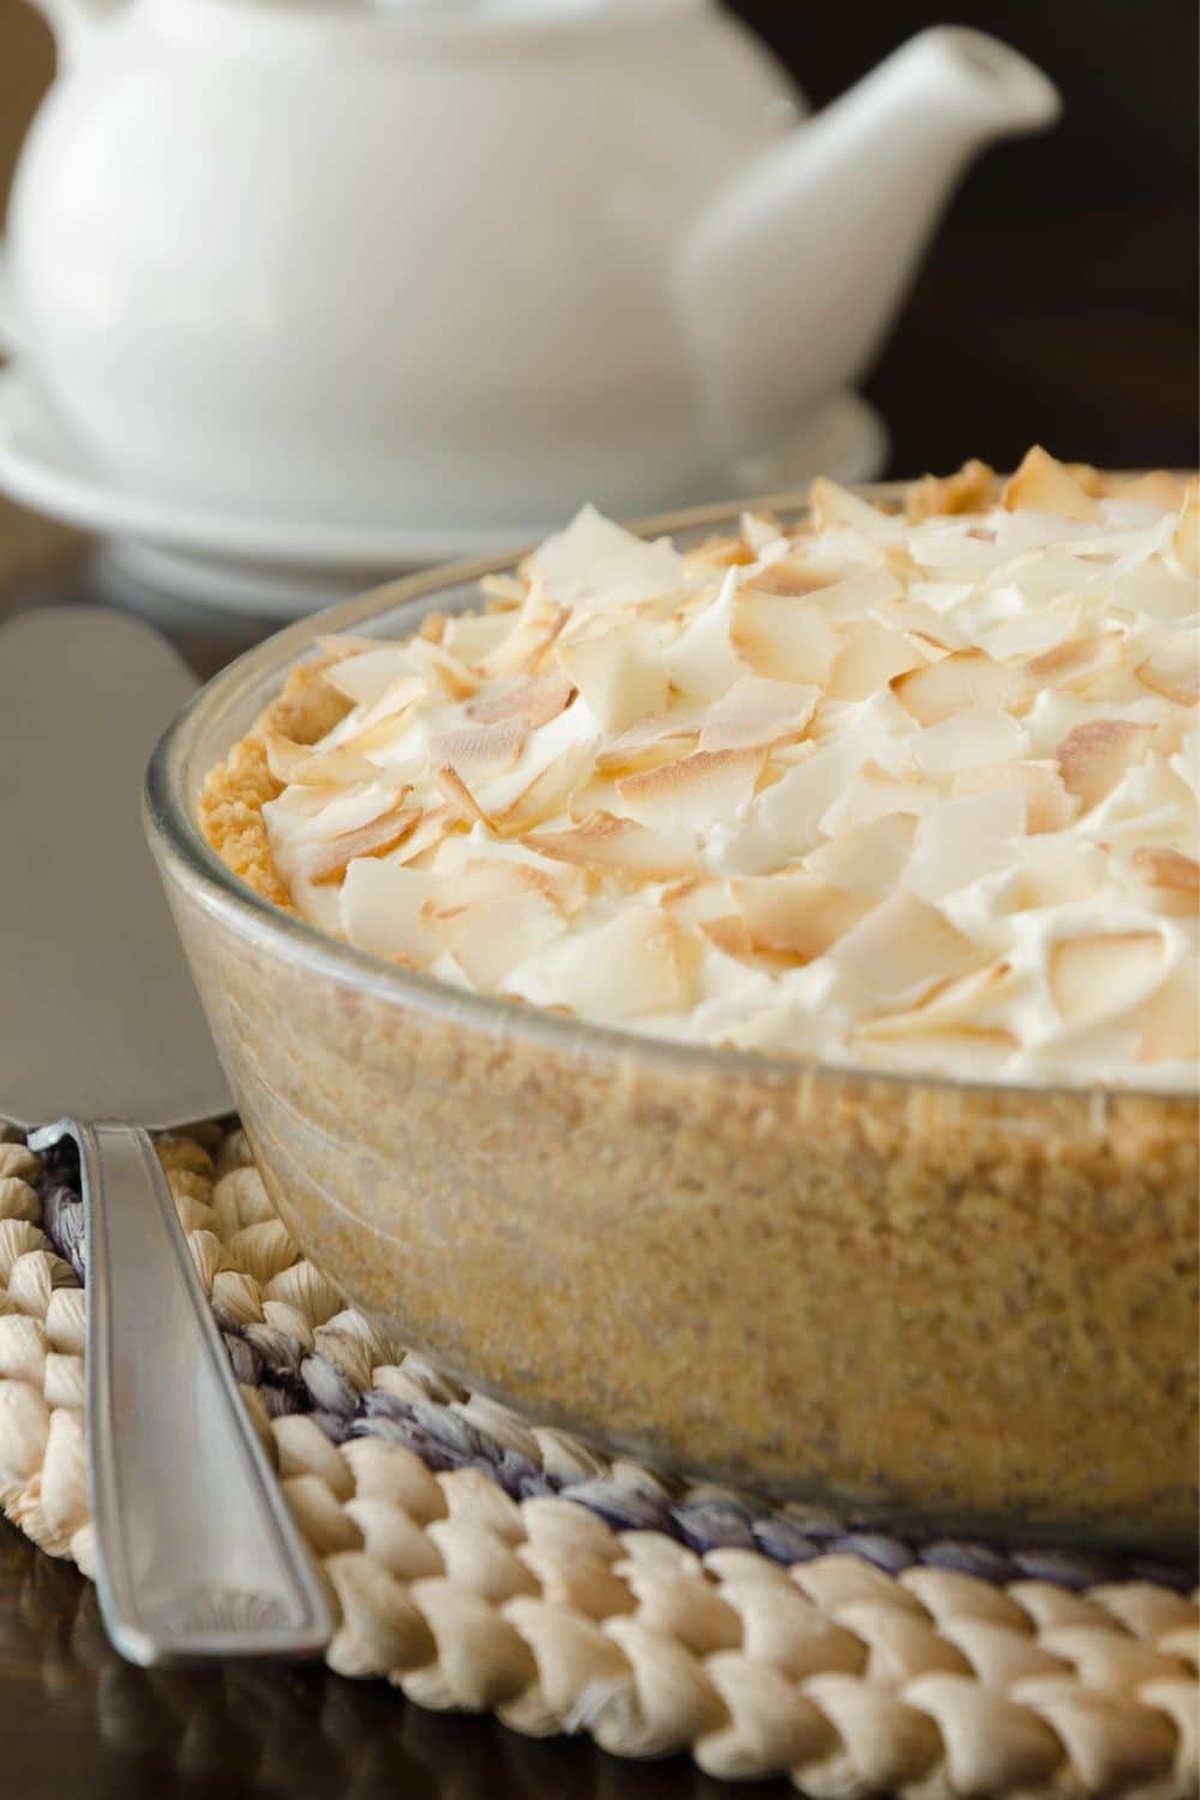
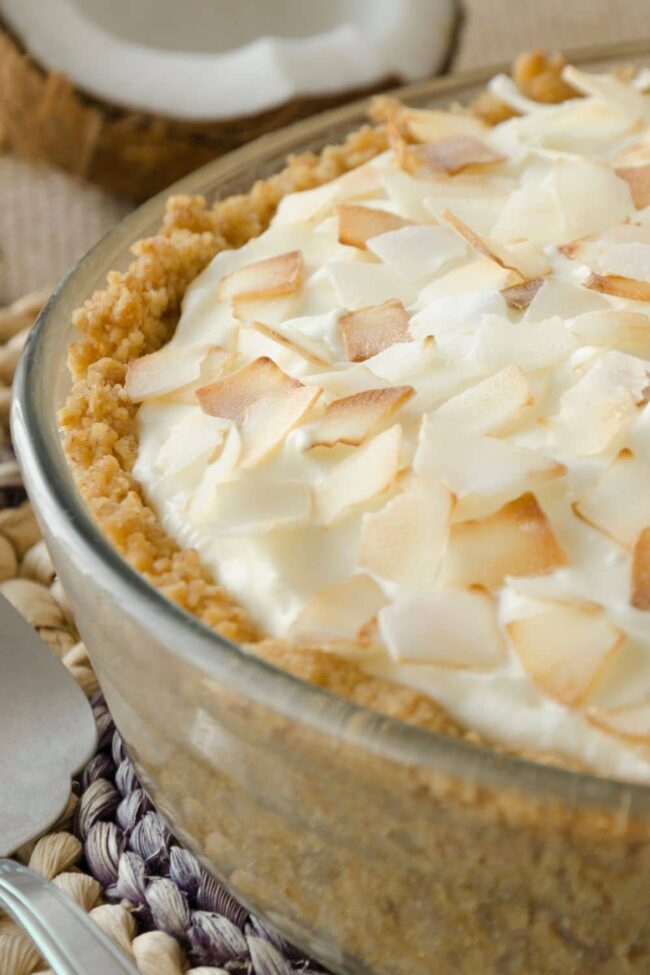
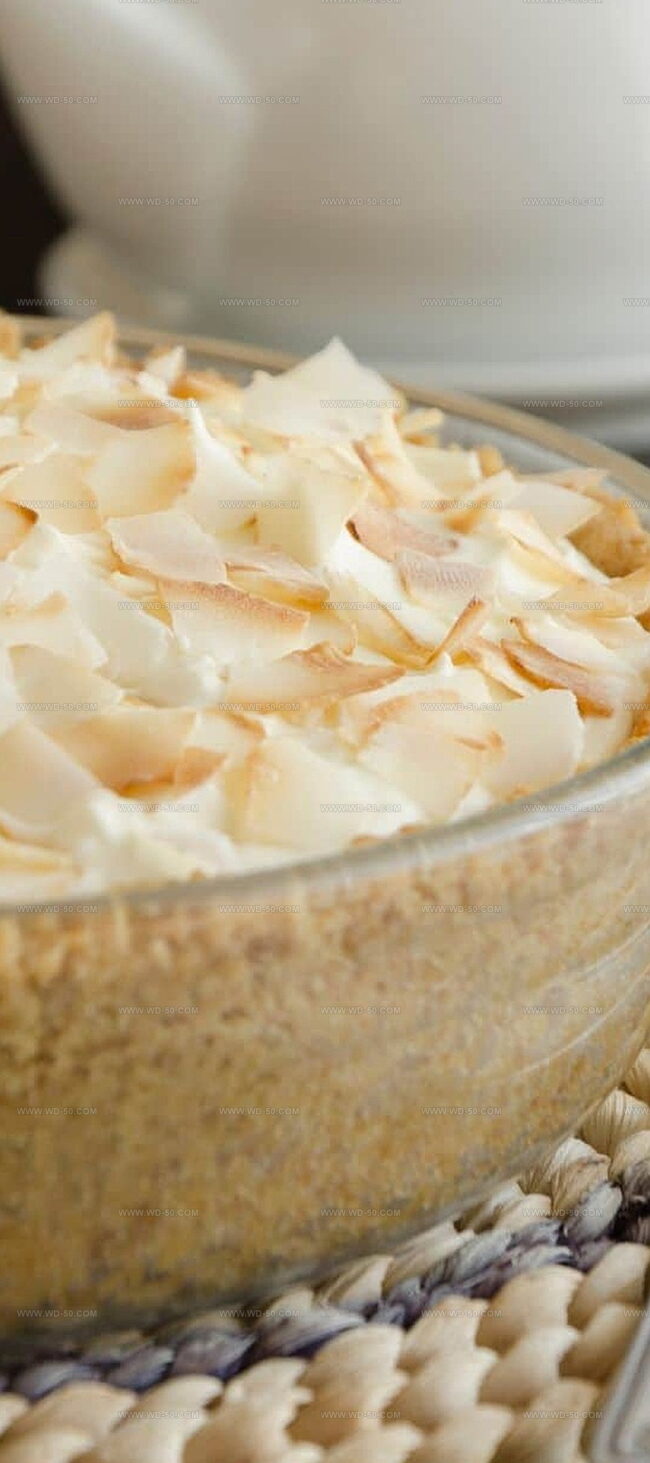
Step 5: Add Finishing Touches
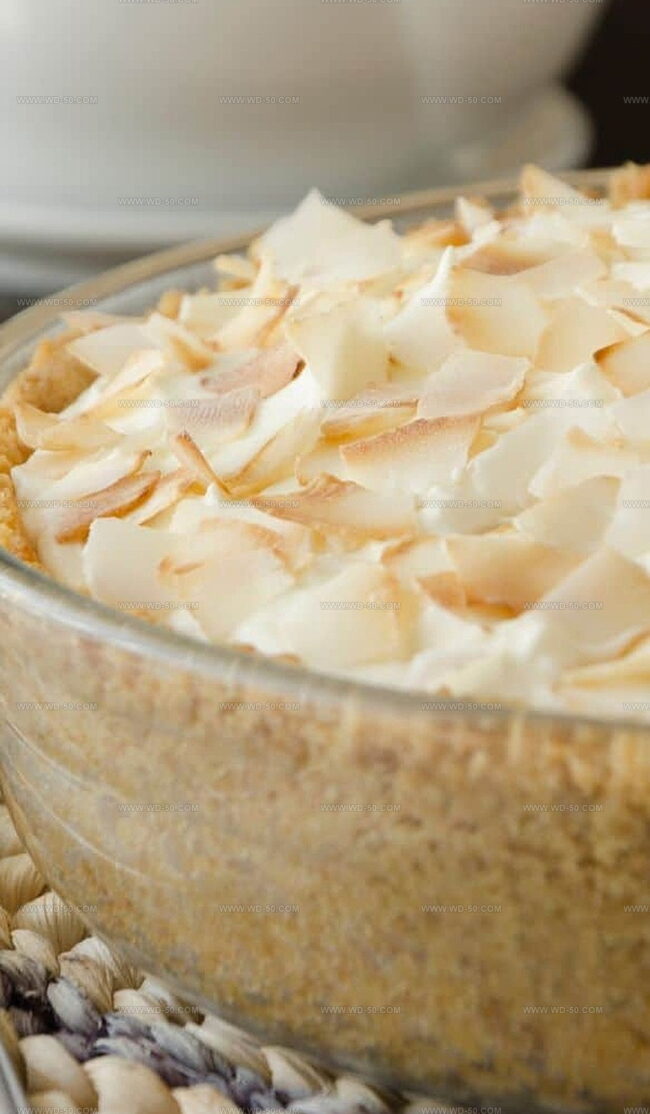
Top the chilled pie with a generous layer of whipped cream. Sprinkle the remaining toasted coconut over the top for a beautiful, crunchy garnish. Serve chilled and enjoy your tropical dessert masterpiece!
Pro Tips for Contessa Coconut Cream Pie
Maintaining Contessa Coconut Cream Pie
Tasty Variations on Contessa Coconut Cream Pie
Parting Thoughts on Contessa Coconut Cream Pie
Culinary magic emerges from Ina Garten’s coconut cream pie, a dessert that whispers tropical dreams with each silky slice.
Creamy textures and golden toasted coconut create an irresistible harmony of flavors dancing across palates.
Delicate layers of richness promise pure indulgement with every carefully crafted bite.
Garten’s signature touch elevates this classic recipe beyond ordinary dessert expectations.
Sweet memories linger long after the last crumb disappears from plates.
When you encounter this heavenly pie, snap a photo, share the deliciousness with friends on social media, and let fellow dessert enthusiasts discover this magnificent creation through comments and likes.
Print
Barefoot Contessa Coconut Cream Pie Recipe
- Total Time: 30 minutes
- Yield: 8 1x
Description
Ina Garten’s coconut cream pie delivers a luxurious tropical dessert dream with silky coconut custard nestled in a buttery crust. Flaky pastry, rich cream, and toasted coconut flakes create a heavenly slice that transports you to a beachside paradise with each delightful bite.
Ingredients
Main Ingredients:
- 3 cups half-and-half
- 1 (9 inch) pie shell, baked
- 2 large eggs, beaten
- 1 cup sweetened flaked coconut
Sweeteners and Thickeners:
- ¾ cup white sugar
- ½ cup all-purpose flour
- ¼ teaspoon salt
Flavor Enhancers and Toppings:
- 1 teaspoon vanilla extract
- 1 cup frozen whipped topping, thawed
Instructions
- Preheat the oven to 350°F (175°C) and evenly distribute shredded coconut on a rimmed baking sheet, ensuring a uniform layer for consistent toasting.
- Monitor the coconut carefully while baking, stirring occasionally to prevent uneven browning, and remove from the oven when the flakes turn a delicate golden hue, approximately 5-7 minutes.
- In a medium saucepan, whisk together half-and-half, granulated sugar, all-purpose flour, large eggs, and a pinch of kosher salt until the mixture is smooth and free of lumps.
- Place the saucepan over low heat, stirring continuously with a wooden spoon to prevent scorching and ensure even thickening of the custard base.
- Continue cooking the mixture for 2-3 minutes until it reaches a slightly thickened consistency, resembling a light pudding texture.
- Remove the saucepan from heat and fold in 3/4 cup of the freshly toasted coconut flakes along with pure vanilla extract, creating a rich, aromatic filling.
- Transfer the coconut custard into the prepared pie shell, using a spatula to spread it evenly and eliminate any air pockets.
- Refrigerate the pie for 4-5 hours, allowing the filling to set completely and develop a firm, creamy texture.
- Before serving, generously top the chilled pie with whipped cream and sprinkle the remaining toasted coconut over the surface for a decorative and crunchy finish.
Notes
- Let the pie cool completely before refrigerating to prevent condensation and soggy crust.
- Garnish with coconut flakes just before serving to maintain their crisp texture.
- Room temperature ingredients ensure a smoother, more consistent filling without lumps.
- Refrigerating overnight allows flavors to develop and filling to set perfectly.
- Toasting coconut intensifies its nutty flavor and adds a delightful crunch to the dessert.
- Prepare whipped topping at the last minute for maximum volume and freshness.
- Prep Time: 15 minutes
- Cook Time: 15 minutes
- Category: Desserts
- Method: Baking
- Cuisine: American
Nutrition
- Serving Size: 8
- Calories: 364
- Sugar: 21 g
- Sodium: 162 mg
- Fat: 25 g
- Saturated Fat: 16 g
- Unsaturated Fat: 9 g
- Trans Fat: 0 g
- Carbohydrates: 34 g
- Fiber: 1 g
- Protein: 4 g
- Cholesterol: 71 mg
Isabella Rodriguez
Co-Founder & Content Creator
Expertise
Pastry Arts and Dessert Innovation, French and European Baking Techniques, Food Writing and Blogging, Culinary Event Planning
Education
Le Cordon Bleu Paris
Isabella Rodriguez is the co-founder and pastry chef at wd-50.com. She studied at Le Cordon Bleu in Paris, where she earned the Grand Diplôme®, a top award in both cooking and baking. After working in fancy bakeries and as a personal pastry chef, Isabella now shares her love for desserts in an easy way for home bakers to enjoy.
At wd-50.com, Isabella creates recipes for cookies, cakes, tarts, and more, always with clear steps and helpful tips. She believes baking should be fun, not stressful, and she hopes her recipes bring joy to your kitchen and smiles to your table.