Parsley: Introduces fresh, green brightness; select crisp, bright green herbs.
Mozzarella Cheese, Parmesan Cheese: Provide melty, golden topping and deep umami undertones; select high-quality, freshly grated varieties.
For Pasta:
Ziti Pasta: Serves as hearty base; cook just until al dente to maintain perfect texture.
Equipment to Make Ina Garten Baked Ziti
Large skillet: Essential for browning sausage and preparing sauce.
Wooden spoon: Perfect for stirring and breaking up sausage while cooking.
Large pot: Needed for boiling ziti pasta to al dente perfection.
Colander: Crucial for draining pasta after cooking.
Small mixing bowl: Great for blending ricotta cheese mixture.
9×13 inch baking pan: Key for assembling and baking the ziti.
Measuring cups: Helpful for accurately portioning ingredients.
Cheese grater: Useful if using block cheese instead of pre-shredded.
Chef’s knife: Handy for chopping onions and herbs.
How to Prepare Ina Garten Baked Ziti with Ease
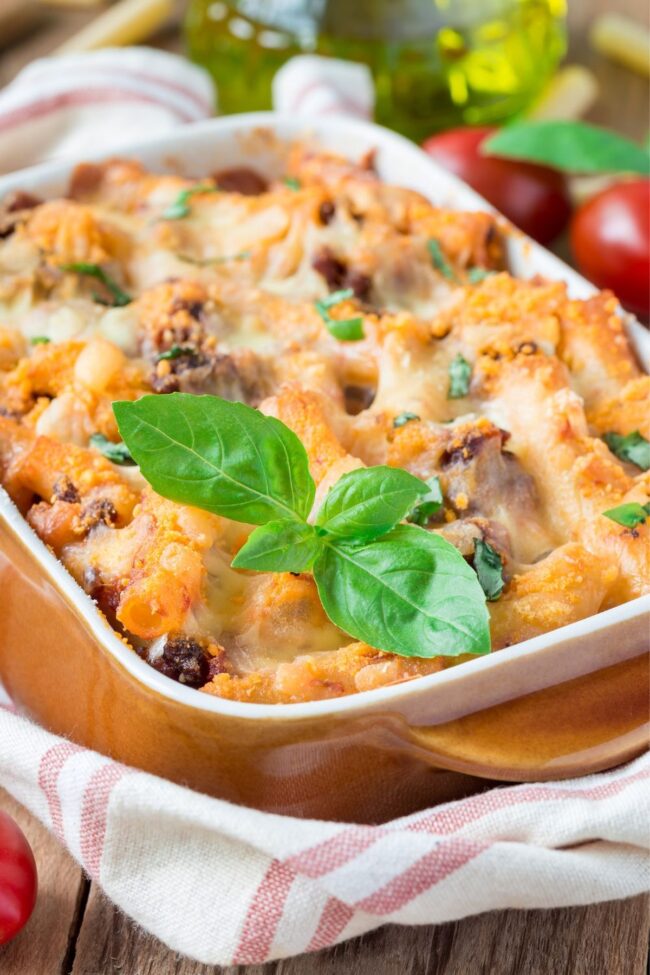
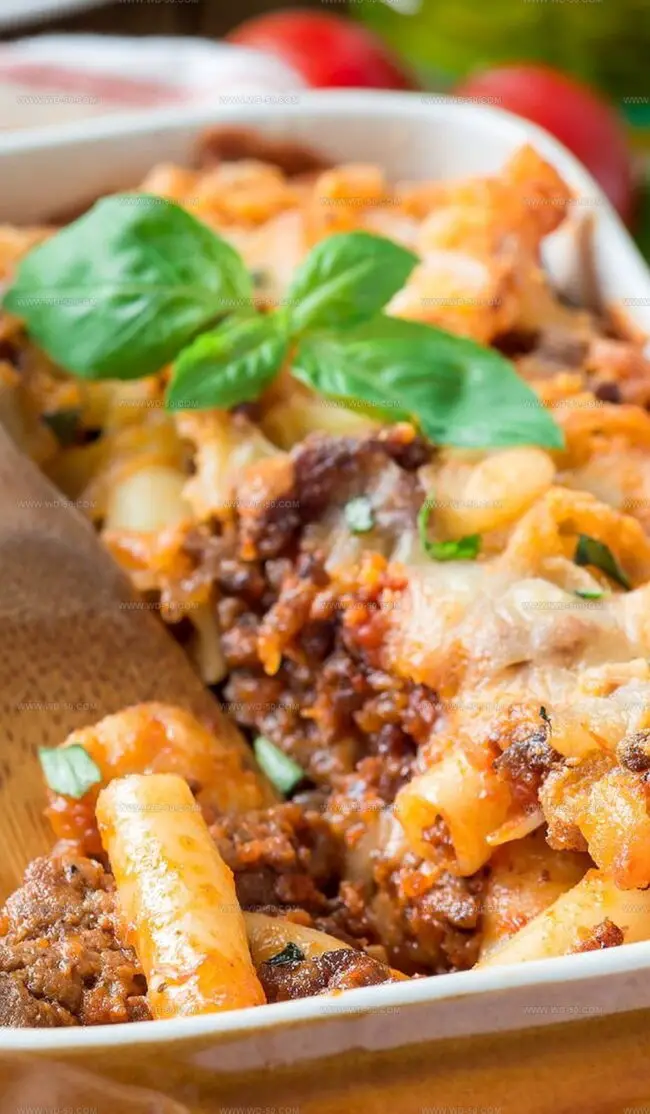
Comforting Ziti Feast
Kitchen Preparation Warm up your oven to a cozy 375 degrees, creating the perfect environment for a delicious pasta adventure.
Sausage Symphony Brown the Italian sausage with onions, releasing amazing aromas that will make everyone’s mouth water. Drain any extra grease for a lighter dish.
Sauce Magic Combine tomatoes, seasoning, and pasta sauce in the skillet. Let everything simmer and dance together, creating a rich and flavorful foundation.
Pasta Foundation Cook ziti until it’s perfectly tender, then drain and set aside. This will be the heart of your culinary masterpiece.
Cheese Blend Create a creamy mixture by combining ricotta, eggs, herbs, and a portion of mozzarella and Parmesan. This layer adds incredible richness to the dish.
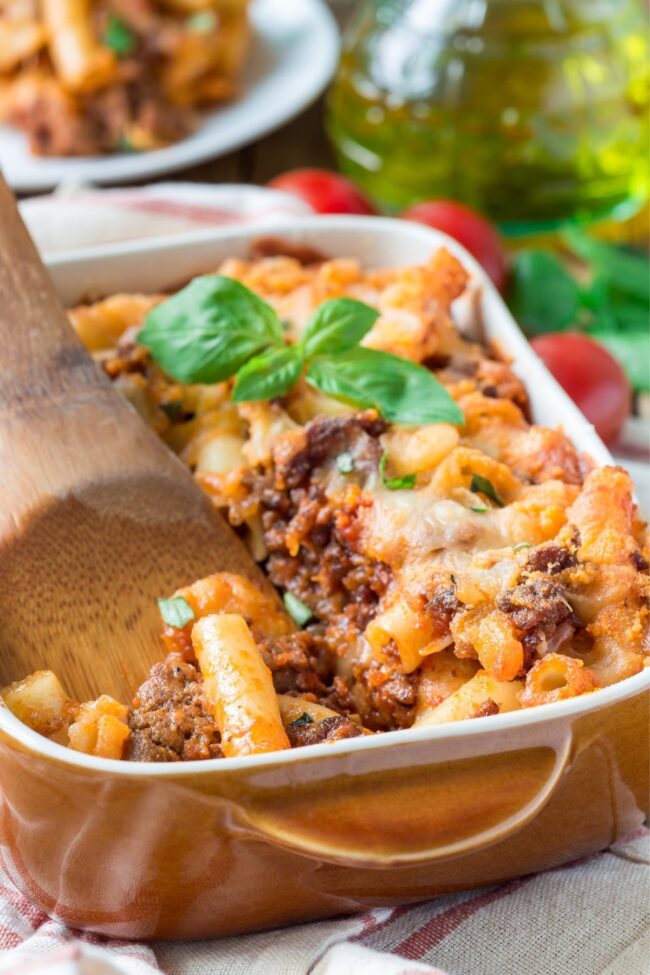
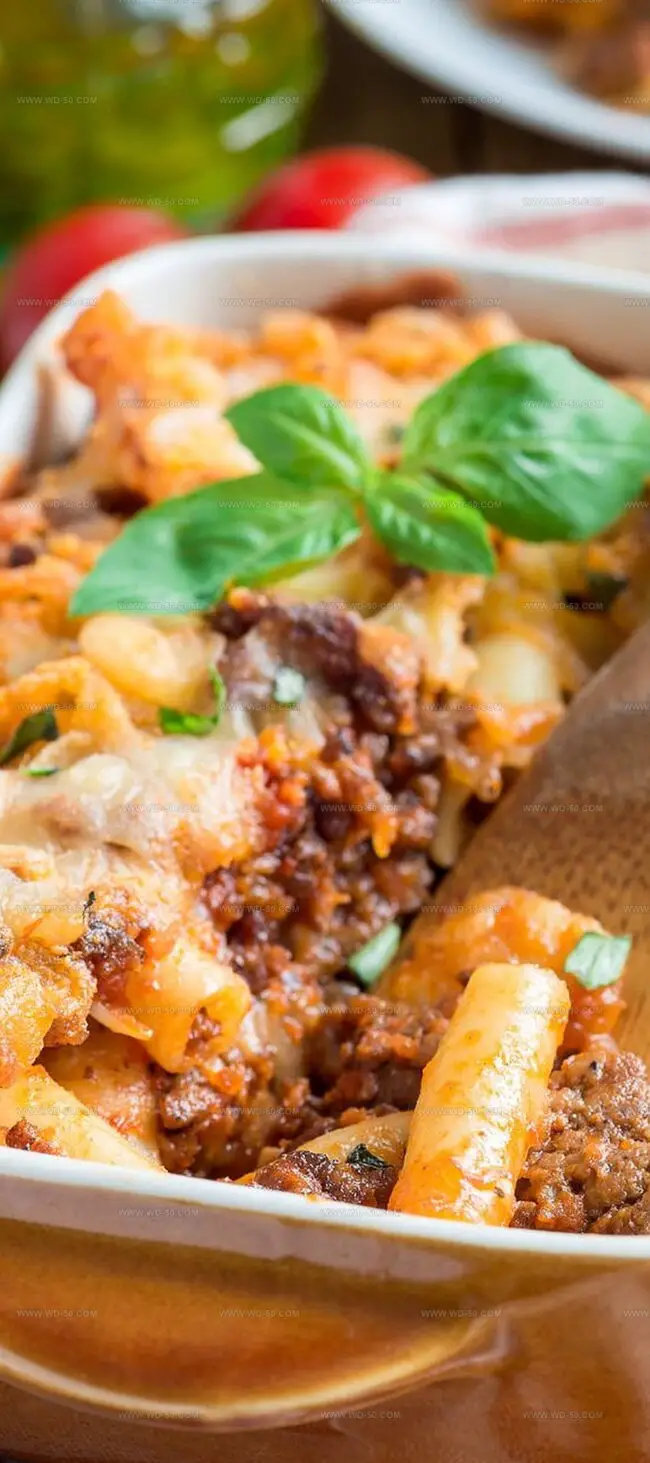
Layering Love Spread sauce on the bottom of your baking dish, then build beautiful layers of pasta, cheese mixture, and more sauce. Top with remaining cheese for a golden crown.
Baking Perfection Slide the ziti into the oven and let it bake until the cheese turns golden and bubbly, creating an irresistible crust.
Resting Period Allow the ziti to rest for a few minutes after baking, letting all the incredible flavors mingle and settle into a harmonious dish.
Flavor Options for Ina Garten Baked Ziti
Mix up this classic dish with these exciting tips and variations!
Swap Italian sausage with ground beef, chicken, or plant-based crumbles for a personalized protein twist.
Fold in roasted bell peppers, spinach, or zucchini to add extra nutrition and color to your baked ziti.
Experiment with different cheese combinations like fontina, provolone, or goat cheese to create a unique flavor profile.
Prepare the entire dish up to 24 hours in advance, cover, and refrigerate. Simply bake when ready to serve for a stress-free meal preparation.
Replace traditional ziti with gluten-free pasta or zucchini noodles for a lighter, celiac-friendly version of this comforting casserole.
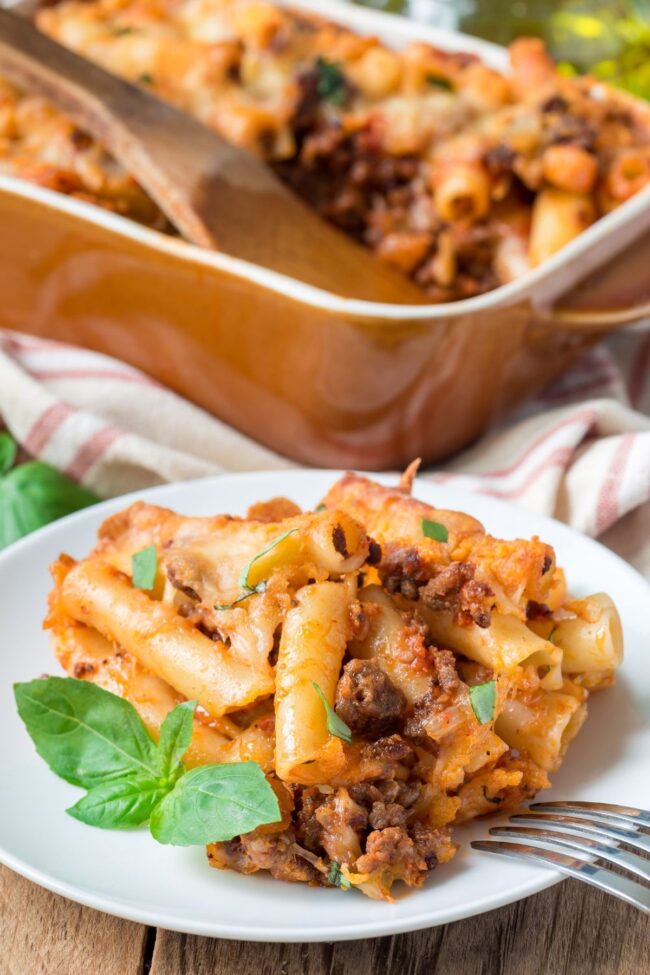
Plating Tips for Ina Garten Baked Ziti
Pair with Garden Freshness: Toss a crisp green salad with cherry tomatoes, cucumber slices, and a light vinaigrette to balance the rich, cheesy pasta dish.
Serve with Crusty Companions: Warm garlic bread or toasted ciabatta slices make perfect sides for scooping up extra sauce and adding delightful crunch.
Wine Wonderland: Select a medium-bodied red wine like Chianti or Sangiovese to complement the savory Italian sausage and tomato-based sauce, enhancing the meal’s flavors.
Family-Style Feast: Present the baked ziti directly in the baking dish, allowing everyone to serve themselves and enjoy the warm, comforting meal together around the table.
How to Store Leftover Ina Garten Baked Ziti
Refrigerate Smartly: Store leftover baked ziti in airtight containers within 2 hours of cooking to maintain freshness and prevent bacterial growth.
Freeze for Future Meals: Wrap individual portions or the entire dish tightly in freezer-safe containers, keeping for up to 3 months without losing flavor or texture.
Reheat with Care: Thaw overnight in the refrigerator, then warm in the oven at 350°F, covering with foil to prevent drying out and maintain moisture.
Portion Control Tip: Divide the dish into single-serving containers for quick lunches or dinners, making meal prep easier throughout the week.
Pastry Arts and Dessert Innovation, French and European Baking Techniques, Food Writing and Blogging, Culinary Event Planning
Education
Le Cordon Bleu Paris
Diploma: Grand Diplôme®
Focus: Intensive training in classic French cuisine and pastry techniques, combining the Diplôme de Cuisine and Diplôme de Pâtisserie.
Isabella Rodriguez is the co-founder and pastry chef at wd-50.com. She studied at Le Cordon Bleu in Paris, where she earned the Grand Diplôme®, a top award in both cooking and baking. After working in fancy bakeries and as a personal pastry chef, Isabella now shares her love for desserts in an easy way for home bakers to enjoy.
At wd-50.com, Isabella creates recipes for cookies, cakes, tarts, and more, always with clear steps and helpful tips. She believes baking should be fun, not stressful, and she hopes her recipes bring joy to your kitchen and smiles to your table.

Isabella Rodriguez
Co-Founder & Content Creator
Expertise
Pastry Arts and Dessert Innovation, French and European Baking Techniques, Food Writing and Blogging, Culinary Event Planning
Education
Le Cordon Bleu Paris
Isabella Rodriguez is the co-founder and pastry chef at wd-50.com. She studied at Le Cordon Bleu in Paris, where she earned the Grand Diplôme®, a top award in both cooking and baking. After working in fancy bakeries and as a personal pastry chef, Isabella now shares her love for desserts in an easy way for home bakers to enjoy.
At wd-50.com, Isabella creates recipes for cookies, cakes, tarts, and more, always with clear steps and helpful tips. She believes baking should be fun, not stressful, and she hopes her recipes bring joy to your kitchen and smiles to your table.