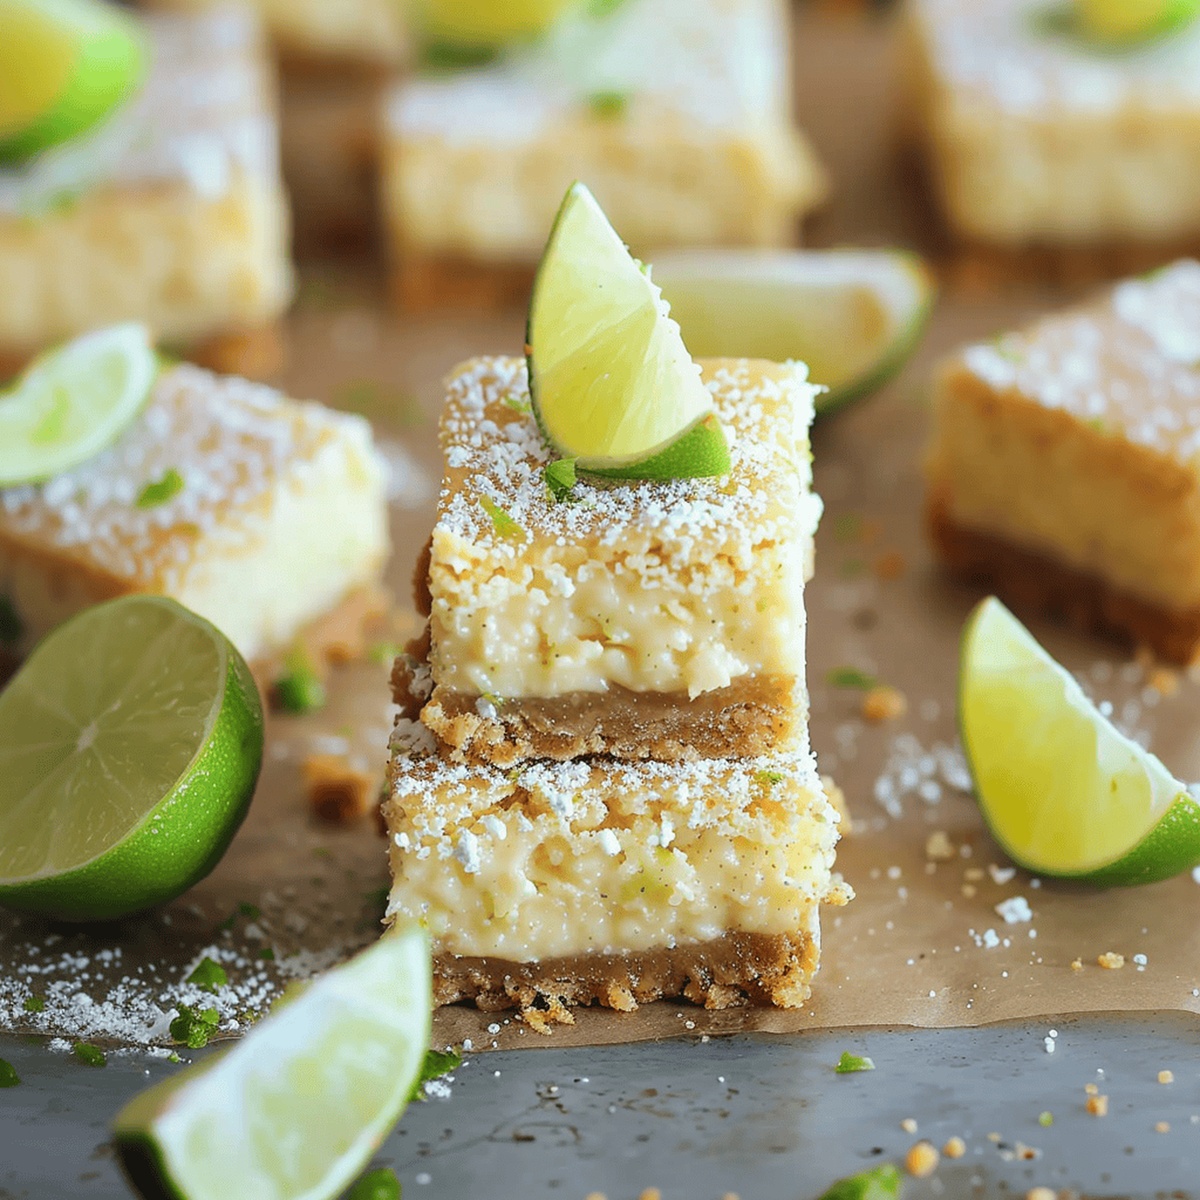
Zesty Key Lime Pie Bars Recipe: A Tropical Sweet Treat
Summers call for refreshing desserts that transport you straight to tropical bliss, and these zesty key lime pie bars burst with tangy sunshine.
Creamy, smooth, and perfectly balanced, this dessert captures the essence of Florida’s favorite citrus treat.
Sweet graham cracker crusts create a delightful foundation for the luscious key lime filling that dances across your palate.
Each bite promises a cool, creamy escape from the heat, with bright lime notes that awaken your taste buds.
The silky texture and vibrant flavor make these bars an instant crowd-pleaser at any gathering.
You’ll fall in love with how simple yet spectacular this dessert can be.
Let’s find out this recipe and let the summer flavors whisk you away to a beachside paradise.
Quick Recipe Overview
Key Lime Pie Bars Ingredient Essentials You’ll Need
For Crust:For Filling:For Flavoring:Tools and Bakeware to Prepare Key Lime Pie Squares
Easy-to-Follow Directions for Baking Key Lime Bars
Press the mixture firmly into a lined baking pan, creating an even layer that will support the luscious topping.
Whip cream cheese until it becomes wonderfully soft and cloud-like, gradually incorporating the sweet condensed milk to create a velvety texture.
Gently fold in fresh lime zest and juice, allowing the citrusy notes to dance through the creamy mixture and awaken your taste buds.
Bake until the filling sets with a gentle wobble, creating a perfect balance between firm and creamy textures.
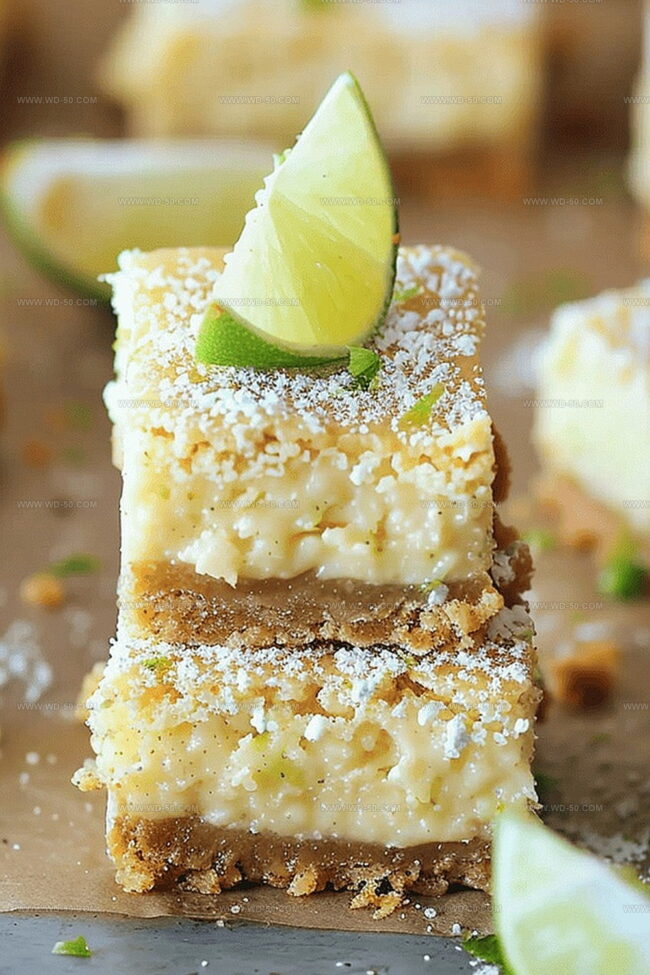
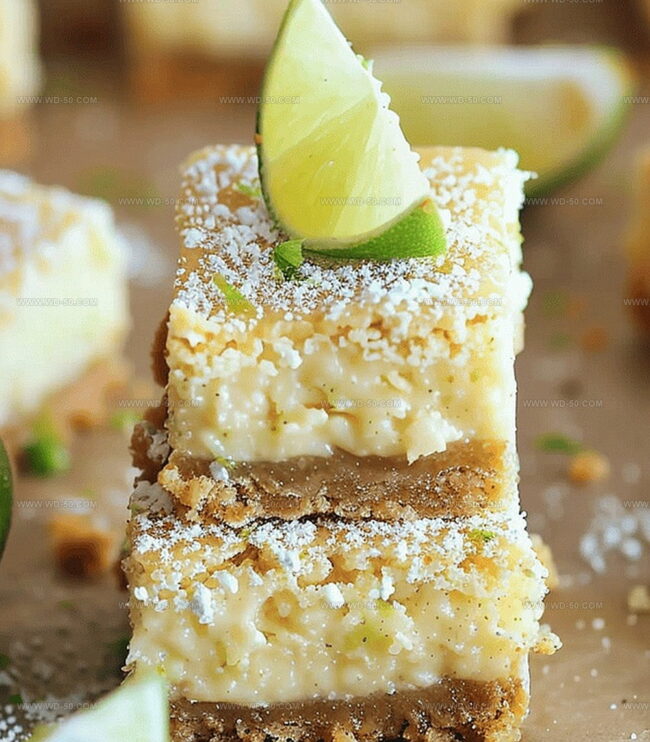
Refrigerate until completely cool, then slice into elegant bars that showcase the beautiful layers and promise of deliciousness.
Tips to Achieve That Perfect Tart and Creamy Balance
Presentation Tips for Your Zesty Lime Bars
Refrigerating and Storing Leftover Lime Treats
Print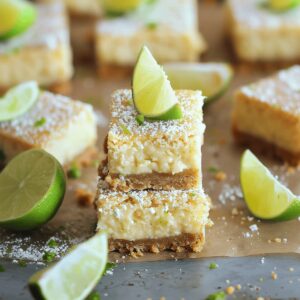
Creamy Key Lime Pie Bars
- Total Time: 48 minutes
- Yield: 10 1x
Description
Creamy key lime pie bars blend tangy citrus with a buttery graham cracker crust for a refreshing dessert. Rich Florida flavors shine through in each zesty, cool slice that leaves you craving more.
Ingredients
- 15 sheets graham crackers
- 2 tbsps granulated sugar
- 6 tbsps (85 grams) unsalted butter, melted
- 1 pinch salt
- 6 oz (170 grams) original cream cheese, room temperature
- 14 oz (397 grams) can sweetened condensed milk
- 4 egg yolks
- 0.5 cup (120 milliliters) key lime juice
- 1 tbsp lime zest
- 0.5 tsp vanilla extract
Instructions
- Crust Preparation: Pulverize graham crackers into fine crumbs, then blend with sugar, salt, and melted butter until a cohesive mixture forms.
- Crust Formation: Press the crumb mixture firmly into a foil-lined 9×9-inch pan, creating a uniform base. Bake at 350°F for 10 minutes until golden, then cool momentarily.
- Filling Creation: Whip cream cheese until silky smooth, gradually incorporating condensed milk to develop a luxurious foundation.
- Flavor Infusion: Blend egg yolks into the cream cheese mixture, followed by vibrant lime zest, freshly squeezed lime juice, and vanilla extract until thoroughly integrated.
- Baking Process: Pour the lime-laden filling over the pre-baked crust, distributing evenly. Return to the oven and bake for 15-18 minutes, watching for a slight center wobble without browning.
- Chilling and Setting: Allow bars to cool at room temperature for 30 minutes, then refrigerate for 2-4 hours to solidify and intensify flavors.
- Serving Technique: Slice into precise squares using a sharp knife, serving directly from the chilled container and storing any remaining portions in an airtight refrigerator container for up to 5 days.
Notes
- Crumb Crust Technique: Press graham cracker mixture firmly and evenly to create a solid, compact base that won’t crumble when cutting bars.
- Temperature Control: Avoid overbaking filling by monitoring closely; the center should have a slight wobble to prevent drying out and cracking.
- Lime Juice Freshness: Always use freshly squeezed lime juice for vibrant, authentic flavor that distinguishes these bars from store-bought versions.
- Chilling Importance: Allow full chilling time for optimal texture and flavor development, which helps bars set perfectly and enhances taste profile.
- Prep Time: 20 minutes
- Cook Time: 28 minutes
- Category: Desserts
- Method: Baking
- Cuisine: American
Nutrition
- Serving Size: 10
- Calories: 250
- Sugar: 20 g
- Sodium: 150 mg
- Fat: 14 g
- Saturated Fat: 8 g
- Unsaturated Fat: 4 g
- Trans Fat: 0 g
- Carbohydrates: 30 g
- Fiber: 1 g
- Protein: 3 g
- Cholesterol: 100 mg
Michael Reynolds
Founder, Head Recipe Developer & Cuisine Specialist
Expertise
Recipe Development and Testing, Modern American and European Cuisines, Food Styling and Photography, Culinary Education and Workshops
Education
Johnson & Wales University
Auguste Escoffier School of Culinary Arts
Michael Reynolds is the founder and head recipe creator at wd-50.com. With over 15 years of experience in the kitchen, he’s spent time working in top restaurants and now focuses on making great food easy for everyone at home.
Michael studied culinary arts at Johnson & Wales University and later trained in pastry at the Auguste Escoffier School. He knows his way around both savory meals and sweet treats.
At wd-50.com, his goal is to help you feel confident in the kitchen, whether you’re trying something new or cooking a favorite dish. He loves using fresh ingredients and simple steps that still bring out big flavors.