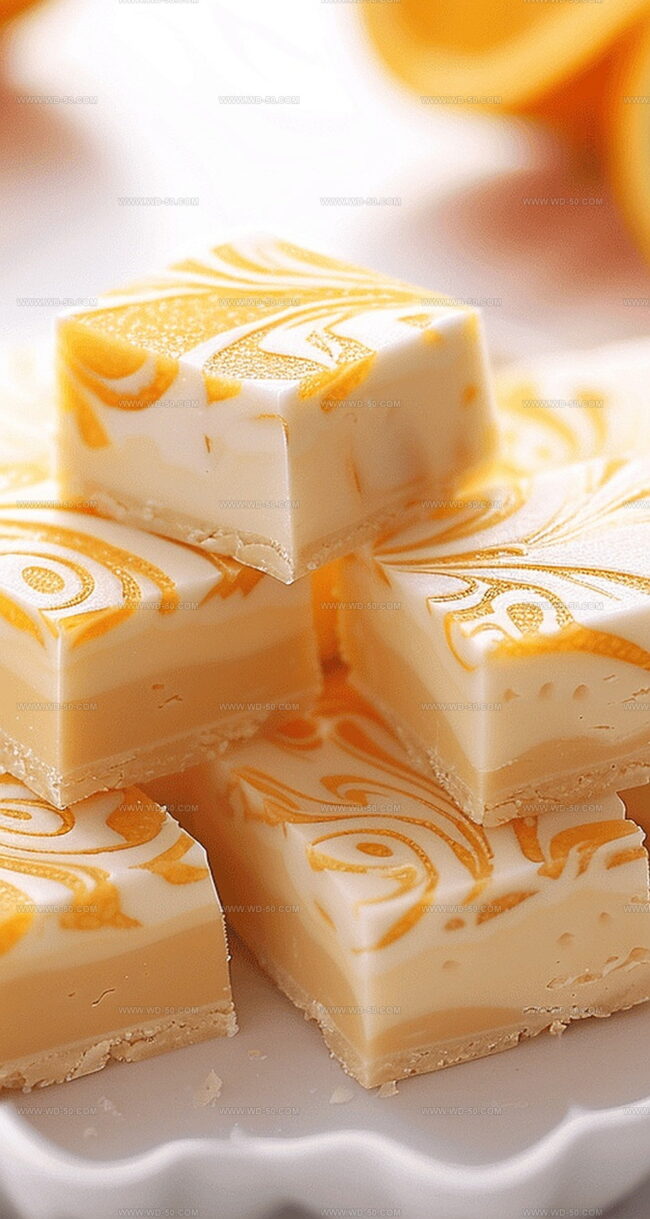
Summers sizzle with nostalgic memories of creamy orange dreamsicle fudge recipe treats that transport you back to childhood.
Sweet and tangy flavors dance together in this delightful dessert that promises pure bliss.
The velvety smooth texture melts effortlessly on your tongue, capturing the essence of classic orange dreamsicle goodness.
Vibrant orange zest and rich white chocolate create a luxurious combination that feels both indulgent and refreshing.
Simple ingredients come together in a magical fusion of flavor and comfort.
Each bite promises a delectable journey through cool, creamy layers of sweetness.
Let’s find out this irresistible dessert that will undoubtedly become your new favorite summer treat.
Quick Recipe Overview
Prep Time: 15 minutes
Cook Time: 10 minutes
Total Time: 25 minutes
Calories: 201 kcal
Servings: 25
Orange Dreamsicle Fudge Ingredient List
For Base and Sweetness:
Granulated Sugar, Heavy Cream, Unsalted Butter: These classic ingredients create a silky smooth foundation for fudge, providing rich caramelized sweetness and creamy texture that melts perfectly in your mouth.
For Binding and Texture:
Marshmallow Cream: Ensures ultra-soft, melt-in-your-mouth consistency while helping ingredients blend seamlessly and preventing crystallization.
For Flavor and Color Enhancement:
White Chocolate Chips: Delivers luxurious vanilla-like richness and helps stabilize the fudge’s structure with its smooth melting properties.
Orange Extract: Infuses bright, zesty citrus flavor that mimics classic dreamsicle taste, creating an authentic nostalgic experience.
Orange Food Coloring: Adds vibrant sunset-like hue, making the fudge visually appealing and instantly recognizable as an orange-inspired treat.
Tools for Mixing Orange Dreamsicle Fudge
Large saucepan: Essential for melting and cooking sugar mixture evenly.
Candy thermometer: Crucial for accurately measuring temperature to reach softball stage.
Wooden spoon or silicone spatula: Perfect for stirring mixture without scratching pan.
9×13 inch baking pan: Sized right for creating smooth, even fudge layer.
Parchment paper: Helps with easy removal and clean cutting of fudge.
Knife or offset spatula: Great for creating beautiful swirl patterns.
Pan Preparation Grab a baking pan and line it with parchment paper, creating a smooth surface for your sweet creation.
Sweet Liquid Base Melt butter, cream, and sugar together in a saucepan, stirring until everything blends into a silky mixture.
Temperature Magic Heat the blend until it reaches 235°F, watching carefully and stirring to ensure a perfect consistency.
Creamy Fusion Stir in marshmallow cream and white chocolate chips, mixing until the texture becomes wonderfully smooth.
Color Separation Set aside a portion of the white mixture and transform the remaining blend with vibrant orange extract and a splash of color.
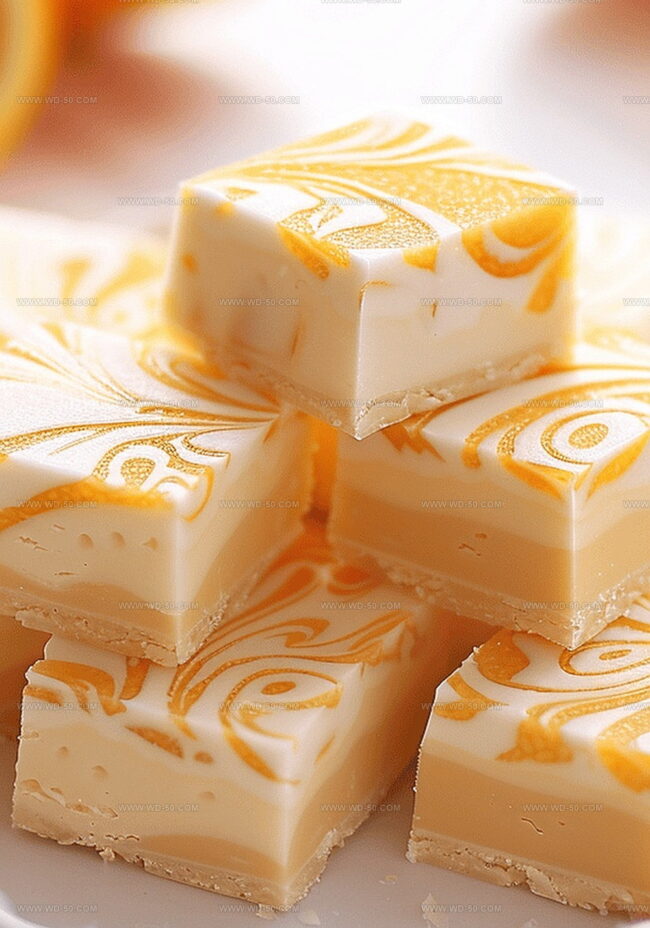
Artistic Swirling Pour the orange layer into the prepared pan, then add delicate white dollops on top. Use a knife to create mesmerizing swirls that will catch everyone’s eye.
Chilling Moment Refrigerate the fudge for a couple of hours, allowing it to set and develop its dreamy texture before slicing into delightful squares.
Add-Ons and Tips for Orange Dreamsicle Fudge
Learn how to create perfect orange dreamsicle fudge with these expert tips and tasty variations.
Use a candy thermometer for precise temperature control, ensuring your fudge reaches the ideal soft, silky consistency without burning.
Experiment with different food coloring shades to create a more vibrant or pastel orange look, matching your mood or party theme.
Enhance the orange essence by adding a splash of orange liqueur for adults or incorporating finely grated orange zest for an extra citrusy punch.
Sprinkle crushed vanilla wafers or white chocolate chips into the mixture for added crunch and interesting texture variations that’ll surprise your taste buds.
How to Serve Orange Dreamsicle Fudge at Its Best
Creamy Citrus Dessert Companion: Pair this fudge with a chilled glass of freshly squeezed orange juice for a refreshing flavor boost.
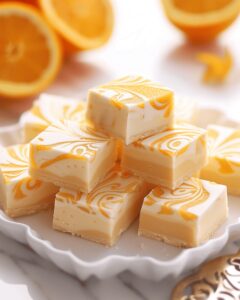
Elegant Party Platter: Arrange fudge squares alongside other bite-sized desserts like mini lemon tarts or vanilla meringue cookies for a stunning dessert presentation.
Summer Picnic Delight: Pack these sweet squares in a cool container for outdoor gatherings, perfect for beach trips or backyard barbecues where guests will love the bright, nostalgic orange creamsicle flavor.
Gifting Gourmet Treat: Wrap individual fudge pieces in wax paper with a decorative ribbon for a homemade gift that looks professionally crafted and tastes absolutely delicious.
Orange Dreamsicle Fudge Storing Suggestions
Smart Portioning: Cut fudge into small bite-sized squares for easy serving at gatherings or as quick dessert treats. Smaller pieces help control portion sizes and make sharing simple.
Chilled Storage Technique: Wrap individual fudge squares in wax paper or plastic wrap, then store inside an airtight container in the refrigerator. This method keeps treats fresh for up to 7 days without losing flavor or texture.
Freezing Magic: Layer fudge pieces between sheets of parchment paper inside a freezer-safe container. Frozen fudge stays delicious for 2-3 months, making it perfect for advance preparation or unexpected sweet cravings.
Temperature Tricks: Always bring refrigerated or frozen fudge to room temperature for 15-20 minutes before serving. Allowing slight warming helps restore its creamy, smooth texture and enhances the orange dreamsicle flavor profile.
Creamy orange dreamsicle fudge delivers nostalgic summer flavors reminiscent of classic ice cream treats. Sweet white chocolate and tangy orange zest combine for a delightful dessert you’ll want to share with friends and family.
Ingredients
Scale
3 cups granulated sugar
2 cups white chocolate chips
7 oz (198 grams) marshmallow cream
¾ cup (170 grams) unsalted butter
⅔ cup (160 milliliters) heavy cream
3 tsps orange extract
10 drops orange food coloring
Instructions
Prep Pan: Line a 9 x 13 inch pan with parchment paper, ensuring complete coverage and easy fudge removal.
Create Sugar Syrup: In a heavy saucepan, combine butter, heavy cream, and sugar. Heat gently over medium flame, stirring continuously until ingredients meld smoothly and butter dissolves completely.
Cook Syrup: Monitor temperature using a candy thermometer, heating mixture to precisely 235°F (soft ball stage). Maintain constant stirring for 3-4 minutes to prevent burning, ensuring even heat distribution.
Blend Fudge Base: Remove from heat and rapidly whisk in marshmallow cream and white chocolate chips until mixture achieves a luxurious, velvety texture with no visible lumps.
Develop Color Layers: Divide fudge base, reserving one cup. Enhance remaining mixture with orange extract and food coloring, creating a vibrant tangerine-colored confection.
Layer and Swirl: Pour orange-tinted fudge into prepared pan, then strategically dollop reserved white fudge across the surface. Use a knife to create elegant marbled patterns by gently dragging layers together.
Set and Chill: Refrigerate fudge for minimum 2 hours until completely firm and sliceable. Once set, extract from pan using parchment paper and slice into 1-inch square pieces for serving.
Notes
Thermometer Precision: Use a calibrated candy thermometer for accurate temperature reading to achieve the perfect soft ball stage, ensuring smooth, creamy fudge texture.
Prevent Sugar Crystallization: Continuously stir the mixture while heating to avoid sugar crystallization, which can result in grainy fudge.
Color and Flavor Balance: Add food coloring and orange extract gradually, tasting and adjusting to achieve the desired vibrant orange flavor and color intensity.
Swirling Technique: Create gentle, not aggressive, swirls to maintain distinct white and orange layers, preventing the colors from completely blending together.
Founder, Head Recipe Developer & Cuisine Specialist
Expertise
Recipe Development and Testing, Modern American and European Cuisines, Food Styling and Photography, Culinary Education and Workshops
Education
Johnson & Wales University
Degree: Bachelor of Science in Culinary Arts
Focus: Comprehensive training in classical and modern cooking techniques, kitchen management, and global cuisines.
Auguste Escoffier School of Culinary Arts
Program: Diploma in Pastry Arts
Focus: Specialized education in baking and pastry, emphasizing artisanal bread, confections, and plated desserts.
Michael Reynolds is the founder and head recipe creator at wd-50.com. With over 15 years of experience in the kitchen, he’s spent time working in top restaurants and now focuses on making great food easy for everyone at home.
Michael studied culinary arts at Johnson & Wales University and later trained in pastry at the Auguste Escoffier School. He knows his way around both savory meals and sweet treats.
At wd-50.com, his goal is to help you feel confident in the kitchen, whether you’re trying something new or cooking a favorite dish. He loves using fresh ingredients and simple steps that still bring out big flavors.

Michael Reynolds
Founder, Head Recipe Developer & Cuisine Specialist
Expertise
Recipe Development and Testing, Modern American and European Cuisines, Food Styling and Photography, Culinary Education and Workshops
Education
Johnson & Wales University
Auguste Escoffier School of Culinary Arts
Michael Reynolds is the founder and head recipe creator at wd-50.com. With over 15 years of experience in the kitchen, he’s spent time working in top restaurants and now focuses on making great food easy for everyone at home.
Michael studied culinary arts at Johnson & Wales University and later trained in pastry at the Auguste Escoffier School. He knows his way around both savory meals and sweet treats.
At wd-50.com, his goal is to help you feel confident in the kitchen, whether you’re trying something new or cooking a favorite dish. He loves using fresh ingredients and simple steps that still bring out big flavors.