
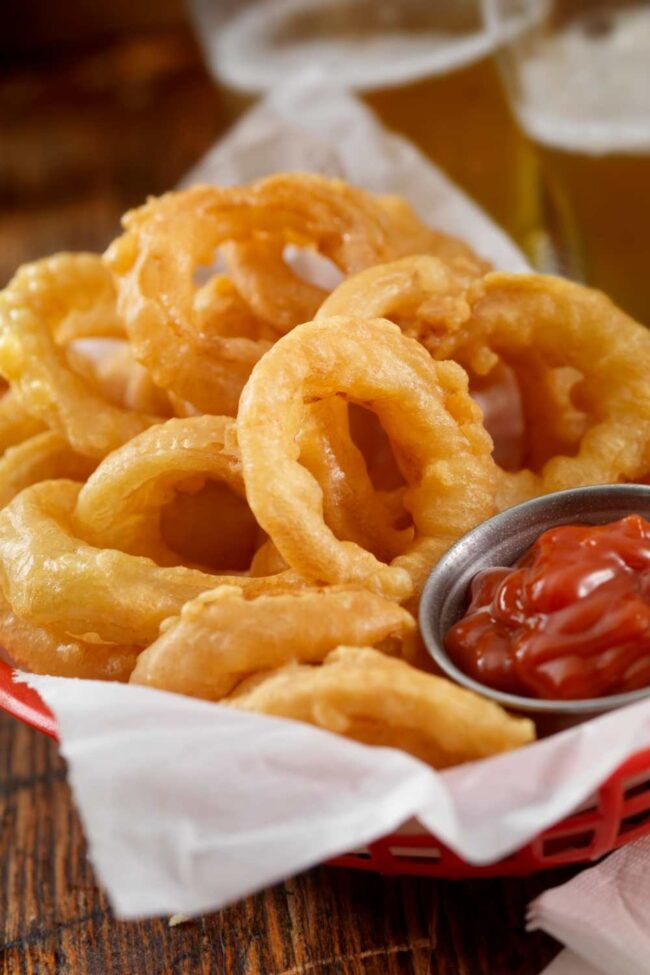
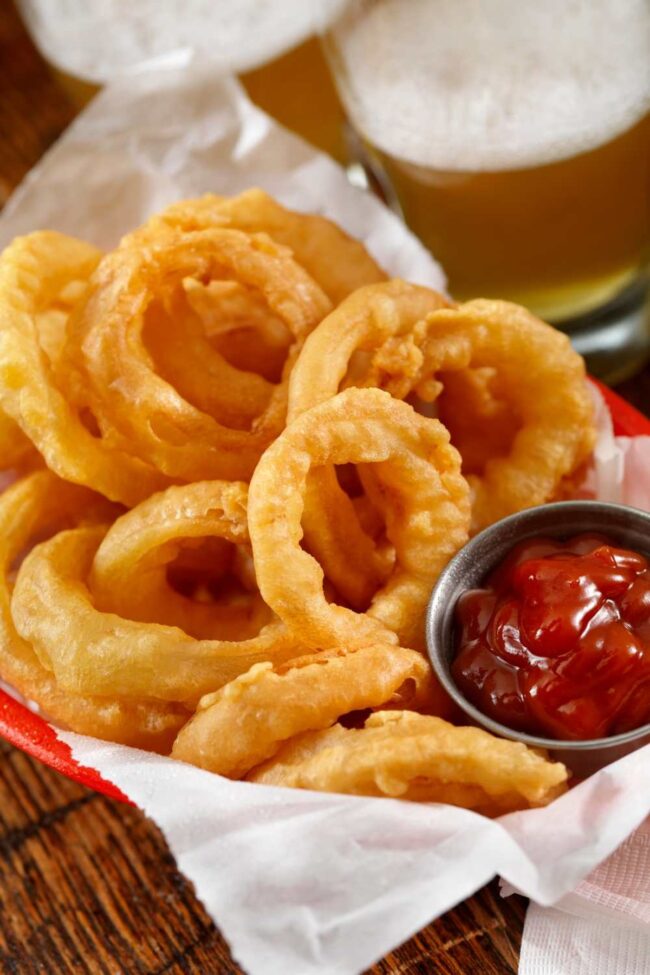
Crunchy Magic: Barefoot Contessa’s Onion Rings Recipe
Crispy, golden onion rings with a perfectly seasoned buttermilk batter can turn an ordinary meal into a delightful feast.
The Barefoot Contessa onion rings recipe delivers a mouthwatering crunch that makes every bite irresistible.
Marinating onions in buttermilk ensures a tender interior beneath the crackling exterior.
Professional chefs and home cooks alike adore this straightforward technique for creating restaurant-quality rings.
Ina Garten’s method guarantees a light, airy coating that doesn’t overwhelm the natural sweetness of the onions.
The secret lies in the carefully balanced seasoning and precise frying temperature.
You’ll want to make these repeatedly for gatherings, game nights, or simply when a crispy snack calls.
Dive into this delectable recipe and elevate your appetizer game with these irresistible rings.
Quick Recipe Overview
What Goes Into Barefoot Contessa Onion Rings
For The Main Star:For Coating And Crispiness:For Binding And Moisture:For Cooking And Finishing:Tools for Frying Crispy Onion Rings the Ina Way
Instructions to Make Perfect Barefoot Contessa Onion Rings
Crispy Onion Ring Adventure
Slice sweet onions into delicate rings, creating thin, circular treasures ready for their flavor journey.
Create a magical transformation zone with three shallow dishes: seasoned flour for initial coating, whisked egg mixture for moisture, and crunchy breadcrumbs for final texture.
Gently dance each onion ring through the flour, giving it a light powdery embrace. Dip into egg wash, allowing excess to drip away, then roll luxuriously in breadcrumbs until completely covered.
Heat oil to a perfect golden-brown transformation point, ensuring a crispy exterior and tender interior.
Carefully lower rings into hot oil, working in small batches. Watch as they transform into gorgeous golden circles, typically taking two to three minutes.
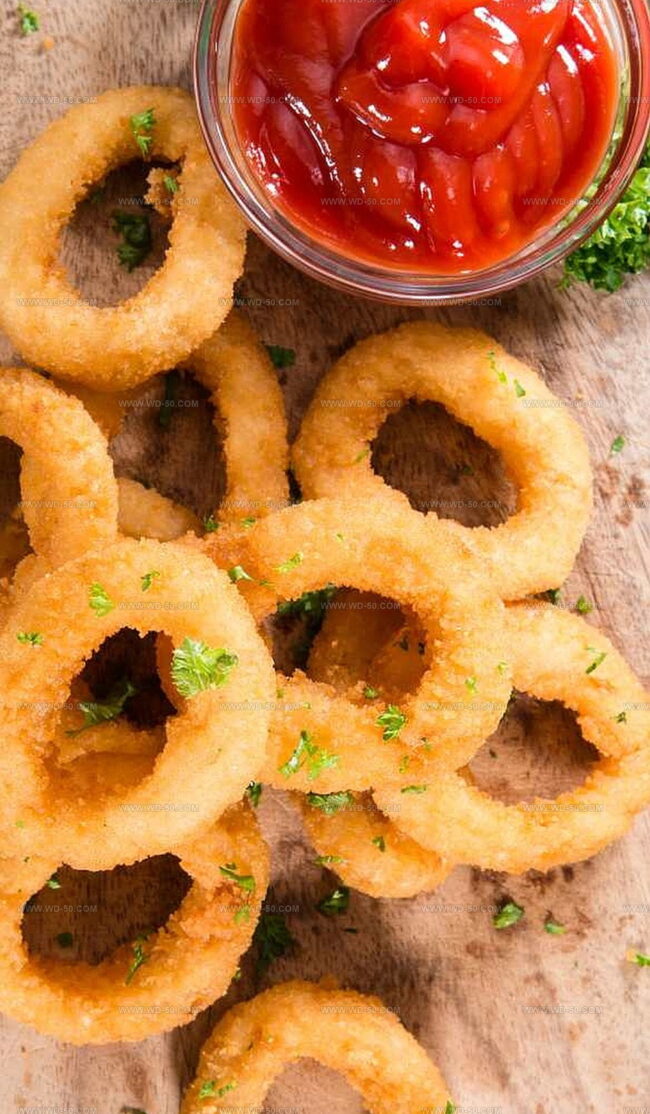
Rest freshly fried rings on paper towels to absorb extra oil. Sprinkle with a light dusting of seasoning salt just before serving, creating a delightful flavor explosion.
Tweak Your Onion Rings with These Ideas
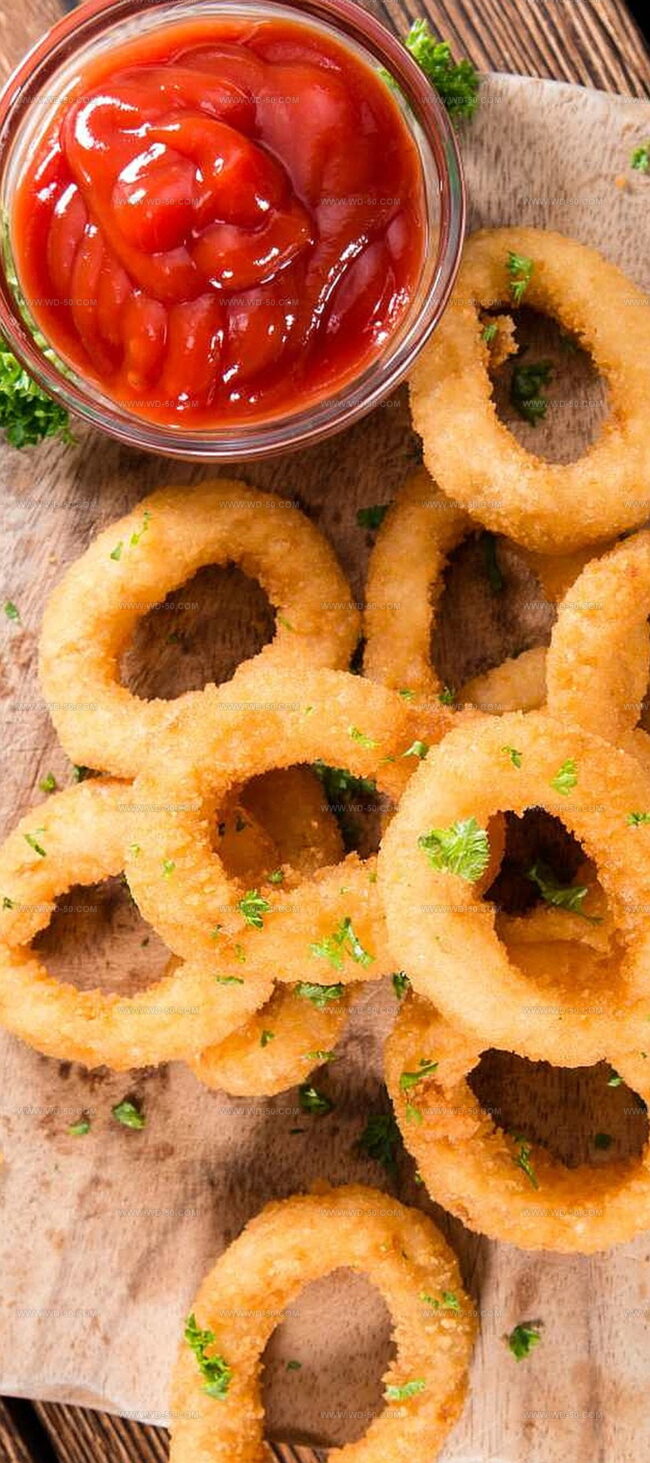
Plate and Pair Barefoot Contessa’s Onion Rings Like a Pro
Keep Onion Rings Crisp After Cooking
Print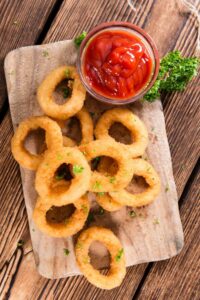
Crispy Barefoot Contessa Onion Rings Recipe
- Total Time: 50 minutes
- Yield: 4 1x
Description
Barefoot Contessa onion rings create a crispy golden delight that elevates classic appetizers. Crunchy, perfectly seasoned rings deliver serious comfort with each delectable bite.
Ingredients
- 1 large Vidalia or other sweet onion
- 1 ¼ cups (156 g) all-purpose flour
- ¾ cup (60 g) dry bread crumbs
- 1 large egg
- 1 cup (240 ml) milk, or as needed
- 1 quart (0.95 l) oil for frying, or as needed
- 1 tsp baking powder
- 1 tsp salt
- 1/8 tsp seasoned salt, or to taste
Instructions
- Slice Preparation: Create uniform onion rings precisely 1/4 inch thick using a sharp knife, ensuring consistent width for optimal frying results.
- Breading Setup: Establish three strategic seasoning zones – first with seasoned flour mixture, second with egg wash, third with crispy bread crumbs. Whisk flour station thoroughly to eliminate potential lumps.
- Coating Technique: Methodically dredge each onion ring through flour, shaking off excess. Delicately transfer to egg mixture, allowing subtle dripping before rolling comprehensively in bread crumbs, pressing gently to secure an even, textured exterior.
- Frying Process: Heat oil to precisely 185 degrees Celsius in a deep fryer or heavy pot. Carefully introduce 3-4 coated rings, maintaining consistent oil temperature. Rotate rings midway through cooking to achieve a uniform golden-brown complexion, approximately 2-3 minutes.
- Finishing Touch: Extract rings using a slotted spoon, transferring to paper towel-lined surface to absorb residual oil. Immediately sprinkle with seasoning salt, serving while crisp and piping hot for maximum flavor and textural enjoyment.
Notes
- Slice with Precision: Uniform 1/4-inch thick rings guarantee even cooking and professional-looking results.
- Temperature Control Matters: Maintain oil at exactly 365°F for perfectly crispy, golden-brown exterior without burning.
- Breading Technique is Key: Use a fork to lift and drain excess coating, ensuring a light, crisp crust that adheres well.
- Season Strategically: Sprinkle seasoning salt immediately after frying to lock in maximum flavor while rings are hot and crispy.
- Prep Time: 30 minutes
- Cook Time: 20 minutes
- Category: Appetizer, Snacks
- Method: Frying
- Cuisine: American
Nutrition
- Serving Size: 4
- Calories: 320
- Sugar: 3g
- Sodium: 540mg
- Fat: 20g
- Saturated Fat: 4g
- Unsaturated Fat: 14g
- Trans Fat: 0g
- Carbohydrates: 30g
- Fiber: 2g
- Protein: 6g
- Cholesterol: 40mg
Michael Reynolds
Founder, Head Recipe Developer & Cuisine Specialist
Expertise
Recipe Development and Testing, Modern American and European Cuisines, Food Styling and Photography, Culinary Education and Workshops
Education
Johnson & Wales University
Auguste Escoffier School of Culinary Arts
Michael Reynolds is the founder and head recipe creator at wd-50.com. With over 15 years of experience in the kitchen, he’s spent time working in top restaurants and now focuses on making great food easy for everyone at home.
Michael studied culinary arts at Johnson & Wales University and later trained in pastry at the Auguste Escoffier School. He knows his way around both savory meals and sweet treats.
At wd-50.com, his goal is to help you feel confident in the kitchen, whether you’re trying something new or cooking a favorite dish. He loves using fresh ingredients and simple steps that still bring out big flavors.