
Tangy Low Carb Keto Onion Rings Recipe: Guilt-Free Crunch
Crispy, golden rings of pure delight dance with low-carb keto onion rings recipe magic that will make you forget traditional deep-fried versions.
These crunchy alternatives pack serious flavor without the carb overload.
Ditch the guilt and embrace a healthier snacking experience that doesn’t compromise on taste or texture.
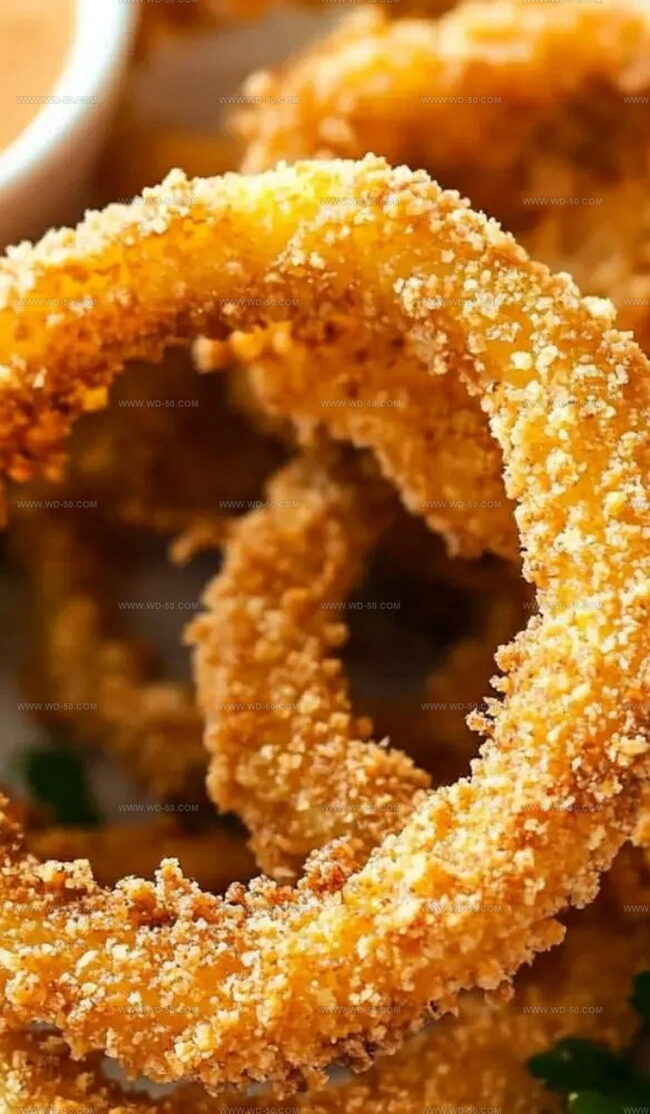
Almond flour and pork rinds create the perfect coating for these irresistible rings.
Each bite delivers a satisfying crunch that will have you reaching for more.
Forget bland diet food and welcome a seriously delicious keto-friendly snack that feels like a cheat meal.
Get ready to revolutionize your appetizer game with this simple yet mouthwatering recipe.
Quick Recipe Overview
What You’ll Need for Crispy Keto Onion Rings
For Breading Base:For Wet Binding:For Crunchy Coating:For Main Ingredient:Tools That Get the Job Done for Onion Rings
The Method Behind Keto Onion Ring Crunch

Gather three shallow dishes. In the first, mix coconut flour and salt. In the second, whisk eggs. In the third, combine crushed pork rinds, almond flour, and spices for a crunchy outer layer.
Dip each onion ring through the three stations. Start with coconut flour, then egg wash, and finish with the pork rind mixture. Press coating gently to create an even, crispy shell.
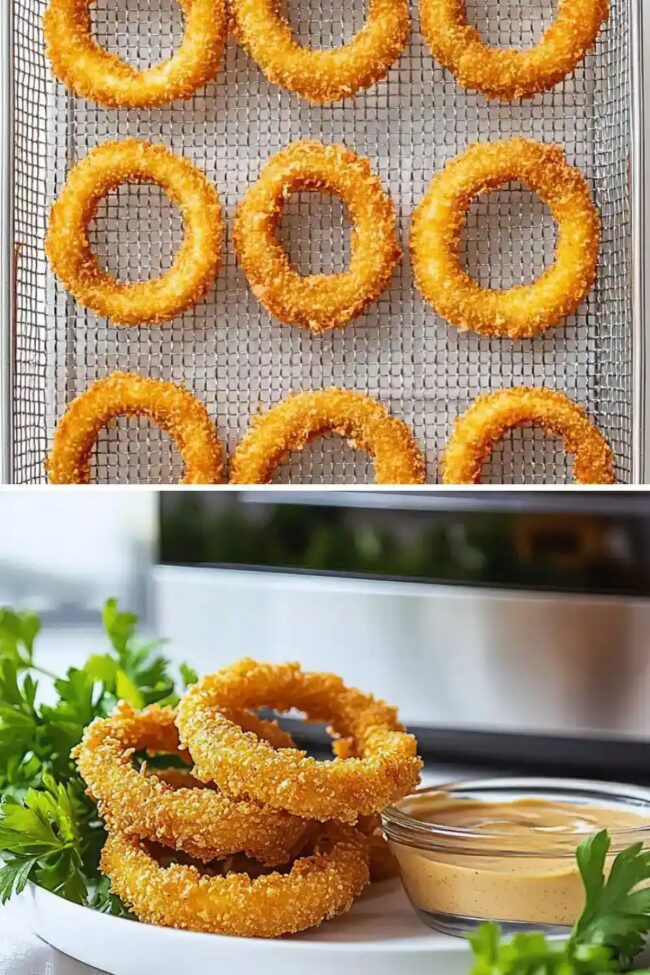
Lightly spray air fryer racks or basket with cooking oil. Position onion rings in a single layer without crowding. This ensures each ring gets perfectly golden and crisp.
Heat air fryer to 400°F. Allow 2-3 minutes for preheating. The high temperature helps create a crunchy exterior while keeping the inside tender.
For multi-rack ovens, place both racks and cook 8 minutes per side. For single-basket fryers, cook in batches for about 16 minutes total. Rings are done when they’re golden brown and have a satisfying crunch.
Enhancements & Flavored Crust Ideas for Onion Rings

Dishing Out Keto Onion Rings for Maximum Crunch
Best Practices for Onion Ring Storage
Print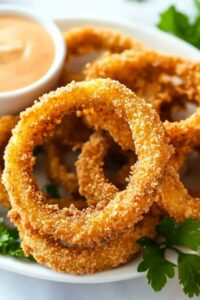
Crispy Keto Onion Rings Recipe
- Total Time: 26 minutes
- Yield: 4 1x
Description
Crispy keto onion rings provide a guilt-free alternative to traditional deep-fried versions. Seasoned almond flour coating and air fryer technique deliver crunchy satisfaction without excess carbohydrates.
Ingredients
- 1 large onion (sliced into 0.5 inches / 1.3 cm rings)
- 2 large eggs
- ⅔ cup (50 g) pork rinds, crushed
- 3 tbsps coconut flour
- 3 tbsps blanched almond flour
- ¼ tsp sea salt
- ½ tsp paprika
- ½ tsp garlic powder
Instructions
- Preparation: Create three strategic coating stations – first with coconut flour and sea salt, second with whisked eggs, third with crushed pork rinds, almond flour, paprika, and garlic powder.
- Coating Process: Thoroughly dredge each onion ring through coconut flour mixture, submerge in eggs allowing excess drainage, then completely cover with seasoned pork rind blend by gently pressing additional coating for comprehensive adherence.
- Air Fryer Setup: Lightly oil air fryer racks or basket, carefully arranging onion rings without touching to ensure proper circulation and potential multi-batch cooking.
- Temperature Calibration: Preheat air fryer to 400°F (200°C) for 2-3 minutes, establishing an optimal cooking environment for crispy texture.
- Cooking Technique: For air fryer ovens, place both racks inside and cook for 8 minutes, rotating racks midway to achieve uniform golden-brown coloration. For standard air fryers, arrange rings in single layer and cook 16 minutes, repeating for additional batches to maintain consistent crispness.
- Serving Recommendation: Allow rings to cool slightly before serving, ensuring maximum crunchiness and flavor retention.
Notes
- Flour Coating Precision: Ensure each onion ring is completely and evenly coated with coconut flour, shaking off excess to prevent clumping and achieve a crispy exterior.
- Egg Wash Technique: Allow excess egg to drip off each ring, creating a thin, even layer that helps the pork rind coating adhere perfectly and create a crunchy finish.
- Spacing Matters: Arrange onion rings in a single layer without touching, allowing hot air to circulate and create uniform crispiness on all sides.
- Temperature Crucial: Maintain consistent 400°F heat to guarantee golden-brown color and crisp texture without burning the delicate coating.
- Prep Time: 10 minutes
- Cook Time: 16 minutes
- Category: Snacks, Appetizer
- Method: Baking
- Cuisine: American
Nutrition
- Serving Size: 4
- Calories: 210
- Sugar: 1 g
- Sodium: 310 mg
- Fat: 14 g
- Saturated Fat: 3 g
- Unsaturated Fat: 11 g
- Trans Fat: 0 g
- Carbohydrates: 8 g
- Fiber: 3 g
- Protein: 10 g
- Cholesterol: 180 mg
Michael Reynolds
Founder, Head Recipe Developer & Cuisine Specialist
Expertise
Recipe Development and Testing, Modern American and European Cuisines, Food Styling and Photography, Culinary Education and Workshops
Education
Johnson & Wales University
Auguste Escoffier School of Culinary Arts
Michael Reynolds is the founder and head recipe creator at wd-50.com. With over 15 years of experience in the kitchen, he’s spent time working in top restaurants and now focuses on making great food easy for everyone at home.
Michael studied culinary arts at Johnson & Wales University and later trained in pastry at the Auguste Escoffier School. He knows his way around both savory meals and sweet treats.
At wd-50.com, his goal is to help you feel confident in the kitchen, whether you’re trying something new or cooking a favorite dish. He loves using fresh ingredients and simple steps that still bring out big flavors.