Food processor or rolling pin: Great for crushing graham crackers into fine crumbs.
Parchment paper or wax paper: Keeps bites from sticking during freezing.
Small bowl: Useful for graham cracker crumb coating.
Sheet tray: Provides space for freezing and storing cheesecake bites.
Plastic wrap: Covers mixture during initial freezing stage.
Spatula: Helps fold ingredients gently and evenly.
How to Assemble These Raspberry No Bake Cheesecake Treats
Creamy Cheese Base A smooth mixture of soft cream cheese blended with sweet sugar, whipped until silky and light using an electric mixer.
Raspberry Magic Gently fold fresh raspberries into the cream cheese mixture, creating beautiful swirls of pink and white.
Fluffy Cloud Topping Carefully incorporate whipped cream to create an airy, cloud-like texture that makes the filling extra luxurious.
Freezing Transformation Place the entire mixture into the freezer, allowing it to set and develop a perfect consistency for about two hours.
Crunchy Graham Coating Crush graham crackers into fine, delicate crumbs that will provide a delightful textural contrast to the creamy filling.
Bite-Sized Creation Use a small cookie scoop to create perfect little portions of the chilled cheesecake mixture.
Crumb Coating Roll each creamy dollop in the graham cracker crumbs, ensuring a complete and even coverage that adds a satisfying crunch.
Final Chill Arrange the coated bites on a parchment-lined tray, then return to the freezer for a final firming up period.
Serving Perfection Remove the bites from the freezer and let them sit for a few minutes, allowing them to soften slightly before enjoying their creamy, dreamy goodness.
Tips for Smooth, Creamy, No-Fuss Cheesecake Filling
Pro Tips & Tasty Twists
Replace raspberries with strawberries, blueberries, or mixed berries for unique flavor adventures. Each fruit brings its own delightful personality to these creamy treats.
Experiment with different crumb coatings like crushed Oreo cookies, gingersnaps, or toasted coconut for unexpected texture and taste surprises.
Drizzle melted dark or white chocolate over the finished bites for an elegant touch. A light sprinkle of chocolate shavings adds extra decadence and visual appeal.
These bites can be prepared up to one week in advance and stored in an airtight container in the freezer. Perfect for quick dessert emergencies or unexpected guests dropping by.
Add a splash of vanilla extract or a pinch of lemon zest to the cream cheese mixture for deeper, more complex flavor profiles that will make taste buds dance.
Pretty Ways to Plate Raspberry Cheesecake Bites
Party Platter Perfection: Arrange these raspberry cheesecake bites on a beautiful serving tray with fresh mint leaves scattered around for a pop of color and elegant presentation.
Decadent Dessert Companion: Serve alongside a small shot glass of raspberry liqueur or chocolate sauce for dipping, creating an interactive and luxurious tasting experience.
Summer Celebration Style: Pair with chilled rosé wine or sparkling prosecco to elevate the dessert and create a sophisticated light dessert course for outdoor gatherings.
Garnish Glow-Up: Top each bite with a fresh raspberry or a sprinkle of edible gold dust to add a touch of glamour and make these treats look even more Instagram-worthy.
Storing These Cool Bites Without Losing Texture
Freezer-Friendly Storage: Pack these delightful raspberry cheesecake bites in an airtight container, separating layers with parchment paper to prevent sticking. They’ll stay delicious for up to 3 weeks in the freezer, making them a perfect make-ahead treat for unexpected guests or sudden sweet cravings.
Quick Thawing Technique: Remove desired number of bites from freezer and let them sit at room temperature for 5-7 minutes. This gentle thawing process ensures soft, creamy texture without compromising their delicate structure or losing that perfect graham cracker coating.
Portion Control Hack: Consider using a mini muffin tin when initially freezing the bites. This method creates uniform sizes and makes portioning super easy for future snacking or entertaining. Each bite remains perfectly shaped and ready to enjoy.
Flavor Enhancement Tip: Before serving, sprinkle additional crushed graham crackers or add a tiny fresh raspberry on top. These small touches elevate the visual appeal and add an extra burst of flavor that makes your cheesecake bites look professionally prepared.
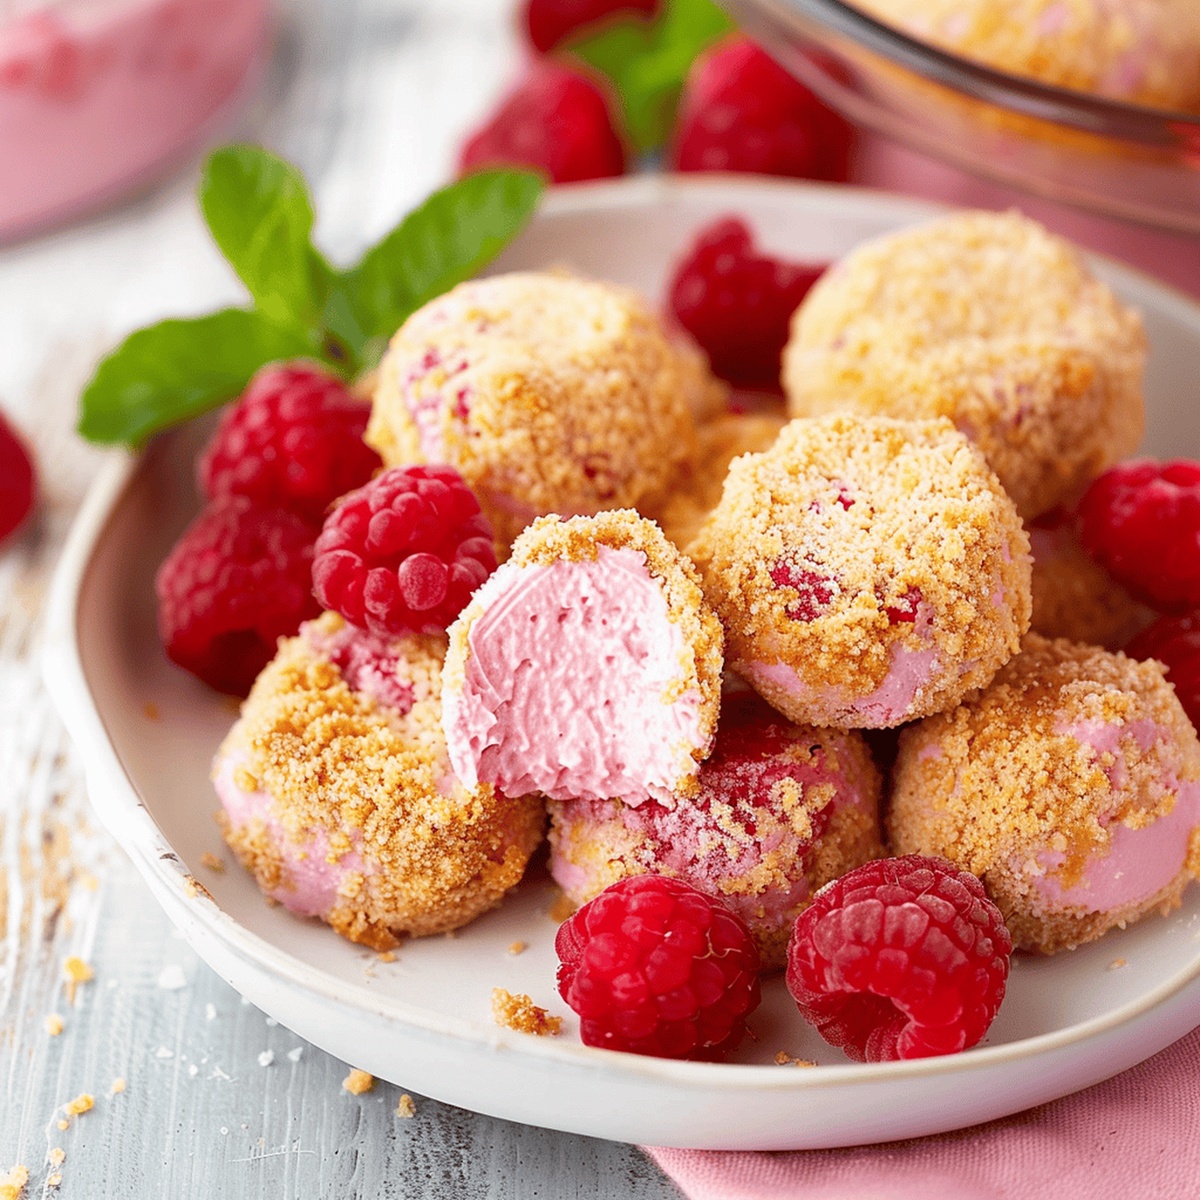
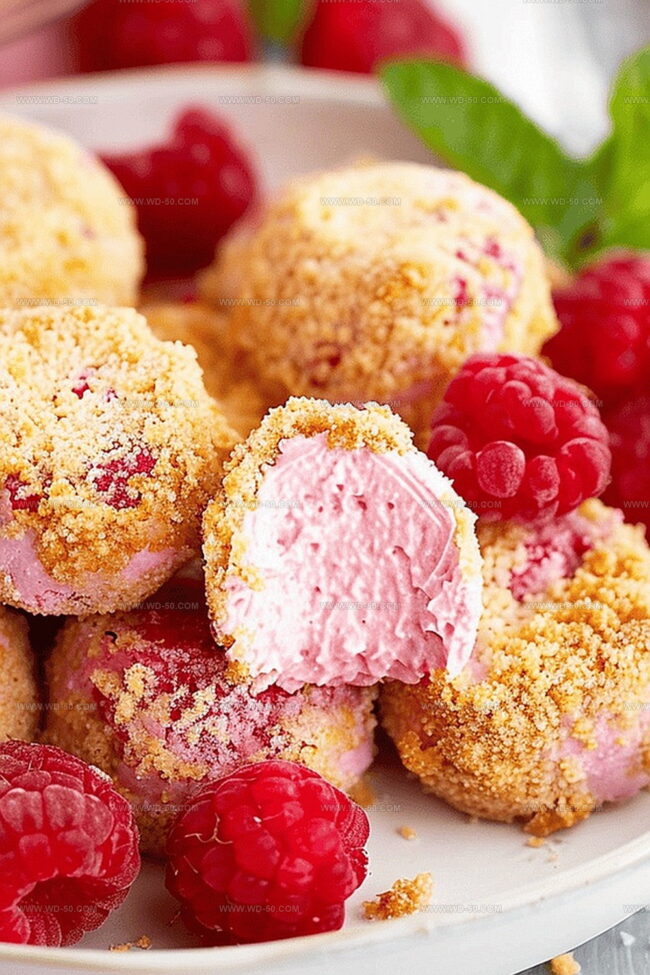
Creamy raspberry no bake cheesecake bites combine smooth cream cheese with tart berries for a delightful dessert. These mini treats offer cool, rich flavor perfect for summer gatherings when you want an easy sweet indulgence.
Ingredients
Scale
16 oz (454 g) cream cheese, softened
8 oz (227 g) whipped topping
12 oz (340 g) fresh raspberries
1 ½ cups (180 g) graham cracker crumbs
⅓ cup (67 g) granulated sugar
Instructions
Creaming: Whip cream cheese and sugar with an electric mixer until silky and homogeneous, creating a luxurious base for the cheesecake bites.
Fruit Integration: Gently fold fresh raspberries into the cream cheese mixture, maintaining berry integrity while distributing them evenly throughout the blend.
Texture Enhancement: Delicately incorporate whipped topping, ensuring a smooth and consistent mixture that promises a light, airy final product.
Initial Setting: Transfer the mixture to a container, cover with plastic wrap, and freeze for 2 hours to allow the mixture to firm and develop its characteristic texture.
Coating Preparation: Pulverize graham crackers in a food processor until transformed into fine, uniform crumbs, creating a perfect crispy exterior.
Portioning: Utilize a cookie scoop to create uniform dollops of the chilled cheesecake mixture, ensuring consistent size and shape for each bite.
Coating Process: Roll each cheesecake portion thoroughly in graham cracker crumbs, guaranteeing complete and even coverage for a delightful crunch.
Final Freezing: Arrange coated bites on a parchment-lined baking sheet and return to the freezer for an additional 2 hours to solidify completely.
Serving Preparation: Remove from freezer and let rest at room temperature for 5 minutes, allowing the bites to soften slightly and optimize their creamy texture before serving.
Notes
Chill for Success: Freezing the mixture helps create a firm, scoopable texture that makes forming bites easy and prevents crumbling.
Gentle Fruit Handling: Avoid overmixing raspberries to maintain their delicate texture and prevent turning the entire mixture pink.
Graham Cracker Coating Tip: Use fine, uniform crumbs for a smooth, even exterior that adheres perfectly to the cheesecake mixture.
Serving Strategy: Let bites sit at room temperature for 5 minutes before serving to achieve the ideal creamy, melt-in-your-mouth consistency.
Founder, Head Recipe Developer & Cuisine Specialist
Expertise
Recipe Development and Testing, Modern American and European Cuisines, Food Styling and Photography, Culinary Education and Workshops
Education
Johnson & Wales University
Degree: Bachelor of Science in Culinary Arts
Focus: Comprehensive training in classical and modern cooking techniques, kitchen management, and global cuisines.
Auguste Escoffier School of Culinary Arts
Program: Diploma in Pastry Arts
Focus: Specialized education in baking and pastry, emphasizing artisanal bread, confections, and plated desserts.
Michael Reynolds is the founder and head recipe creator at wd-50.com. With over 15 years of experience in the kitchen, he’s spent time working in top restaurants and now focuses on making great food easy for everyone at home.
Michael studied culinary arts at Johnson & Wales University and later trained in pastry at the Auguste Escoffier School. He knows his way around both savory meals and sweet treats.
At wd-50.com, his goal is to help you feel confident in the kitchen, whether you’re trying something new or cooking a favorite dish. He loves using fresh ingredients and simple steps that still bring out big flavors.


Michael Reynolds
Founder, Head Recipe Developer & Cuisine Specialist
Expertise
Recipe Development and Testing, Modern American and European Cuisines, Food Styling and Photography, Culinary Education and Workshops
Education
Johnson & Wales University
Auguste Escoffier School of Culinary Arts
Michael Reynolds is the founder and head recipe creator at wd-50.com. With over 15 years of experience in the kitchen, he’s spent time working in top restaurants and now focuses on making great food easy for everyone at home.
Michael studied culinary arts at Johnson & Wales University and later trained in pastry at the Auguste Escoffier School. He knows his way around both savory meals and sweet treats.
At wd-50.com, his goal is to help you feel confident in the kitchen, whether you’re trying something new or cooking a favorite dish. He loves using fresh ingredients and simple steps that still bring out big flavors.