
Heavenly Red Velvet Cheesecake with Oreo Crust Recipe
Decadent desserts have a special way of stealing hearts, and this luscious red velvet cheesecake with Oreo crust recipe promises pure indulgence.
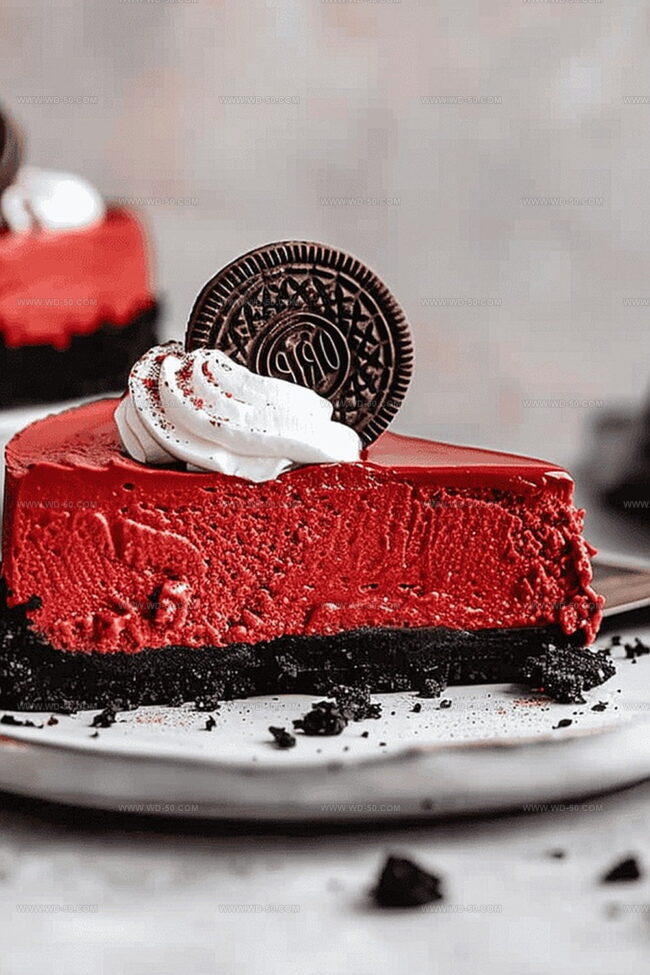
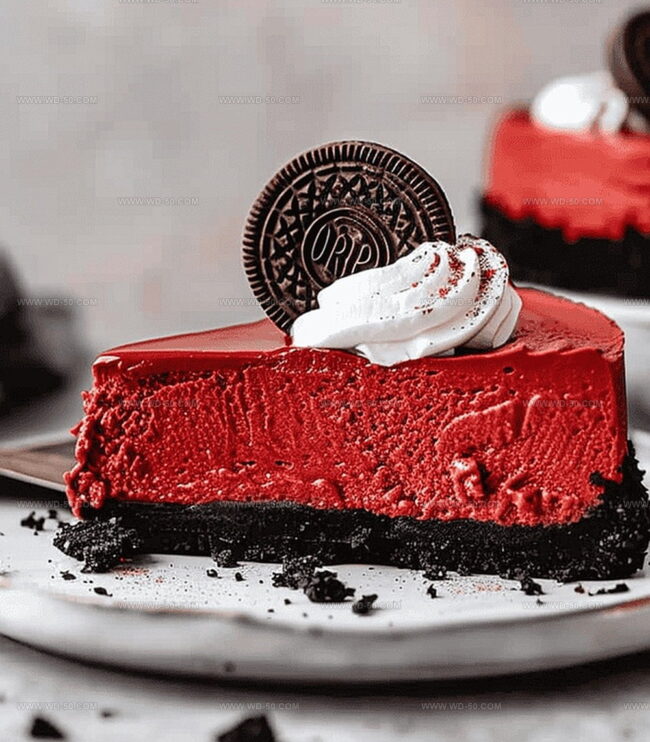
Rich, velvety layers meld together in a stunning crimson embrace that begs to be savored.
The Oreo crust adds a delightful crunch that perfectly complements the silky smooth cheesecake filling.
Deep cocoa notes dance with tangy cream cheese, creating a dessert that’s both sophisticated and comforting.
Every slice promises a moment of pure bliss, with its vibrant color and luxurious texture.
Creamy, dreamy, and absolutely irresistible, this cheesecake transforms an ordinary evening into an extraordinary celebration.
Let’s find out this show-stopping dessert and treat yourself to a slice of pure deliciousness.
Quick Recipe Overview
What You’ll Need for Red Velvet Cheesecake with Oreo Crust
For The Delicious Base:For The Creamy Filling:For The Red Velvet Character:For Finishing Touch:Equipment Required for Red Velvet Oreo Cheesecake
Instructions for Baking Red Velvet Cheesecake with Oreo Crust
Grab your favorite Oreo cookies and crush them into fine, delicate crumbs. Mix with melted butter until the mixture feels like soft beach sand, creating a delectable cookie foundation for your cheesecake.
Blend smooth cream cheese with sugar until silky and luxurious. Incorporate sour cream, eggs, and a splash of vibrant red food coloring to transform your mixture into a stunning crimson delight.
Gently fold cocoa powder into your velvety batter, ensuring each swirl captures rich chocolate undertones without overwhelming the delicate cheesecake essence.
Nestle your cheesecake pan into a warm water bath, creating a gentle cooking environment that prevents cracking and ensures a supremely smooth texture.
After baking, allow your cheesecake to rest inside the oven with the door slightly ajar. This gradual cooling prevents sudden temperature shifts that could compromise your dessert’s perfect consistency.
Chill the cheesecake for several hours, allowing flavors to meld and texture to set into a decadent, creamy masterpiece.
Before serving, crown your cheesecake with crushed Oreo cookies and delicate whipped cream dollops, creating a visual and taste sensation that will impress every guest.
Red Velvet Cheesecake Additions and Baker’s Tips
Serving Guide for Red Velvet Cheesecake with Oreo Crust
Store and Keep Your Red Velvet Cheesecake Fresh
Print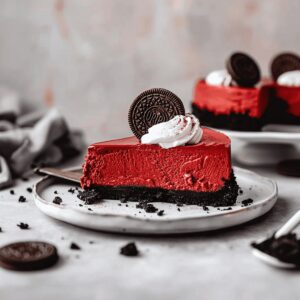
Decadent Red Velvet Cheesecake with Oreo Crust Recipe
- Total Time: 1 hour 35 minutes
- Yield: 13 1x
Description
Rich red velvet cheesecake emerges as a luxurious dessert blending classic American flavors. Creamy chocolate notes and velvety texture invite you to savor each delectable bite.
Ingredients
- 32 oz (907 g) cream cheese, room temperature
- 4 large eggs, room temperature
- 1 cup (240 ml) sour cream, room temperature
- 1 cup (200 g) sugar
- ½ cup (120 ml) half and half, room temperature
- 2 tsps vanilla extract
- 1 tbsp red food coloring
- 3 tbsps unsweetened cocoa powder
- 2 tbsps all-purpose flour
- Oreo cookies
- Whipped cream
Instructions
- Crust Preparation: Pulverize Oreo cookies into fine crumbs, blending with melted butter until achieving a sandy consistency. Press mixture firmly into a greased 9-inch springform pan, covering bottom and sides evenly.
- Crust Baking: Prebake crust at 375°F for 8 minutes, then reduce oven temperature to 350°F.
- Cheesecake Base: Utilize stand mixer to cream cream cheese and sugar until silky smooth, eliminating all lumps. Incorporate sour cream, then gradually mix in eggs, vanilla extract, and red food coloring.
- Batter Refinement: Sift cocoa powder and flour into the mixture, folding gently to maintain a uniform crimson batter. Carefully scrape bowl edges to ensure complete ingredient integration.
- Moisture Technique: Position baking tray filled with water on lower oven rack to create humid baking environment. Pour cheesecake batter into prepared crust, placing on top rack.
- Baking Process: Bake for 45-55 minutes, monitoring for subtle edge browning while center remains slightly jiggly. After baking, turn off oven and leave door slightly ajar, allowing cheesecake to cool gradually for one hour.
- Cooling and Setting: Remove from oven and cool completely at room temperature. Refrigerate for minimum 4 hours or overnight to achieve optimal texture and flavor development.
- Presentation: Before serving, embellish with crushed Oreo cookies and delicate whipped cream dollops for an elegant finishing touch.
Notes
- Prevent Cracking Technique: Create a humid baking environment by placing a water bath in the oven to ensure smooth, crack-free cheesecake surface and prevent structural breaks.
- Master Ingredient Temperature: Allow cream cheese, eggs, and sour cream to reach room temperature before mixing to guarantee silky, lump-free batter and seamless ingredient integration.
- Gentle Mixing Strategy: Use low to medium mixer speed when combining ingredients to avoid incorporating excess air, which can cause unwanted cracks and uneven cheesecake texture.
- Cooling Precision: Never rush the cooling process; let the cheesecake rest in the oven with the door slightly open and then cool completely at room temperature before refrigerating to maintain perfect consistency.
- Prep Time: 30 minutes
- Cook Time: 1 hour 5 minutes
- Category: Desserts
- Method: Baking
- Cuisine: American
Nutrition
- Serving Size: 13
- Calories: 410
- Sugar: 31 g
- Sodium: 350 mg
- Fat: 28 g
- Saturated Fat: 16 g
- Unsaturated Fat: 8 g
- Trans Fat: 0 g
- Carbohydrates: 36 g
- Fiber: 1 g
- Protein: 6 g
- Cholesterol: 95 mg
Michael Reynolds
Founder, Head Recipe Developer & Cuisine Specialist
Expertise
Recipe Development and Testing, Modern American and European Cuisines, Food Styling and Photography, Culinary Education and Workshops
Education
Johnson & Wales University
Auguste Escoffier School of Culinary Arts
Michael Reynolds is the founder and head recipe creator at wd-50.com. With over 15 years of experience in the kitchen, he’s spent time working in top restaurants and now focuses on making great food easy for everyone at home.
Michael studied culinary arts at Johnson & Wales University and later trained in pastry at the Auguste Escoffier School. He knows his way around both savory meals and sweet treats.
At wd-50.com, his goal is to help you feel confident in the kitchen, whether you’re trying something new or cooking a favorite dish. He loves using fresh ingredients and simple steps that still bring out big flavors.