
Joyful Peppermint Pinwheel Cookie Pies Recipe for Sweet Fun
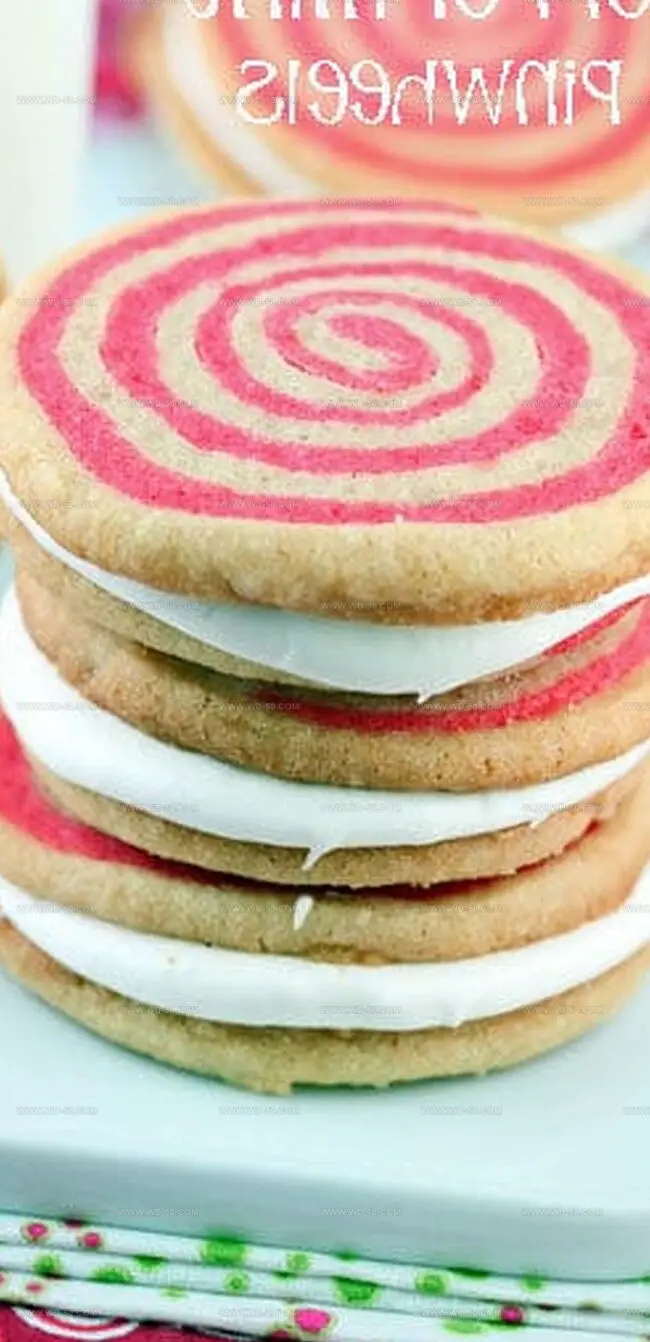
Delicate swirls of festive peppermint pinwheel cookie pies dance across holiday platters with irresistible charm.
Crisp edges and soft centers promise pure delight in every bite.
These spiraled treats blend classic cookie textures with a delightful minty twist.
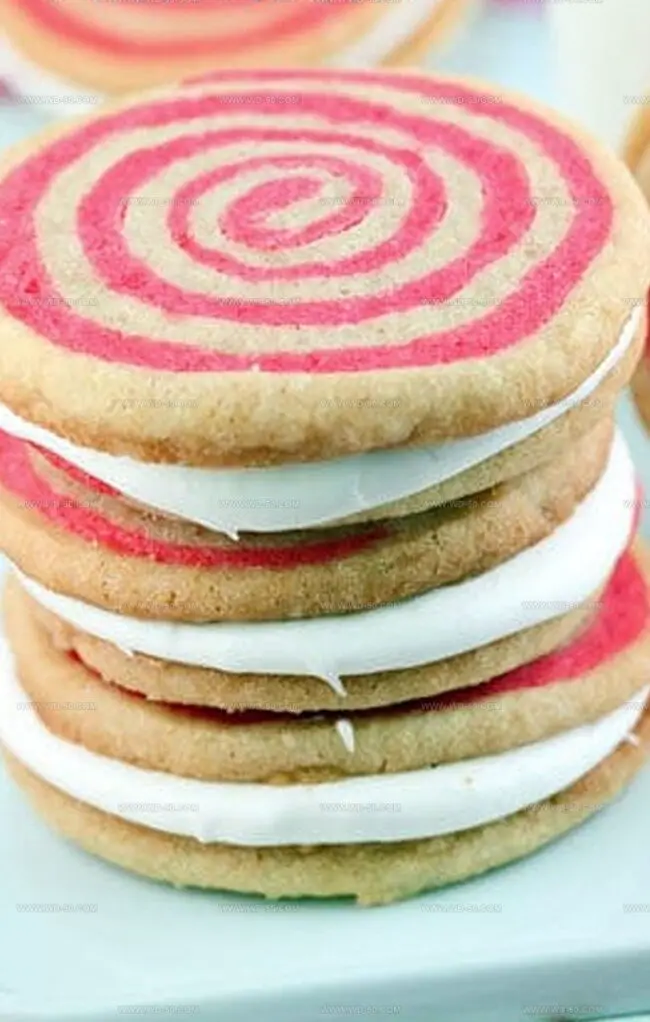
Bakers adore the elegant marbled pattern that makes these cookies stand out at gatherings.
Red and white ribbons of dough intertwine like sweet winter magic.
Each cookie tells a story of careful crafting and seasonal joy.
Let’s find out this delectable recipe and let the peppermint magic begin.
Quick Recipe Overview
Peppermint Pinwheel Cookie Pies Ingredient List
For Dry Base Ingredients:For Wet Binding Ingredients:For Creamy Frosting Components:Tools to Prepare Peppermint Pinwheel Cookie Pies
How to Bake Peppermint Pinwheel Cookie Pies
Gather ingredients and prepare to create a delightful swirled cookie experience. Blend butter and sugar until soft and airy, incorporating egg and vanilla for rich flavor.
Divide cookie mixture into two distinct sections. One portion remains classic while the other transforms into a vibrant pink-red layer through gentle food coloring kneading.
On parchment paper, carefully roll each dough section into rectangular shapes. Stack the uncolored layer atop the colored section, creating a beautiful canvas for pinwheel design.
Using parchment as a supportive guide, tightly roll the layered dough into compact cylindrical shapes. Wrap each roll securely in plastic and freeze for several hours to solidify structure.
Slice frozen dough into delicate rounds. Arrange on baking sheets and bake until edges turn golden. Allow cookies to cool completely before transforming into creamy sandwich treats.
Whip cream cheese and butter into a smooth mixture. Gradually incorporate powdered sugar and peppermint extract, creating a luxurious filling. Pipe between cookie layers to complete these charming pinwheel sandwiches.
Enjoy immediately at room temperature or chill for enhanced flavor. Store in a sealed container to maintain freshness and delightful texture.
Peppermint Cookie Pie Variations and Tips
Serving Peppermint Pinwheel Cookie Pies at Holiday Time
Storage Advice for Peppermint Cookie Pies
Print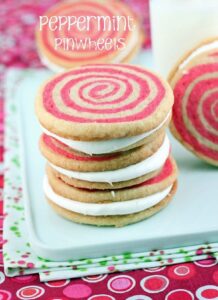
Delectable Peppermint Pinwheel Cookie Pies Recipe
- Total Time: 41 minutes
- Yield: 25 1x
Description
Delightful peppermint pinwheel cookie pies blend festive winter flavors with classic holiday charm. Crisp swirled cookies offer sweet minty notes and elegant presentation for holiday gatherings you will savor.
Ingredients
- 2 cups (226 grams) powdered sugar (confectioners’ sugar)
- 1 cup (200 grams) granulated sugar
- 1 ¼ cups (157 grams) all-purpose flour
- 3 oz (85 grams) softened cream cheese
- ½ cup (114 grams) softened butter
- 1 large egg
- 1 tbsp (15 milliliters) milk
- ¼ tsp vanilla extract
- 1/8 tsp peppermint extract
- ¼ tsp baking soda
- ¼ tsp salt
- Red food coloring
- Parchment paper
Instructions
- Dough Preparation: Cream butter in a large mixing bowl until smooth, gradually adding sugar and beating until light. Mix in egg and vanilla extract, ensuring thorough incorporation.
- Dry Ingredients Blend: Whisk flour, baking soda, and salt in a separate bowl. Slowly integrate into butter mixture at low speed until uniform dough forms.
- Color Separation: Divide dough into two equal portions. Roll one portion into a 12 x 8-inch rectangle on floured parchment paper. Knead red food coloring into the second portion until uniformly colored, then roll into an identical rectangle.
- Layer Formation: Carefully stack uncolored dough atop the colored layer, removing top parchment paper. Slice lengthwise into two 12 x 4-inch rectangles.
- Rolling and Chilling: Tightly roll each rectangle from the long side using parchment paper as a guide. Wrap rolls in plastic and freeze for minimum 4 hours or up to one month.
- Baking Preparation: Preheat oven to 350°F. Line baking sheets with parchment paper. Slice frozen dough into ¼-inch rounds, positioning 2 inches apart on prepared sheets.
- Baking and Cooling: Bake 6-7 minutes until slightly puffed and centers set. Rest cookies on baking sheets for 5 minutes, then transfer to wire racks.
- Frosting Creation: Beat butter and cream cheese until smooth. Gradually blend powdered sugar at low speed. Add milk and peppermint extract, mixing until light and fluffy.
- Assembly and Serving: Pipe frosting onto half the cookies and sandwich with remaining cookies. Serve at room temperature or chill for 30 minutes. Store in a cool, dry place to maintain freshness.
Notes
- Chill Dough Strategically: Freezing the dough for at least 4 hours ensures clean, precise cuts and maintains the intricate pinwheel design without losing shape during baking.
- Color Consistency Matters: Knead food coloring thoroughly to achieve a uniform color throughout the dough, preventing streaks or uneven pigmentation.
- Precise Measuring is Key: Use exact measurements for ingredients and follow rolling dimensions carefully to create perfect pinwheel patterns and uniform cookie sizes.
- Spacing Prevents Spreading: Allow 2 inches between cookies on the baking sheet to prevent them from merging and maintain their individual shape and crisp edges.
- Prep Time: 35 minutes
- Cook Time: 6 minutes
- Category: Desserts, Snacks
- Method: Baking
- Cuisine: American
Nutrition
- Serving Size: 25
- Calories: 130
- Sugar: 12 g
- Sodium: 50 mg
- Fat: 6 g
- Saturated Fat: 4 g
- Unsaturated Fat: 2 g
- Trans Fat: 0 g
- Carbohydrates: 19 g
- Fiber: 0 g
- Protein: 1 g
- Cholesterol: 15 mg
Michael Reynolds
Founder, Head Recipe Developer & Cuisine Specialist
Expertise
Recipe Development and Testing, Modern American and European Cuisines, Food Styling and Photography, Culinary Education and Workshops
Education
Johnson & Wales University
Auguste Escoffier School of Culinary Arts
Michael Reynolds is the founder and head recipe creator at wd-50.com. With over 15 years of experience in the kitchen, he’s spent time working in top restaurants and now focuses on making great food easy for everyone at home.
Michael studied culinary arts at Johnson & Wales University and later trained in pastry at the Auguste Escoffier School. He knows his way around both savory meals and sweet treats.
At wd-50.com, his goal is to help you feel confident in the kitchen, whether you’re trying something new or cooking a favorite dish. He loves using fresh ingredients and simple steps that still bring out big flavors.