
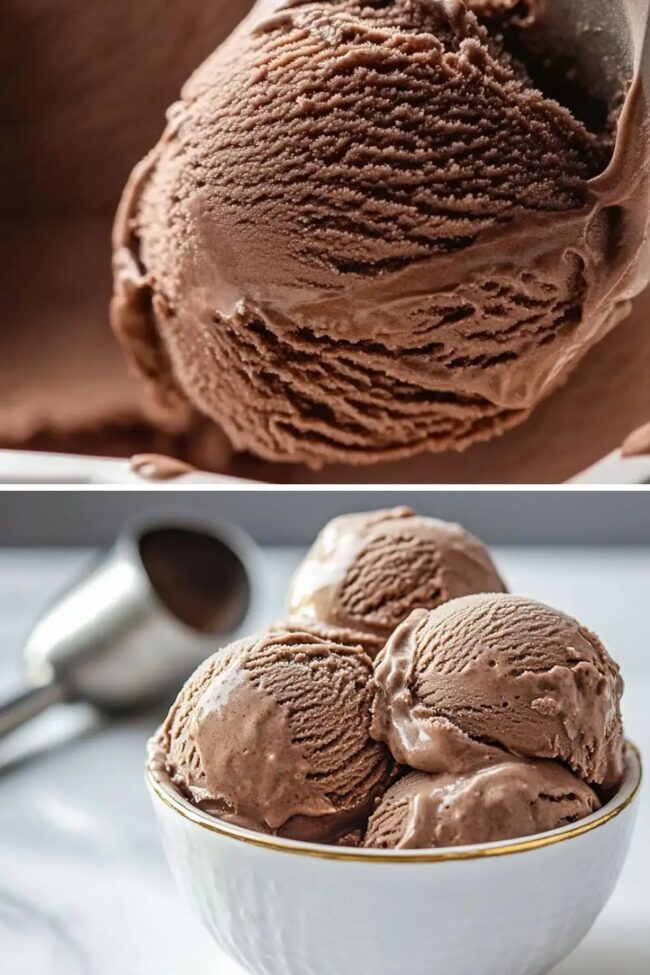
Luscious Keto Chocolate Ice Cream Recipe: Guilt-Free Joy
Chocolate lovers rejoice – this keto chocolate ice cream delivers decadent flavor without the carb guilt.
Cool summer days suddenly feel more indulgent with this creamy, silky dessert.
Nobody would guess how simple it is to whip up this low-carb treat that satisfies deep chocolate cravings.
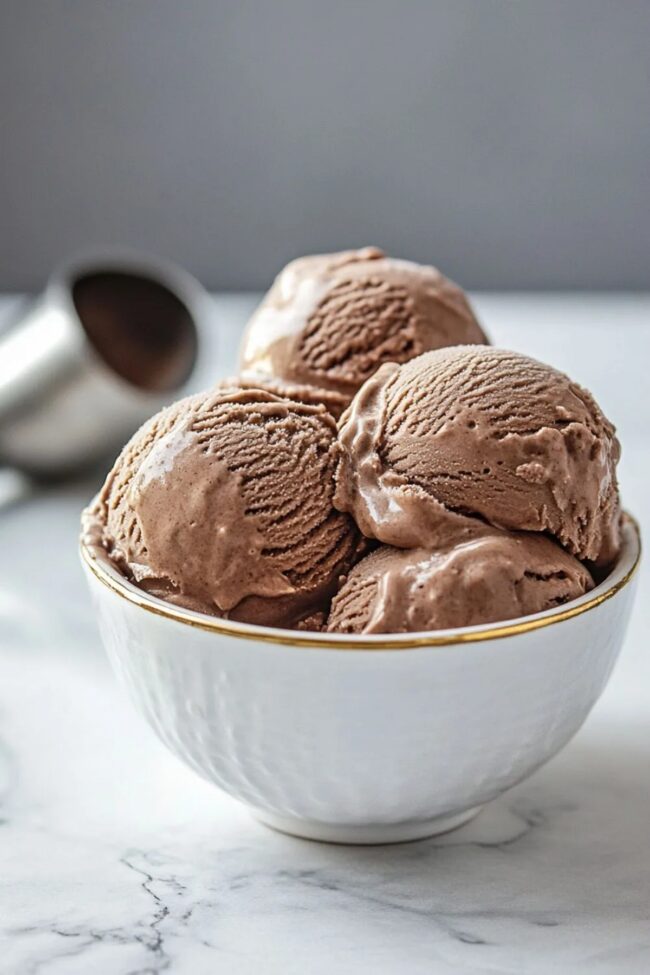
Rich, smooth, and perfectly sweet, the recipe uses minimal ingredients you likely already have in your kitchen.
Serious keto dieters appreciate how this ice cream lets you enjoy a classic dessert while staying true to nutritional goals.
Each spoonful promises pure chocolate bliss that melts luxuriously on your tongue.
Grab your ice cream maker and get ready to experience guilt-free dessert magic.
Quick Recipe Overview
What Makes Chocolate Ice Cream Keto-Friendly
For Base And Sweetening:For Creamy and Chocolate Elements:For Churning and Freezing:Equipment to Whip Up Keto Chocolate Ice Cream
Step-by-Step for a Rich Chocolate Ice Cream
Combine egg yolks with powdered sweetener, creating a smooth pale mixture that forms the creamy base of your delightful dessert.
Whisk coconut milk, heavy cream, and cocoa powder in a saucepan, gently warming until tiny bubbles appear around the edges, releasing rich chocolate aromas.
Gradually introduce hot cream into egg mixture, stirring continuously to create a silky, unified custard without scrambling delicate eggs.
Return mixture to saucepan, cooking slowly until mixture thickens and reaches a precise temperature that ensures food safety and perfect texture.
Chill the custard thoroughly in refrigerator, allowing flavors to meld and develop a deep, luxurious chocolate essence.
Pour chilled mixture into ice cream maker, transforming liquid into dreamy, soft frozen delight through gentle churning and aeration.
Transfer to freezer container, letting ice cream solidify into perfectly scoopable, creamy chocolate paradise ready to satisfy your sweet cravings.
Ideas to Elevate Your Chocolate Ice Cream
Plating & Serving Sugar-Free Chocolate Ice Cream
Freezer Tips for Chocolate Ice Cream that Lasts
Print
Dreamy Low Carb Keto Chocolate Ice Cream Recipe
- Total Time: 30 hours 10 minutes
- Yield: 4 1x
Description
Keto chocolate ice cream delivers rich, creamy indulgence for dessert enthusiasts seeking low-carb satisfaction. Chocolate lovers can savor this simple, luxurious treat that brings Italian-style gelato magic to health-conscious palates.
Ingredients
- 5 large egg yolks
- 1½ cups (360ml / 12 fl oz) unsweetened coconut milk beverage
- 1 cup (240ml / 8 fl oz) heavy cream
- ½ cup (80g) powdered monk fruit allulose blend
- ¼ cup (25g) Dutch processed cocoa powder
- 1 pinch sea salt
Instructions
- Egg Base Preparation: Whisk egg yolks, powdered sweetener, and sea salt in a mixing bowl until the mixture transforms into a pale, uniform golden hue.
- Liquid Infusion: Combine coconut milk, heavy cream, and cocoa powder in a saucepan, heating gently and whisking until the mixture reaches a near-simmer, then immediately remove from heat.
- Tempering Technique: Gradually stream the scalding cream mixture into the egg yolk blend, whisking vigorously to prevent scrambling and create a smooth, integrated custard.
- Precision Cooking: Return the blended mixture to the saucepan, cooking on low heat while stirring consistently until the temperature precisely hits 170°F, which typically requires 3-5 minutes of attentive monitoring.
- Cooling and Setting: Transfer the custard to a sealed container and refrigerate for a minimum of 4 hours, ensuring the temperature drops below 40°F to develop an ideal consistency.
- Churning Process: Pour the thoroughly chilled custard into a pre-frozen ice cream maker bowl, activating the churning mechanism for 20-25 minutes until achieving a silky soft-serve texture.
- Serving Options: Enjoy immediately as a creamy soft-serve or transfer to a freezer-safe container to solidify into a classic ice cream consistency.
Notes
- Prevent Egg Scrambling: Temper the hot cream mixture slowly into egg yolks, whisking constantly to avoid creating scrambled eggs.
- Temperature Precision: Use a digital thermometer to hit exactly 170°F (76°C) for a smooth, safe custard base without overheating.
- Chill Thoroughly: Refrigerate the mixture for at least 4 hours, ensuring it reaches below 40°F (4°C) for the best creamy texture.
- Freeze Smartly: Pre-freeze your ice cream maker bowl for optimal churning and use immediately or store in an airtight container to maintain ideal consistency.
- Prep Time: 10 minutes
- Cook Time: 30 minutes (or 4 hours)
- Category: Desserts, Snacks, Drinks
- Method: Simmering
- Cuisine: American
Nutrition
- Serving Size: 4
- Calories: 320
- Sugar: 1g
- Sodium: 20mg
- Fat: 30g
- Saturated Fat: 18g
- Unsaturated Fat: 12g
- Trans Fat: 0g
- Carbohydrates: 6g
- Fiber: 2g
- Protein: 5g
- Cholesterol: 210mg
Michael Reynolds
Founder, Head Recipe Developer & Cuisine Specialist
Expertise
Recipe Development and Testing, Modern American and European Cuisines, Food Styling and Photography, Culinary Education and Workshops
Education
Johnson & Wales University
Auguste Escoffier School of Culinary Arts
Michael Reynolds is the founder and head recipe creator at wd-50.com. With over 15 years of experience in the kitchen, he’s spent time working in top restaurants and now focuses on making great food easy for everyone at home.
Michael studied culinary arts at Johnson & Wales University and later trained in pastry at the Auguste Escoffier School. He knows his way around both savory meals and sweet treats.
At wd-50.com, his goal is to help you feel confident in the kitchen, whether you’re trying something new or cooking a favorite dish. He loves using fresh ingredients and simple steps that still bring out big flavors.