
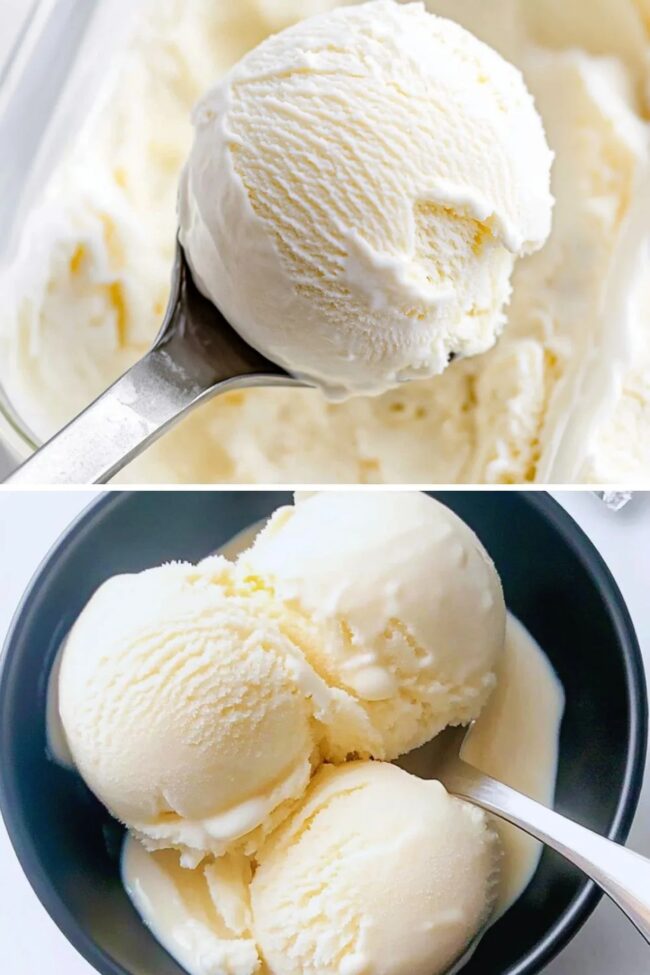
Silky Keto Ice Cream Recipe: Guilt-Free Cool Summer Joy
Chilly summer days call for a delightful scoop of homemade low-carb keto ice cream that satisfies every sweet craving without the guilt.
This creamy dessert delivers rich, indulgent flavors while keeping your nutrition goals on track.
Each spoonful melts with decadent smoothness, proving that health-conscious treats can be utterly delicious.
The secret lies in simple, high-quality ingredients that blend perfectly to create a luxurious texture.
No sugar substitutes can match the natural sweetness of this recipe’s carefully selected components.
Smooth and luscious, this keto-friendly ice cream will become your go-to dessert for cooling down and treating yourself.
Get ready to experience a guilt-free dessert that makes healthy eating feel like pure pleasure.
Quick Recipe Overview
Ingredients That Keep Keto Ice Cream Creamy & Clean
For Base Mixture:For Liquid Components:For Optional Mix-Ins (Optional):Gear for Making Low Carb Keto Ice Cream at Home
Crafting Keto Ice Cream Without the Carbs

Create a rich, creamy foundation by gently melting butter in a pan. Combine sweetener and cream, allowing the mixture to slowly transform into a thick, luxurious sauce. Watch carefully as it reduces and thickens, developing a silky texture that promises delectable results. Let the mixture cool naturally, infusing vanilla for depth of flavor.
Whisk the cooled base with additional cream and almond milk, creating a smooth, velvety liquid. Chill thoroughly to develop the perfect ice cream consistency, allowing flavors to meld and intensify.
Choose your preferred method: Use an ice cream maker for a classic smooth texture, churning until perfectly soft and creamy. Alternatively, pour into a container and freeze, periodically stirring to break up ice crystals. The goal is a dreamy, soft-serve like dessert that melts beautifully on the tongue.
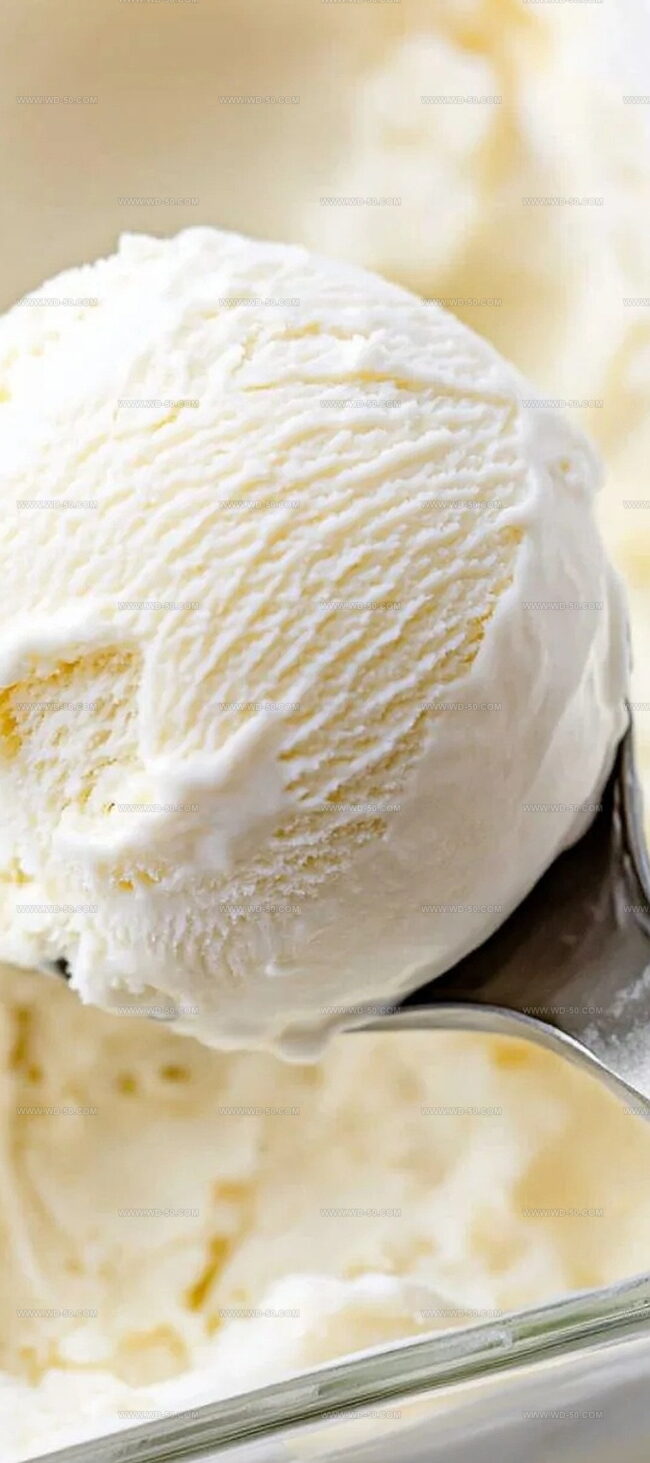
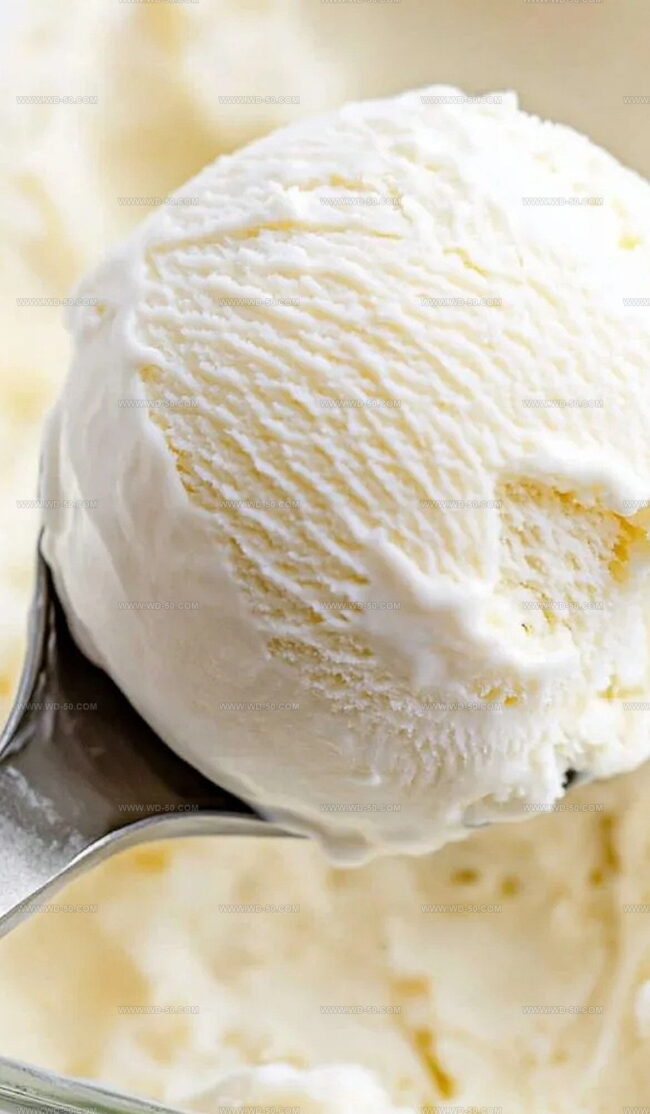
Once the ice cream reaches the ideal consistency, transfer to a serving container. Let it sit for a few minutes before scooping to achieve the perfect creamy texture. Garnish with your favorite low-carb toppings for an extra touch of indulgence.
Tips for Texture & Sweetness in Keto Ice Cream
Ways to Serve Keto Ice Cream Creatively
Keeping Keto Ice Cream Smooth in the Freezer
Print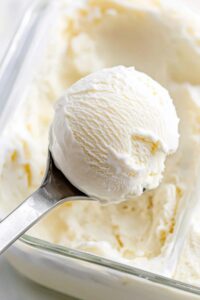
Dreamy Low Carb Keto Ice Cream Recipe
- Total Time: 35 minutes
- Yield: 4 1x
Description
Homemade low carb keto ice cream delivers rich, creamy indulgence without sugar complications. Chilled dessert perfection combines simple ingredients for guilt-free satisfaction you’ll savor.
Ingredients
- 3 tbsps (42 g/1.5 oz) unsalted butter
- 3 cups (720 ml/24 fl oz) heavy cream, divided (2 cups/480 ml + 1 cup/240 ml)
- 1 cup (240 ml/8 fl oz) unsweetened almond milk (or unsweetened coconut milk for nut-free option)
- ⅓ cup (50 g/1.8 oz) powdered monk fruit allulose blend
- 2 tsp vanilla extract
Instructions
- Caramelization Process: Melt butter in a sauté pan over medium heat. Blend powdered sweetener and heavy cream, bringing the mixture to a boil. Reduce heat and simmer for 30-45 minutes, stirring occasionally until the sauce thickens to a condensed milk consistency. The reduction should coat the back of a spoon and pull away from pan edges when tilted. Transfer the cream reduction to a mixing bowl and cool to room temperature, then incorporate vanilla extract.
- Base Preparation: Whisk almond milk and remaining heavy cream into the cooled mixture until smooth and uniform. Refrigerate the liquid base for 4-8 hours to develop optimal texture and flavor profile.
- Churning Technique: For traditional method, pour chilled mixture into an ice cream maker and process according to manufacturer’s instructions (approximately 20-25 minutes) until achieving soft-serve consistency. Optional: Add mix-ins during final churning moments. Transfer immediately to a freezer-safe container and allow 2-4 hours for firming.
- Alternative Freezing Method: For no-churn approach, pour liquid base into a freezer-safe container and smooth the surface. Cover with parchment paper to prevent ice crystal formation. Freeze, stirring vigorously every 30 minutes for initial 2 hours, then every 60-90 minutes until reaching desired firm consistency. Scoop and serve directly from the container.
Notes
- Cooling Critical: Allow reduced cream mixture to reach room temperature before adding vanilla to prevent flavor loss and ensure smooth texture.
- Chilling Matters: Refrigerate base mixture for minimum 4 hours or overnight to develop deeper flavor profiles and improve overall ice cream consistency.
- Stirring Strategy: When using no-churn method, consistently stir mixture during freezing process to break down ice crystals and create creamy, smooth texture.
- Equipment Essentials: Use freezer-safe container with tight lid to prevent freezer burn and maintain optimal ice cream quality during storage.
- Prep Time: 5 minutes
- Cook Time: 30 minutes
- Category: Desserts, Snacks, Drinks
- Method: Simmering
- Cuisine: American
Nutrition
- Serving Size: 4
- Calories: 400
- Sugar: 1 g
- Sodium: 30 mg
- Fat: 43 g
- Saturated Fat: 27 g
- Unsaturated Fat: 16 g
- Trans Fat: 0 g
- Carbohydrates: 5 g
- Fiber: 2 g
- Protein: 3 g
- Cholesterol: 120 mg
Michael Reynolds
Founder, Head Recipe Developer & Cuisine Specialist
Expertise
Recipe Development and Testing, Modern American and European Cuisines, Food Styling and Photography, Culinary Education and Workshops
Education
Johnson & Wales University
Auguste Escoffier School of Culinary Arts
Michael Reynolds is the founder and head recipe creator at wd-50.com. With over 15 years of experience in the kitchen, he’s spent time working in top restaurants and now focuses on making great food easy for everyone at home.
Michael studied culinary arts at Johnson & Wales University and later trained in pastry at the Auguste Escoffier School. He knows his way around both savory meals and sweet treats.
At wd-50.com, his goal is to help you feel confident in the kitchen, whether you’re trying something new or cooking a favorite dish. He loves using fresh ingredients and simple steps that still bring out big flavors.