Buttery Garlic Cheese Pillsbury Biscuit Bombs Recipe
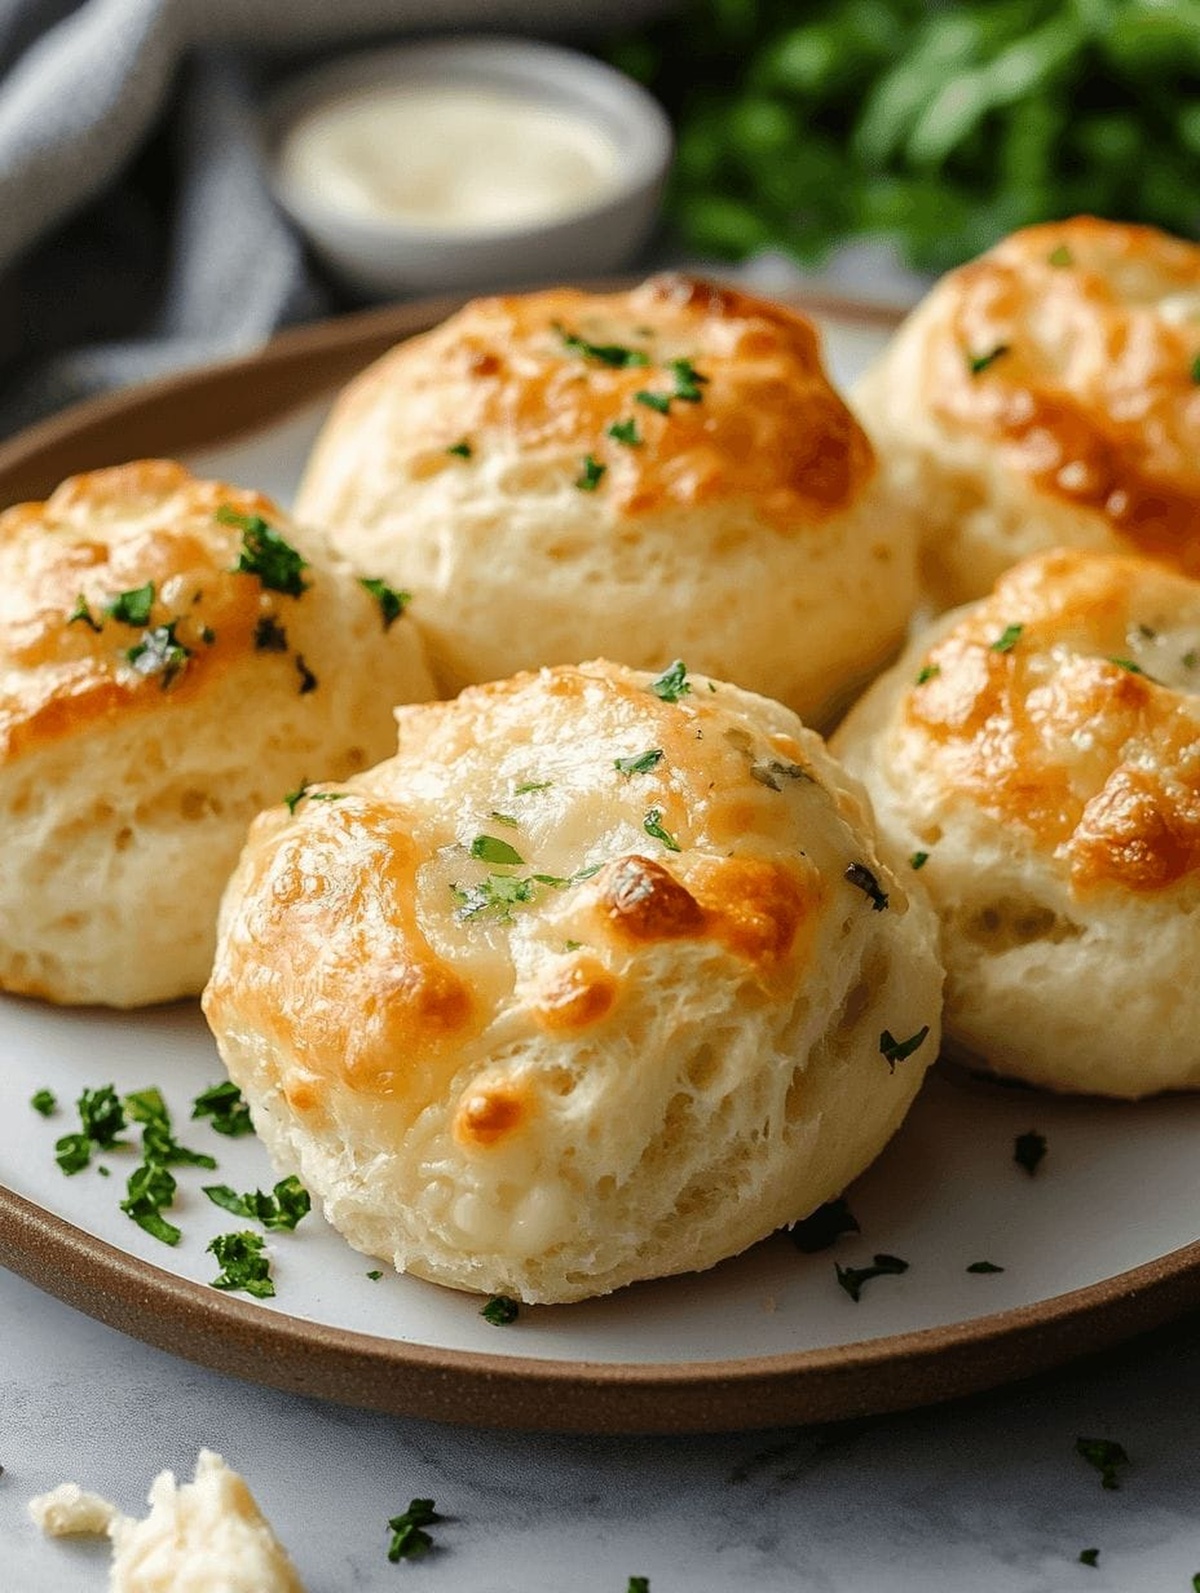
Melted cheese and buttery garlic dance together in these irresistible Pillsbury biscuit garlic butter cheese bombs that turn ordinary dinner into a mouthwatering feast.
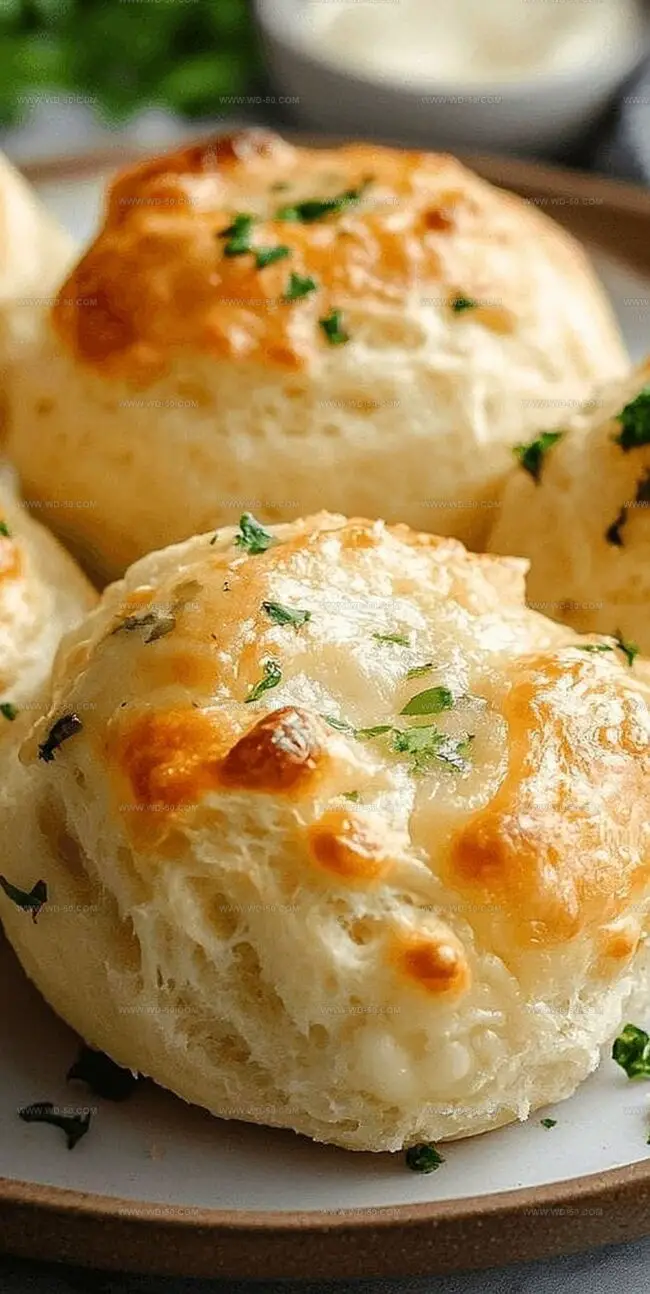
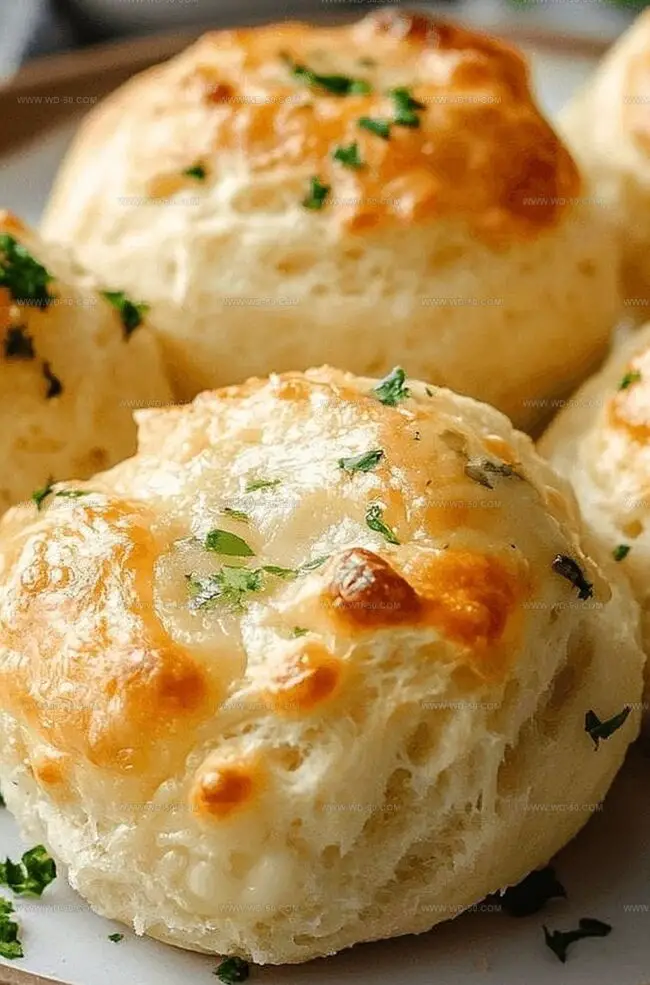
Crispy on the outside and gooey on the inside, these bombs pack an explosion of flavor in every single bite.
The aroma alone will draw everyone straight to the kitchen, tempting taste buds with their golden-brown exterior and steaming center.
Simple ingredients come together in minutes, making this recipe a perfect solution for busy weeknight dinners or spontaneous gatherings.
cheese lovers will swoon over the rich, melted filling nestled inside each tender biscuit pocket.
Each bomb delivers a perfect balance of savory garlic and smooth, molten cheese that promises to become an instant crowd-pleaser.
Prepare to wow your fellow diners with this ridiculously delicious appetizer that feels like a culinary magic trick.
Quick Recipe Overview
Pillsbury Biscuit Garlic Butter Cheese Bombs Ingredients
For Base Ingredients:For Flavor Enhancers:For Finishing Touch:Tools for Prepping Garlic Butter Cheese Bombs
How to Bake Cheese Bombs with Garlic Butter
Crank up your kitchen companion to a toasty 375°F, creating the perfect cozy environment for these cheesy delights. Grab a baking sheet and give it a quick prep with parchment paper or a light grease touch.
Gently separate those soft biscuit rounds, giving each one a gentle press to make a snug cheese hideaway. Tuck a chunk of mozzarella right in the center of each doughy circle.
Lovingly wrap those biscuit edges around the cheese, pinching and rolling until you’ve got perfect little flavor bombs. Arrange them seam-side down on your waiting baking sheet.
Whip up a quick magic potion of melted butter, garlic powder, and Italian herbs. Lavish this aromatic mixture all over your soon-to-be-amazing biscuit spheres.
Let these beauties bake for 10-12 minutes until they turn a gorgeous golden brown and puff up with cheesy excitement. Once they emerge, give them a final brush of that irresistible garlic butter.
Serve these hot little treasures with a side of marinara or ranch for the ultimate flavor adventure. Watch as everyone goes crazy for your culinary magic!
Flavor Tips for Biscuit Cheese Bombs
Serving Your Pillsbury Cheese Bombs Warm
Storing Garlic Butter Cheese Bombs After Baking
Print
Heavenly Pillsbury Biscuit Garlic Butter Cheese Bombs Recipe
- Total Time: 22 minutes
- Yield: 9 1x
Description
Pillsbury biscuit garlic butter cheese bombs bring savory comfort to homemade appetizers. Quick bites emerge from simple ingredients, melding cheese, garlic, and buttery pastry with irresistible charm you can’t resist.
Ingredients
- 1 container refrigerated biscuit dough (16 oz / 454 g, makes 8 biscuits)
- 4 oz (113 g) mozzarella cheese (shredded or diced string cheese)
- 4 tbsps (60 mL) melted butter
- 1 tsp garlic powder
- 1 tsp Italian seasoning
- 1 pinch salt
Instructions
- Preparation: Preheat the oven to 375°F (190°C), lining a baking sheet with parchment paper or greasing the surface to prevent sticking.
- Forming: Separate the biscuits, gently flatten each piece, and place a portion of mozzarella cheese in the center of each round.
- Sealing: Carefully gather and pinch the biscuit edges around the cheese, creating sealed, smooth balls with the seam facing down on the baking sheet.
- Seasoning: Whisk melted butter with garlic powder, Italian seasoning, and salt, then liberally brush the mixture over each biscuit bomb.
- Baking: Cook in the preheated oven for 10-12 minutes until golden brown and puffy, ensuring the cheese is melted and the exterior is crisp.
- Finishing: Remove from the oven and apply the remaining garlic butter for enhanced flavor and glossy appearance.
- Serving: Present warm with marinara sauce or ranch dressing, allowing guests to enjoy the gooey cheese and crispy exterior of these delectable bombs.
Notes
- Cheese Sealing Technique: Pinch edges thoroughly to prevent cheese from leaking during baking, creating a perfect seal for gooey, contained filling.
- Butter Brushing Pro Tip: Apply garlic butter before and after baking to maximize flavor intensity and create a glossy, appetizing golden exterior.
- Spacing Matters: Leave slight gaps between biscuit bombs on the baking sheet to ensure even heat circulation and prevent sticking.
- Temperature Precision: Watch carefully during the 10-12 minute baking window to achieve perfect golden-brown color without overcooking or burning.
- Prep Time: 10 minutes
- Cook Time: 12 minutes
- Category: Appetizer, Snacks
- Method: Baking
- Cuisine: American
Nutrition
- Serving Size: 9
- Calories: 200
- Sugar: 1 g
- Sodium: 300 mg
- Fat: 12 g
- Saturated Fat: 7 g
- Unsaturated Fat: 3 g
- Trans Fat: 0 g
- Carbohydrates: 20 g
- Fiber: 1 g
- Protein: 4 g
- Cholesterol: 30 mg




Michael Reynolds
Founder, Head Recipe Developer & Cuisine Specialist
Expertise
Recipe Development and Testing, Modern American and European Cuisines, Food Styling and Photography, Culinary Education and Workshops
Education
Johnson & Wales University
Auguste Escoffier School of Culinary Arts
Michael Reynolds is the founder and head recipe creator at wd-50.com. With over 15 years of experience in the kitchen, he’s spent time working in top restaurants and now focuses on making great food easy for everyone at home.
Michael studied culinary arts at Johnson & Wales University and later trained in pastry at the Auguste Escoffier School. He knows his way around both savory meals and sweet treats.
At wd-50.com, his goal is to help you feel confident in the kitchen, whether you’re trying something new or cooking a favorite dish. He loves using fresh ingredients and simple steps that still bring out big flavors.