
Ina Garten’s Foolproof Homemade Ricotta Recipe You’ll Love
Ricotta made at home brings fresh, delicate flavor you can’t find in stores.
Creamy and soft, it becomes the base for countless sweet or savory dishes.
A short list of ingredients leads to amazing results.
No special equipment is needed – just time and care.
It’s a recipe that invites experimentation and creativity.
You’ll be surprised by how easy and rewarding it is to make.
Why Homemade Ricotta Deserves the Spotlight
The Simple Ingredients That Make Homemade Ricotta Work
Dairy Base:Acid Component:Seasoning:Additional Equipment:How to Make Homemade Ricotta That’s Silky and Light
Step 1: Gather Your Ricotta Toolkit
Collect these essentials:Slightly dampen two layers of cheesecloth and carefully line the sieve placed over the deep bowl.
Step 2: Create Creamy Milk Base
Pour into your pot:Gently stir ingredients together, ensuring smooth incorporation.
Step 3: Slowly Bring Dairy to Life
Heat mixture over medium temperature, stirring occasionally. Watch for gentle bubbling and rising action. Avoid aggressive boiling that might scorch ingredients.
Step 4: Trigger Magical Curdling Process
Remove pot from heat and introduce white wine vinegar. Stir softly, allowing mixture to rest for one minute. Watch as creamy curds magically separate from liquid whey.
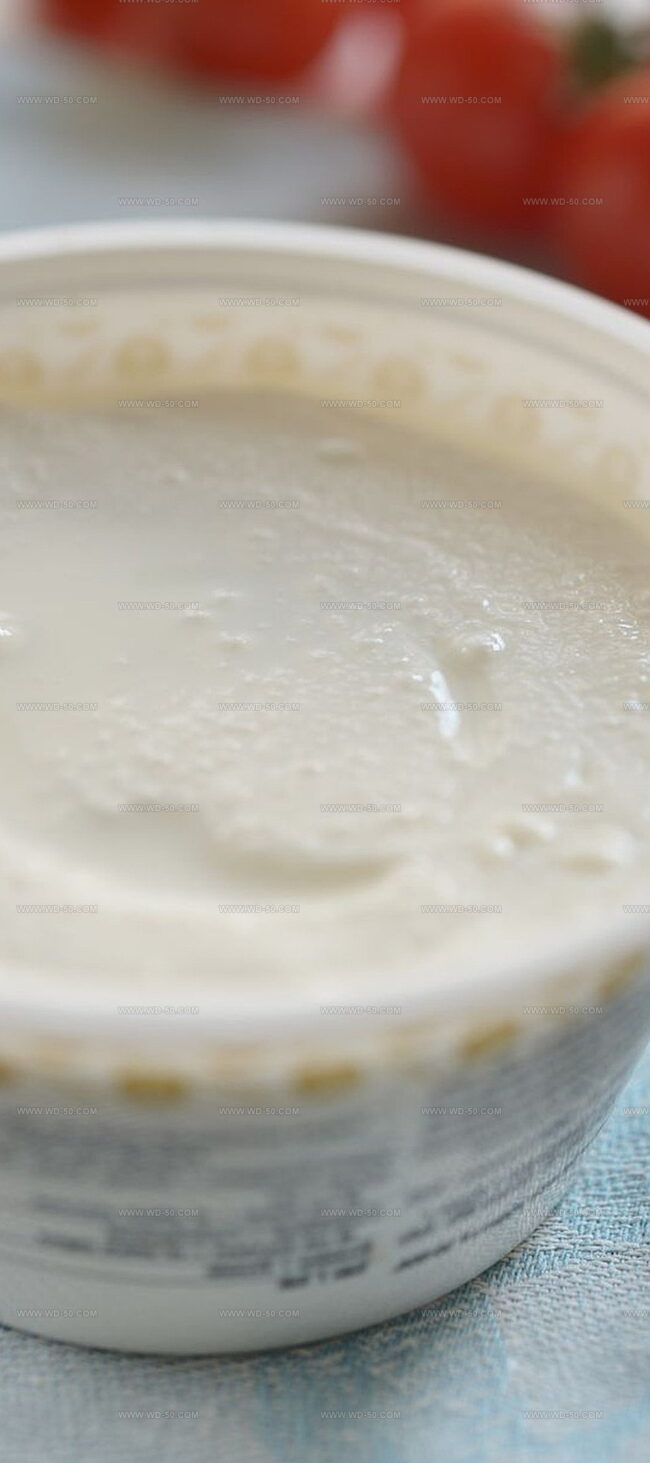
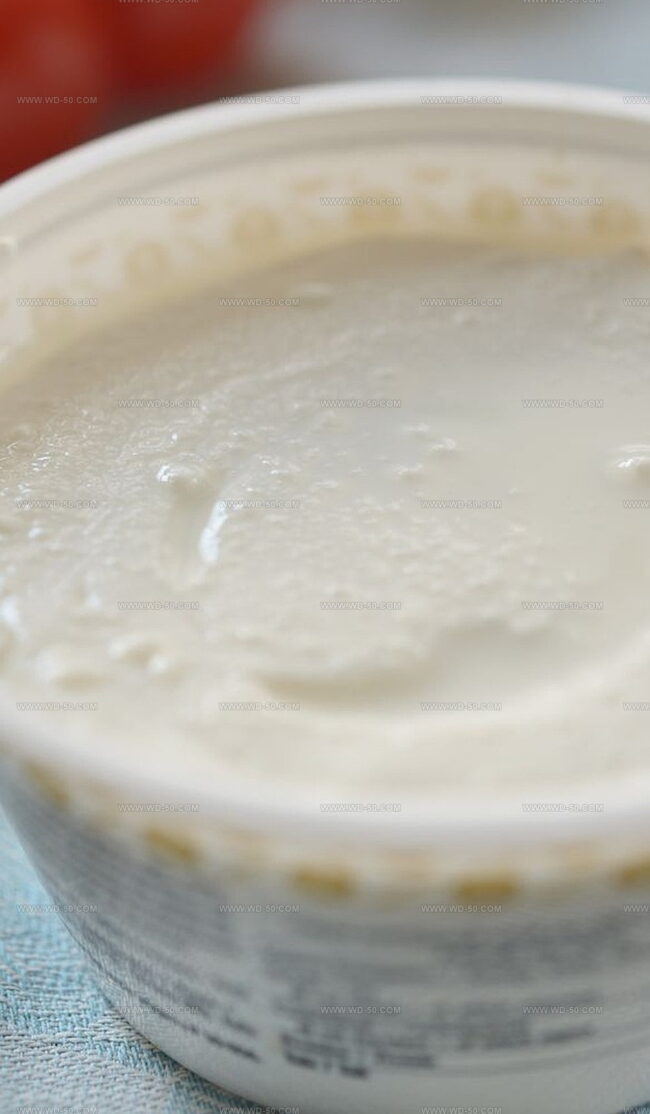
Step 5: Separate Luscious Cheese
Carefully pour curdled mixture into cheesecloth-lined sieve. Allow liquid to drain naturally for 20-25 minutes. For extra thick ricotta, extend draining time.
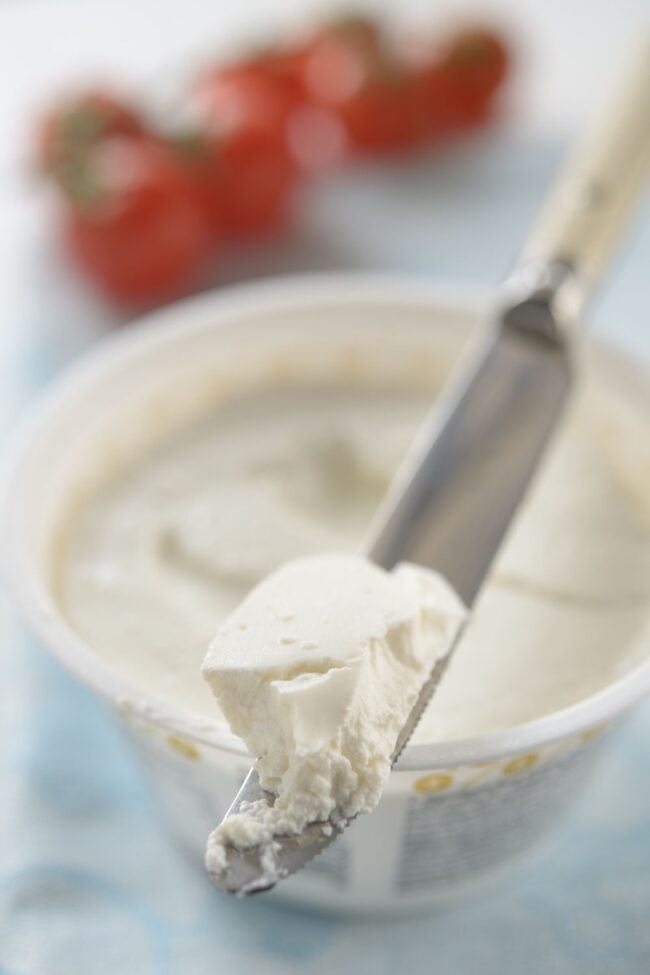
Step 6: Harvest Your Homemade Treasure
Scoop soft, pillowy ricotta into clean bowl. Discard cheesecloth and remaining whey.
Step 7: Store Your Delicate Cheese
Transfer ricotta to container with tight-fitting lid. Refrigerate and enjoy within 4-5 days for maximum freshness and flavor.
Pro Tip: Serve chilled or at room temperature alongside fresh bread, salads, or as a creamy pasta companion.
Tips to Get That Fluffy Homemade Ricotta Texture
Store Homemade Ricotta Without Losing Freshness
Homemade Ricotta Variations You’ll Keep Making
One Creamy Spoonful to Close the Ricotta Chapter
Homemade ricotta showcases culinary magic with Ina Garten’s simple yet elegant recipe.
Kitchen enthusiasts discover pure dairy alchemy through four ingredients and minimal effort.
Creamy, rich textures emerge from milk, cream, salt, and vinegar’s delicate dance.
Fresh ricotta elevates pasta dishes, salads, and appetizers with authentic Mediterranean charm.
Garten’s technique unlocks restaurant-quality results right at home.
Passionate cooks, savor this recipe’s delightful simplicity – share its charm, like the post, and inspire fellow food adventurers to embrace homemade magic.
Print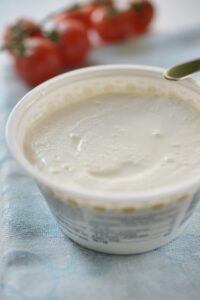
Ina Garten Homemade Ricotta Recipe
- Total Time: 20 minutes
- Yield: 2 1x
Description
Ina Garten’s homemade ricotta brings Italian culinary magic right into your kitchen with minimal ingredients and maximum flavor. Creamy, fresh cheese emerges from simple milk, cream, and salt, promising delightful texture and rich taste perfect for spreading on crusty bread or adding to favorite recipes.
Ingredients
Main Ingredients:
- 4 cups (950 ml) whole milk
- 2 cups (470 ml) heavy cream
Seasoning:
- 1 teaspoon (5 ml) kosher salt
Acid Component:
- 3 tablespoons (45 ml) white wine vinegar
Instructions
- Position a fine-mesh strainer over a spacious, deep container, then gently moisten two layers of cheesecloth with cool water and carefully drape them inside the strainer, ensuring complete coverage.
- Select a stainless-steel or enameled pot and combine 950 milliliters () whole milk and 475 milliliters () heavy cream, incorporating kosher salt, stirring until well integrated.
- Apply medium heat to the milk mixture, periodically stirring to prevent scorching, and continue heating until the liquid reaches a vigorous, rolling boil.
- Immediately remove the pot from heat source and introduce 45 milliliters () white wine vinegar, gently stirring to initiate curd formation; allow the mixture to rest for approximately 60 seconds as curds separate from whey.
- Carefully transfer the curdled contents into the prepared cheesecloth-lined strainer, permitting liquid to drain naturally for 20-25 minutes, periodically discarding accumulated whey beneath the strainer.
- For a denser ricotta consistency, extend the draining time, monitoring the texture until achieving desired thickness.
- Delicately transfer the freshly crafted ricotta into a clean serving bowl, removing and discarding the cheesecloth and residual whey.
- When planning to store, cover the ricotta with plastic wrap and refrigerate, maintaining optimal freshness for 4-5 days.
Notes
- Boost flavor by using fresh, full-fat milk for incredibly creamy ricotta that melts in your mouth.
- Customize texture by draining longer for thick spreads or briefly for silky dollops that elevate any dish.
- Prevent mess and ensure smooth straining with dampened cheesecloth, making cleanup a breeze.
- Achieve perfect curdling by adding vinegar after removing the pot from heat, creating delicate cheese clusters.
- Savor the best taste by consuming homemade ricotta within a day or two of preparation, capturing peak freshness.
- Prep Time: 10 minutes
- Cook Time: 10 minutes
- Category: Snacks, Appetizer, Breakfast
- Method: Boiling
- Cuisine: Italian
Nutrition
- Serving Size: Approximately ¼ cup (60 grams)
- Calories: 100 kcal
- Sugar: 1 g
- Sodium: 50 mg
- Fat: 8 g
- Saturated Fat: 5 g
- Carbohydrates: 2 g
- Fiber: 0 g
- Protein: 5 g
- Cholesterol: 30 mg
Isabella Rodriguez
Co-Founder & Content Creator
Expertise
Pastry Arts and Dessert Innovation, French and European Baking Techniques, Food Writing and Blogging, Culinary Event Planning
Education
Le Cordon Bleu Paris
Isabella Rodriguez is the co-founder and pastry chef at wd-50.com. She studied at Le Cordon Bleu in Paris, where she earned the Grand Diplôme®, a top award in both cooking and baking. After working in fancy bakeries and as a personal pastry chef, Isabella now shares her love for desserts in an easy way for home bakers to enjoy.
At wd-50.com, Isabella creates recipes for cookies, cakes, tarts, and more, always with clear steps and helpful tips. She believes baking should be fun, not stressful, and she hopes her recipes bring joy to your kitchen and smiles to your table.