Ina Garten’s Buttery Jam Thumbprint Cookies Recipe for Bakers
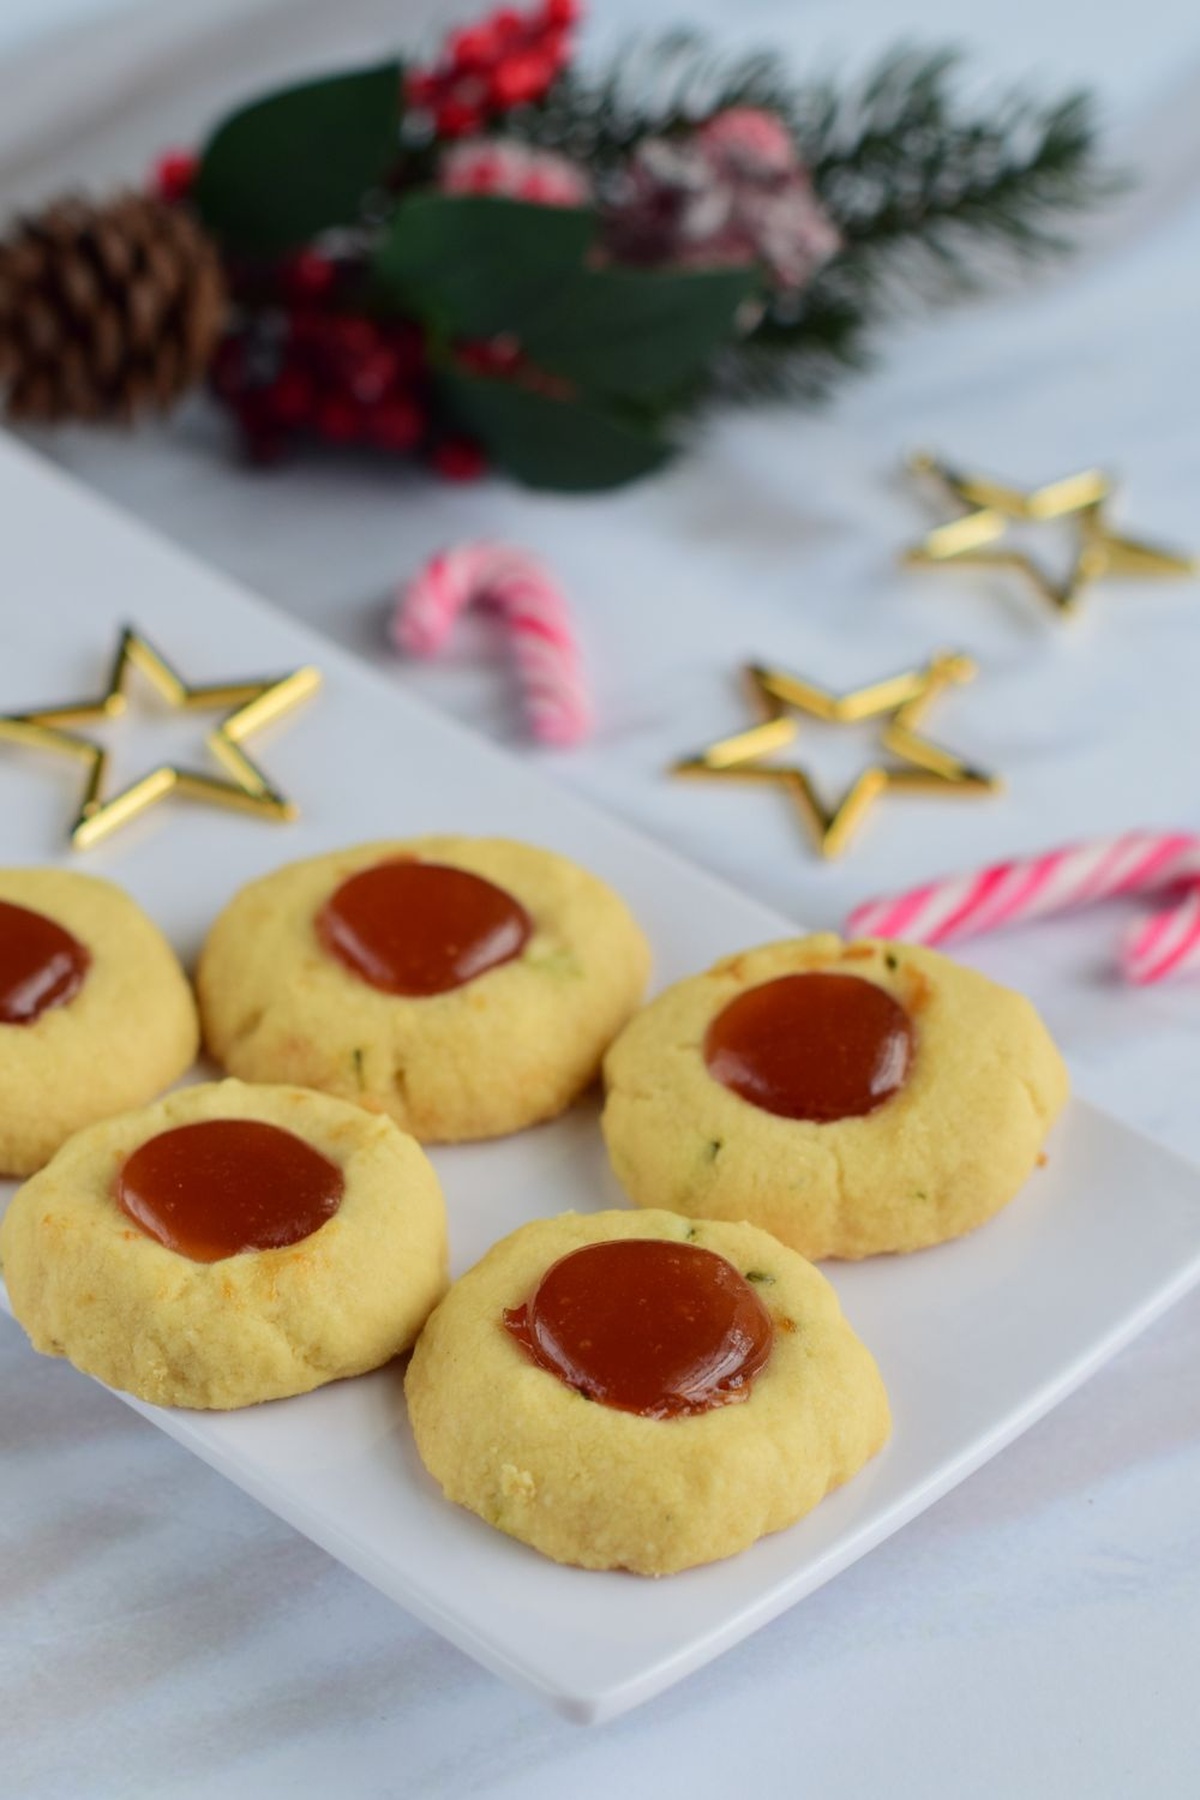
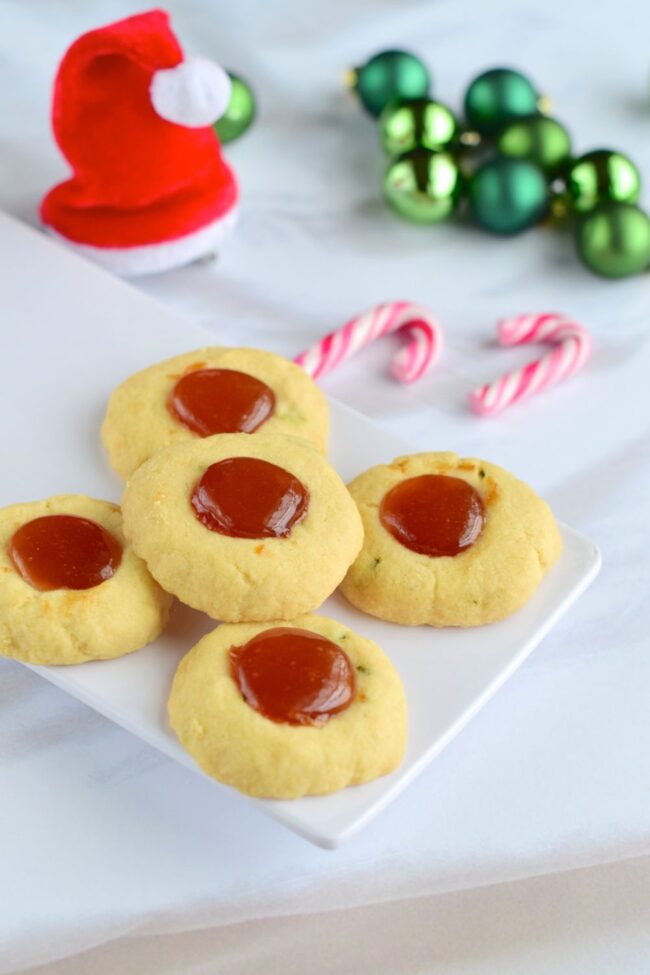
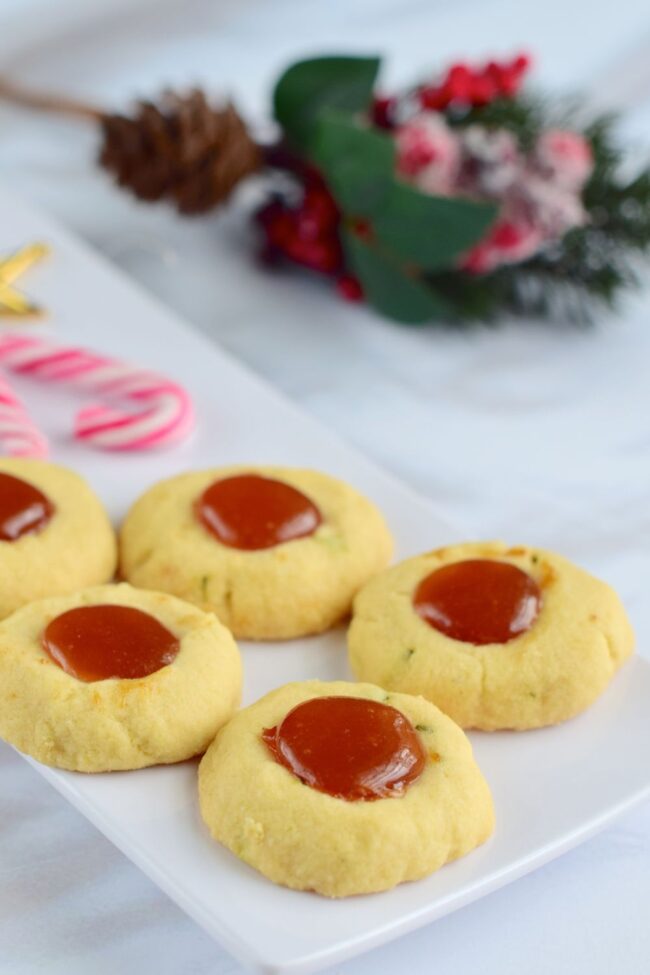
Ina Garten’s jam thumbprint cookies represent a classic sweet treat that transforms simple ingredients into something magical.
Delicate and buttery, these cookies offer a perfect balance of tender texture and fruity essence.
Baker enthusiasts adore the elegant simplicity behind this nostalgic dessert.
Crisp edges and soft centers make these cookies irresistibly charming for gatherings or quiet afternoons.
Each bite delivers a warm, comforting experience that connects generations through shared culinary traditions.
Rich butter and fragrant vanilla create a sublime backdrop for vibrant jam centers that sparkle like edible jewels.
You’ll find these cookies invite playful creativity and warm kitchen memories:
Why Thumbprint Cookies Steal Hearts
Ingredients in Ina’s Jam Thumbprint Cookies
Base Ingredients:Dry Ingredients:Coating and Filling Ingredients:How to Bake Thumbprint Cookies with Ease
Step 1: Prepare Baking Station
Gather all ingredients and equipment. Set oven rack in the middle position. Line baking sheet with parchment paper.
Step 2: Soften Butter
Remove butter from refrigerator. Let sit at room temperature for 30-45 minutes until soft and spreadable.
Step 3: Create Creamy Base
In stand mixer with paddle attachment, combine:Beat on medium speed until light and fluffy, approximately 3-4 minutes.
Step 4: Mix Dry Ingredients
In separate bowl, whisk together:Sift ingredients to remove any lumps.
Step 5: Form Cookie Dough
Gradually add dry ingredients to butter mixture. Mix on low speed until just combined. Stop mixing when dough appears crumbly but holds together.
Step 6: Chill Dough
Transfer dough onto plastic wrap. Shape into flat disk. Wrap completely. Refrigerate for 30-45 minutes.
Step 7: Shape Cookie Balls
Remove chilled dough. Roll into 1-inch round balls using hands or small cookie scoop.
Step 8: Prepare Coating
Whisk egg in shallow bowl. Place shredded coconut in separate bowl.
Step 9: Coat Cookies
Dip each dough ball into egg wash, then roll in coconut. Place on prepared baking sheet.
Step 10: Create Jam Indentations
Gently press thumb or back of spoon into center of each cookie to create small well.
Step 11: Fill With Jam
Carefully spoon preferred jam into cookie centers. Choose raspberry, strawberry, or apricot jam.
Step 12: Bake Cookies
Place baking sheet in preheated oven at 350°F. Bake 18-22 minutes until coconut turns golden brown.
Step 13: Cool and Serve
Remove from oven. Let cookies rest on baking sheet for 5 minutes. Transfer to wire rack. Cool completely before serving.
Tips for Jam Center Perfection

Keeping Thumbprint Cookies Fresh

Jam Swaps for Thumbprint Variety

Sweet Ending to Thumbprint Goodness
Warm memories of family gatherings dance through these delightful jam thumbprint cookies, reminiscent of Ina Garten’s classic recipe.
Sweet coconut-coated exteriors cradle luscious jam centers, creating perfect bites of comfort and nostalgia.
Homemade goodness radiates from each carefully crafted cookie, promising moments of pure culinary joy.
Sophisticated yet simple, these treats connect generations through shared kitchen traditions.
Classic flavors merge with elegant presentation, making these cookies an irresistible dessert for any occasion.
Share this delectable recipe with friends, spread the love on social media, and let fellow bakers savor the delightful experience waiting in their own kitchens.
Print
Ina Garten Jam Thumbprint Cookies Recipe
- Total Time: 40 minutes
- Yield: 24 1x
Description
Ina Garten’s jam thumbprint cookies offer classic comfort with elegant simplicity. Buttery shortbread nestles delicate fruit preserves, creating perfect sweet morsels you’ll savor with each delightful, crumbly bite.
Ingredients
Main Ingredients:
- 3 ½ cups all-purpose flour, spooned and leveled
- 7 ounces (198 grams) sweetened flaked coconut
- 1 cup granulated sugar
Butter and Fat:
- ¾ pound (340 grams or 3 sticks) unsalted butter, at room temperature
Finishing and Flavor Ingredients:
- 1 teaspoon pure vanilla extract
- ¼ teaspoon kosher salt
- 1 egg beaten with 1 tablespoon water, for egg wash
- ½ cup raspberry and/or apricot jam
Instructions
- Heat the oven to 350 degrees Fahrenheit (175 degrees Celsius), ensuring the rack is positioned in the center.
- Using an electric mixer with a paddle attachment, blend unsalted butter and granulated sugar until they form a smooth, pale mixture. Incorporate pure vanilla extract and mix thoroughly.
- In a separate bowl, carefully sift all-purpose flour and fine salt together, eliminating any potential lumps.
- Gradually introduce the flour mixture into the butter combination, using low mixer speed to create a cohesive dough that just begins to hold together.
- Transfer the dough onto a lightly floured surface. Gently shape into a flat, uniform disk approximately 1/2 inch thick. Wrap securely in plastic film and refrigerate for 30 minutes to firm up.
- Remove chilled dough and portion into uniform balls weighing approximately or measuring 1 1/4 inches in diameter.
- Prepare a shallow bowl with beaten egg wash. Roll each dough ball first in egg wash, then completely coat with shredded coconut.
- Arrange coconut-covered balls on an ungreased baking sheet, leaving slight space between each cookie.
- Using a clean fingertip, create a gentle depression in the center of each coconut-coated ball.
- Carefully drop approximately of fruit jam into each indentation.
- Place the baking sheet in the preheated oven and bake for 20 to 25 minutes, or until coconut turns a rich golden brown color.
- Remove from oven and allow cookies to rest on the baking sheet for 3-5 minutes before transferring to a wire cooling rack.
- Let cookies cool completely before serving, allowing jam to set and flavors to develop.
Notes
- Precision matters when measuring flour by spooning it into the cup and leveling with a knife, preventing dense and heavy cookies.
- Refrigerating dough for a minimum of 30 minutes transforms your baking experience, making the dough more manageable and helping cookies maintain their delightful shape.
- Butter straight from the countertop creates magic when creamed with sugar, producing a silky smooth mixture that guarantees tender, melt-in-your-mouth cookies.
- Gentle fingertip pressure works wonders when creating jam indentations, protecting the cookie’s delicate structure and preventing unwelcome cracks.
- Vigilant baking requires watching cookies closely during the final minutes, aiming for a golden-brown finish that signals perfect doneness without burning.
- Prep Time: 15 minutes
- Cook Time: 25 minutes
- Category: Desserts, Snacks
- Method: Baking
- Cuisine: American
Nutrition
- Serving Size: 24
- Calories: 200
- Sugar: 9 g
- Sodium: 50 mg
- Fat: 10 g
- Saturated Fat: 6 g
- Unsaturated Fat: 4 g
- Trans Fat: 0 g
- Carbohydrates: 28 g
- Fiber: 1 g
- Protein: 2 g
- Cholesterol: 30 mg
Isabella Rodriguez
Co-Founder & Content Creator
Expertise
Pastry Arts and Dessert Innovation, French and European Baking Techniques, Food Writing and Blogging, Culinary Event Planning
Education
Le Cordon Bleu Paris
Isabella Rodriguez is the co-founder and pastry chef at wd-50.com. She studied at Le Cordon Bleu in Paris, where she earned the Grand Diplôme®, a top award in both cooking and baking. After working in fancy bakeries and as a personal pastry chef, Isabella now shares her love for desserts in an easy way for home bakers to enjoy.
At wd-50.com, Isabella creates recipes for cookies, cakes, tarts, and more, always with clear steps and helpful tips. She believes baking should be fun, not stressful, and she hopes her recipes bring joy to your kitchen and smiles to your table.