
The Coolest Ina Garten Mocha Chocolate Icebox Cake Recipe
Mocha Chocolate Icebox Cake transforms ordinary ingredients into an extraordinary dessert experience that tantalizes taste buds with rich, velvety layers.
Cold and creamy textures mingle in this decadent treat that requires zero baking skills.
Luxurious mocha flavors dance between crisp cookie edges, creating a sophisticated dessert profile.
Sweet and bold notes intertwine seamlessly, promising an elegant indulgence for any gathering.
Minimal effort yields maximum satisfaction with this cool, show-stopping confection.
Elegant yet approachable, this dessert elevates simple ingredients into a memorable culinary moment.
Prepare to impress friends and family with a dessert that looks professionally crafted: dive in!
Why Icebox Cake Is the Coolest No-Bake Dessert
All You Need to Chill and Wow Guests
Creamy Base:Flavor Enhancers:Cake Structure:How to Stack Your Way to Mocha Bliss

Step 1: Whip Up the Mocha Magic
Grab your electric mixer with the whisk attachment. Toss in these ingredients:Start mixing on low speed, then crank it up until you see firm, dreamy peaks forming.
Step 2: Create Delicious Layers
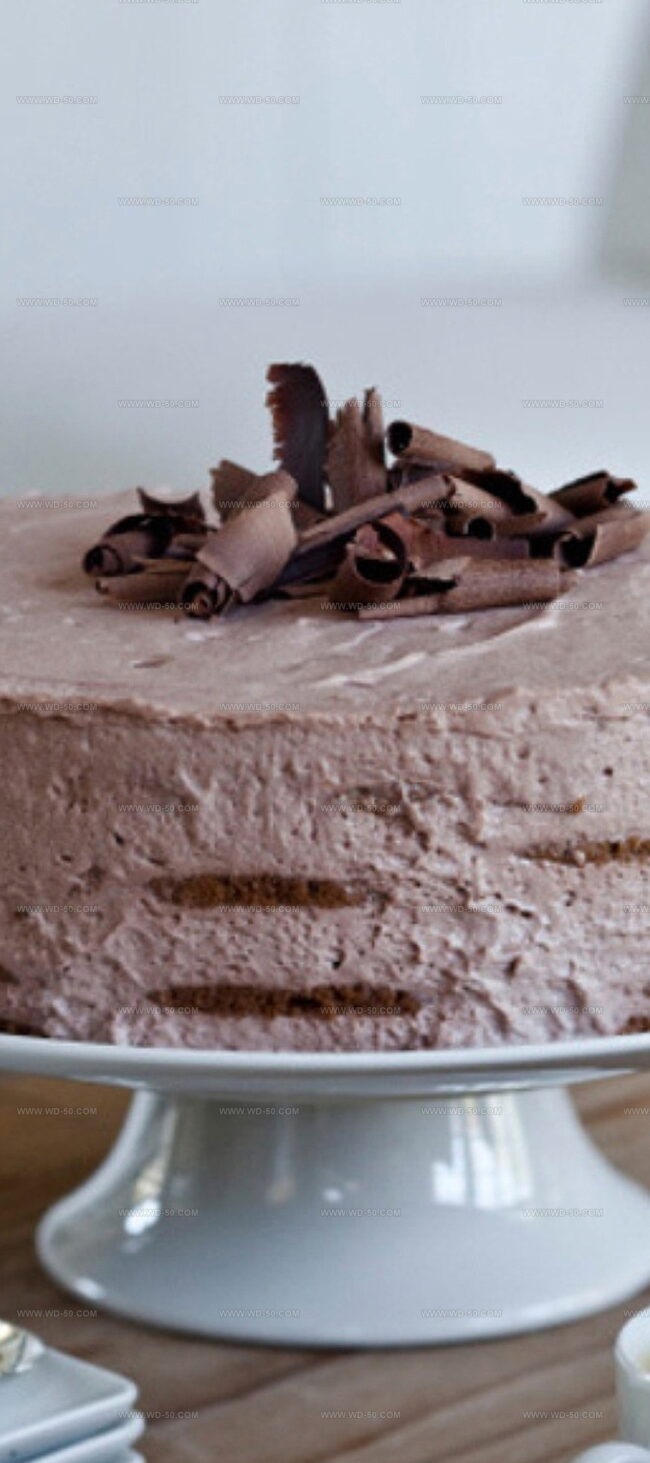
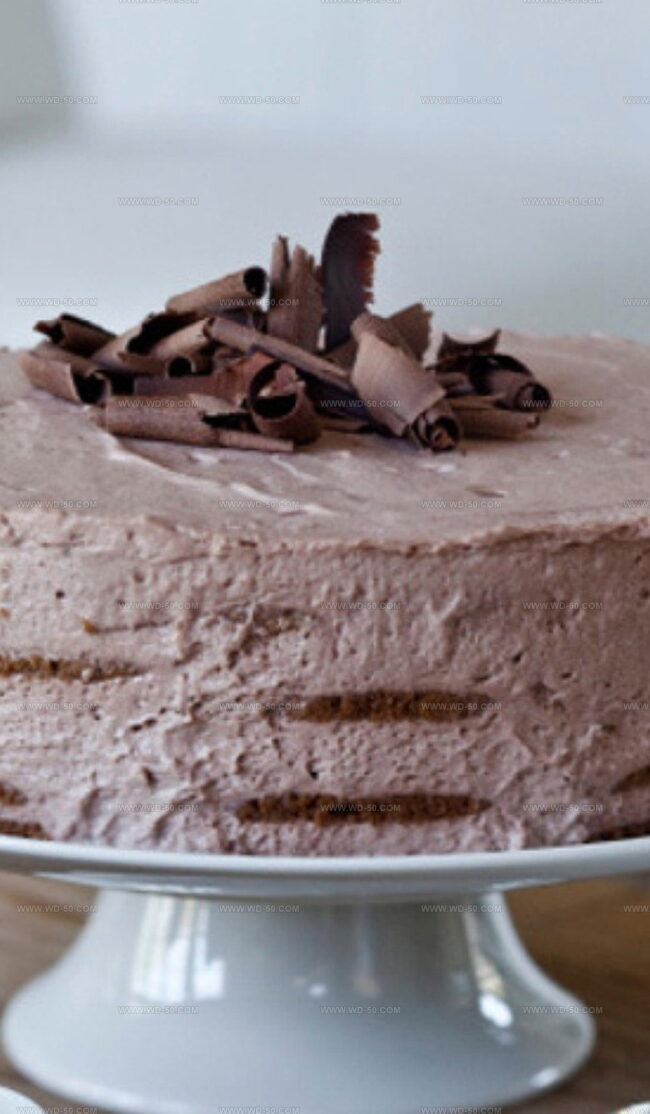
Grab an 8-inch springform pan. Arrange chocolate cookies across the bottom, breaking them to fill any gaps. Spread a generous layer of mocha cream over the cookies. Repeat this cookie-cream dance five times, ending with a luscious cream topping.
Step 3: Patience is Sweet
Smooth out the top layer, cover with plastic wrap, and send it to the refrigerator for an overnight flavor party. This resting time lets all the delicious flavors mingle and merge.
Step 4: Unveil and Serve
Remove the cake from the refrigerator. Run a sharp knife around the edges to loosen. Carefully remove the springform pan sides. Sprinkle shaved semisweet chocolate over the top for a show-stopping finish. Slice into wedges and serve chilled.
Tips for a Clean Slice Every Time
Freeze and Store Without Losing the Layers
Mocha Remix Ideas for Sweet Experimenting
Close the Freezer on a Truly Cool Treat
Mocha Chocolate Icebox Cake emerges as pure chocolate elegance from Ina Garten’s repertoire, blending rich mascarpone cream with crisp chocolate cookies in luxurious layers.
Kahlúa-infused mocha cream creates sophisticated depth, transforming simple ingredients into a sensational dessert experience.
Chocolate lovers discover pure indulgence through this no-bake marvel that balances intense coffee and chocolate notes.
Chilling overnight allows magical flavor melding, making each slice a harmonious symphony of textures and tastes.
Shaved chocolate garnish adds elegant finishing touches to this irresistible treat.
Readers, explore this delightful recipe – snap a photo, share your culinary adventure, and spread delicious inspiration across your social networks.
Print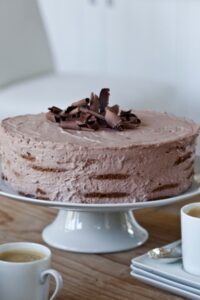
Ina Garten Mocha Chocolate Icebox Cake Recipe
- Total Time: 1 hour 10 minutes
- Yield: 8 1x
Description
Ina Garten’s mocha chocolate icebox cake delivers rich espresso-infused layers of chocolate wafers and whipped cream. Each chilled slice promises a dreamy dessert experience that whisks you to a cozy Italian cafe with minimal effort and maximum flavor.
Ingredients
Main Components:
- 12 ounces (340 grams) Italian mascarpone cheese
- 2 cups (480 milliliters) cold heavy cream
- 3 (8-ounce/226 grams) packages Tate’s Bake Shop chocolate chip cookies
Sweeteners and Flavorings:
- ½ cup (100 grams) sugar
- ¼ cup (60 milliliters) Kahlúa liqueur
- 1 teaspoon pure vanilla extract
- 2 tablespoons unsweetened cocoa powder, such as Pernigotti
- 1 teaspoon instant espresso powder
Garnish:
- Shaved semisweet chocolate
Instructions
- Craft the luscious mocha cream foundation by combining heavy cream (236 milliliters or 8 fluid ounces), mascarpone cheese, granulated sugar, Kahlúa liqueur, unsweetened cocoa powder, instant espresso powder, and pure vanilla extract in an electric mixer’s bowl with the whisk attachment.
- Gradually blend the ingredients on low speed, then incrementally increase to medium-high until the mixture develops luxurious, stable peaks with a voluptuous texture.
- Select an 8-inch (20 centimeters) springform pan and meticulously arrange chocolate wafer cookies across the bottom, strategically breaking cookies to eliminate any vacant spaces and create a seamless base.
- Delicately spread an even, approximately 1/5 portion of the mocha cream over the initial cookie layer, ensuring complete and uniform coverage.
- Alternate between precise layers of crisp chocolate cookies and velvety mocha cream, repeating the process until achieving five distinctive strata, culminating with a luxuriant cream layer crowning the dessert.
- Smooth the topmost cream layer with gentle, deliberate strokes to create an impeccably level surface.
- Envelop the assembled dessert securely with plastic wrap, then transfer to the refrigerator for a minimum of 8-12 hours, allowing flavors to harmonize and texture to sophisticate.
- Prior to serving, carefully liberate the cake’s edges using a slender, sharp knife to prevent adherence to the pan’s sides.
- Gently release the springform pan’s mechanism, lifting away the metal collar to reveal the elegant dessert.
- Embellish the surface with delicate shavings of semisweet chocolate, scattering them elegantly across the creamy landscape.
- Slice into precise wedges and present chilled, celebrating the harmonious blend of textures and rich mocha essence.
Notes
- Garnish with finesse:: Sprinkle delicate chocolate shavings moments before presenting the dessert, creating a last-minute visual sparkle that elevates the entire presentation.
- Chill strategically:: Allow the icebox cake to rest in the refrigerator overnight, transforming crisp cookies into a dreamy, soft layers that meld with luscious cream.
- Select premium cookies:: Opt for high-quality, crisp butter cookies like Tate’s that maintain structural integrity and deliver rich, buttery notes throughout the dessert.
- Whip cream with precision:: Create stiff, billowy peaks by carefully whisking the cream mixture, stopping just before it turns grainy to ensure a silky, luxurious texture.
- Layer with intentional care:: Spread cream generously and evenly between cookie layers, guaranteeing each heavenly bite delivers a perfect balance of creamy and crisp elements.
- Prep Time: 30 minutes
- Cook Time: 40 minutes
- Category: Desserts
- Method: None
- Cuisine: American
Nutrition
- Serving Size: 8
- Calories: 848
- Sugar: 19 g
- Sodium: 441 mg
- Fat: 60 g
- Saturated Fat: 34 g
- Carbohydrates: 71 g
- Fiber: Data not available
- Protein: 9 g
- Cholesterol: 170 mg
Isabella Rodriguez
Co-Founder & Content Creator
Expertise
Pastry Arts and Dessert Innovation, French and European Baking Techniques, Food Writing and Blogging, Culinary Event Planning
Education
Le Cordon Bleu Paris
Isabella Rodriguez is the co-founder and pastry chef at wd-50.com. She studied at Le Cordon Bleu in Paris, where she earned the Grand Diplôme®, a top award in both cooking and baking. After working in fancy bakeries and as a personal pastry chef, Isabella now shares her love for desserts in an easy way for home bakers to enjoy.
At wd-50.com, Isabella creates recipes for cookies, cakes, tarts, and more, always with clear steps and helpful tips. She believes baking should be fun, not stressful, and she hopes her recipes bring joy to your kitchen and smiles to your table.