Irresistible Cheesy Garlic Bread Recipe That Wows Every Time
Weeknight dinners just got a delicious upgrade with this irresistible cheesy garlic bread recipe that promises pure comfort.
Melted cheese cascades over golden, crispy edges, creating a symphony of flavors.
Fragrant garlic dances through every bite, infusing warmth and richness into each slice.
Simple ingredients come together effortlessly to craft a side dish that steals the spotlight from main courses.
The perfect blend of butter, herbs, and cheese guarantees a mouthwatering experience.
Your dinner table will buzz with excitement as this golden, bubbling creation emerges.
Friends and hungry guests won’t be able to resist diving into this crowd-pleasing classic.
Quick Recipe Overview
Ingredients for the Ultimate Cheesy Garlic Bread
For Flavor Boosters:For Cheesy Goodness:For Fat and Base:Tools You’ll Need to Make It Buttery & Bold
Baking Instructions for Golden, Cheesy Goodness
Warm up the kitchen with a cozy 350°F oven setting, creating the perfect environment for your delicious bread adventure.
Mix butter, oil, garlic, and parsley into a dreamy, aromatic blend that will make taste buds dance with excitement.
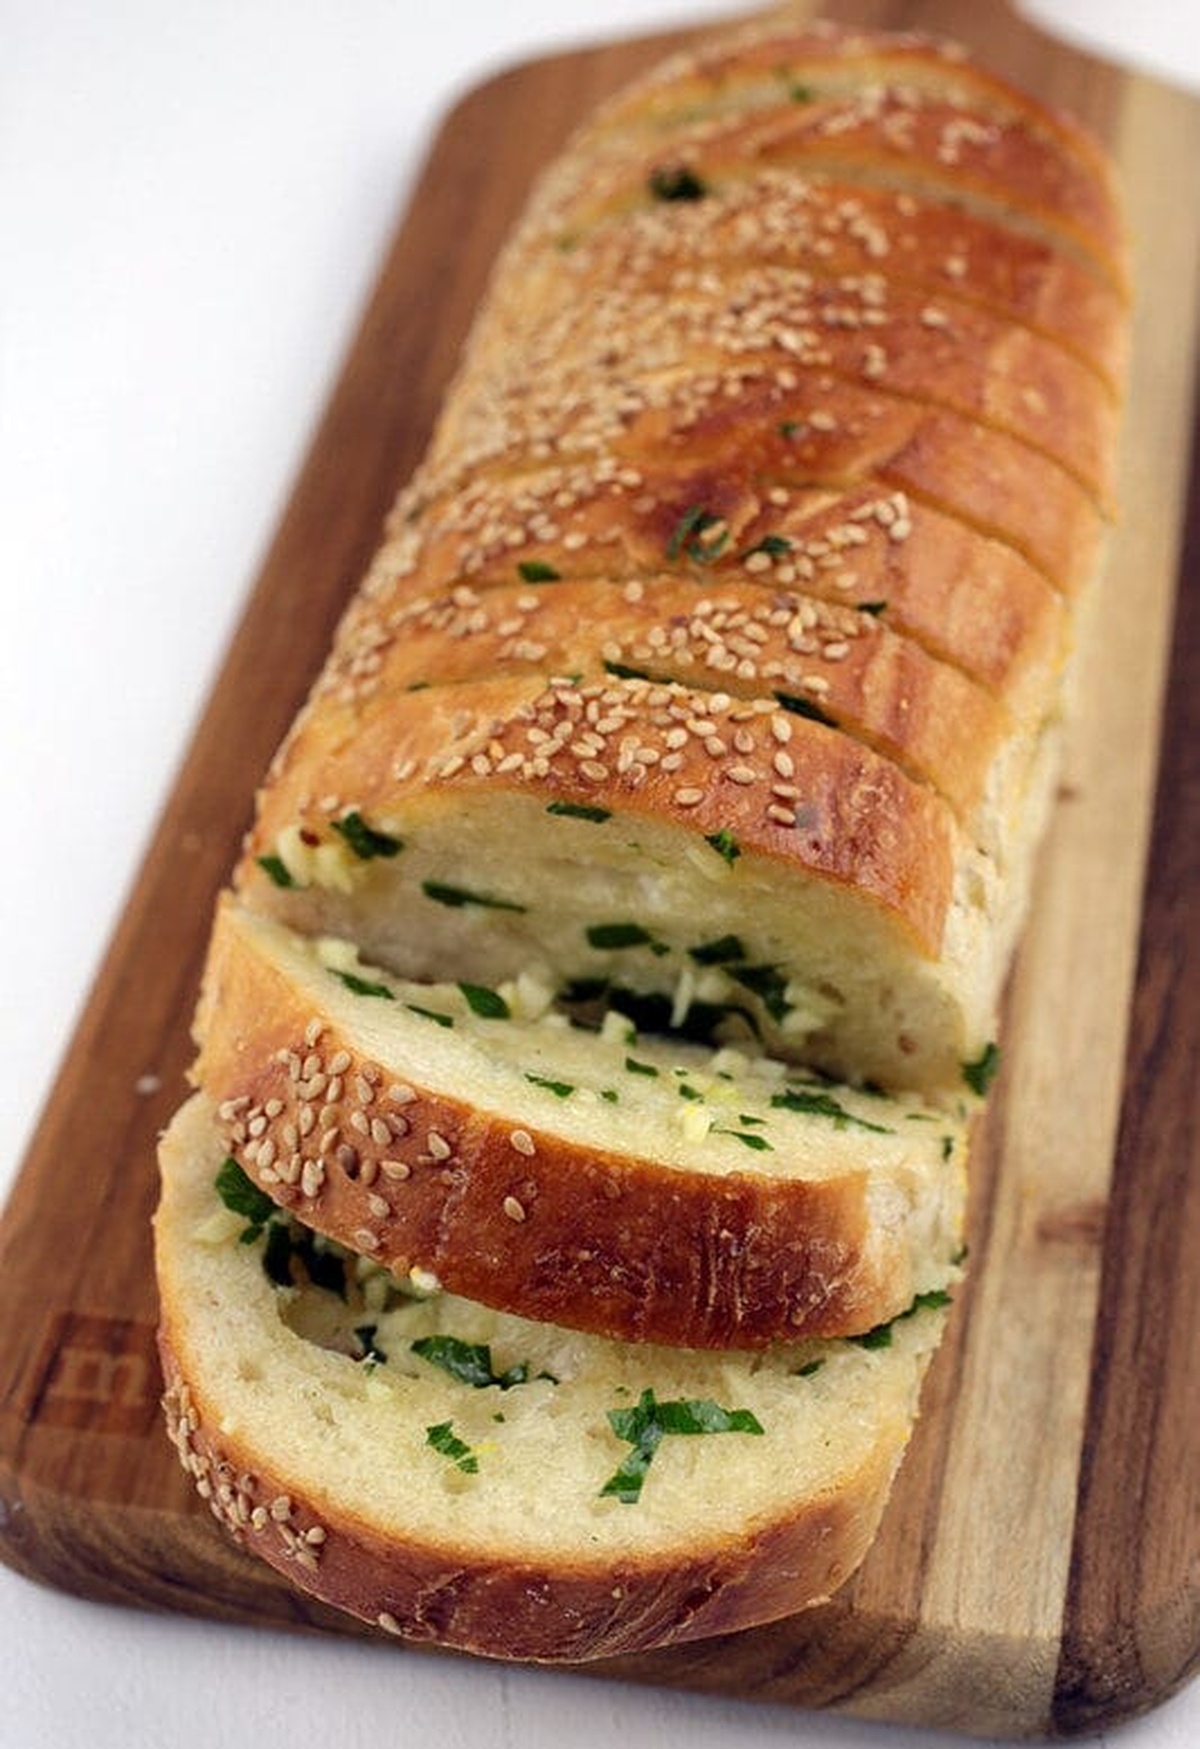
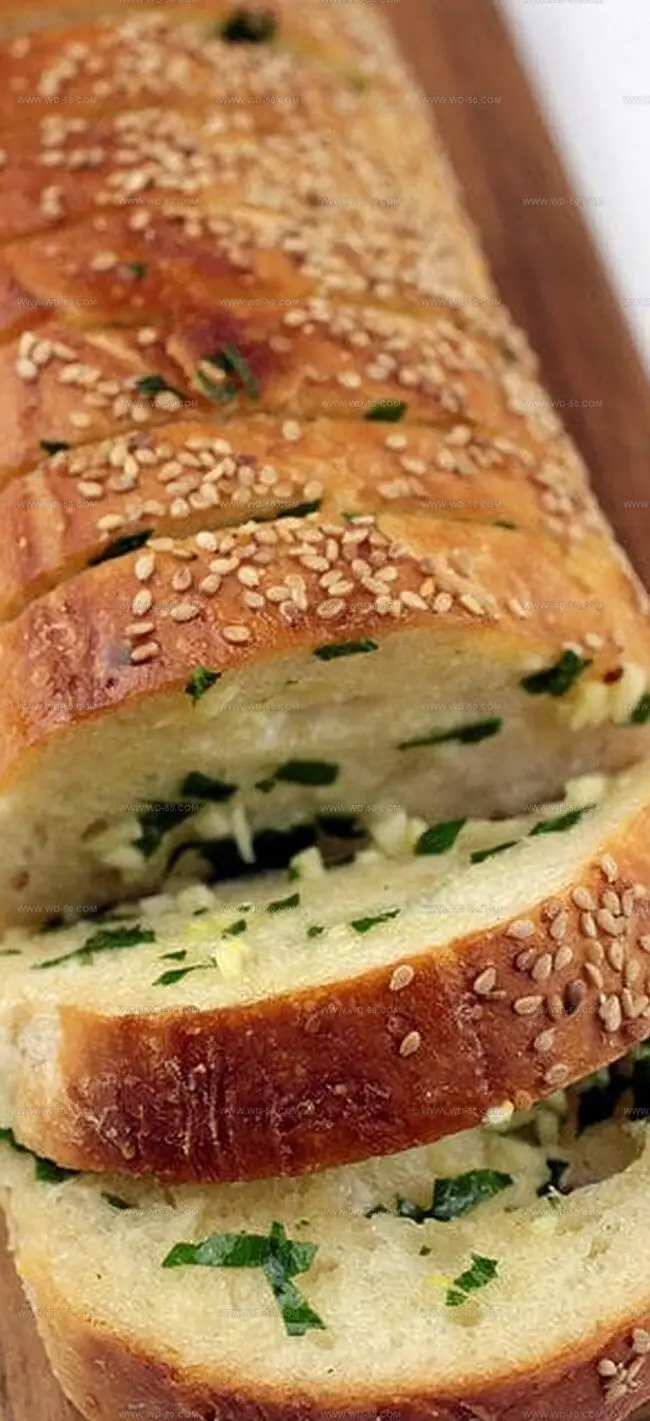
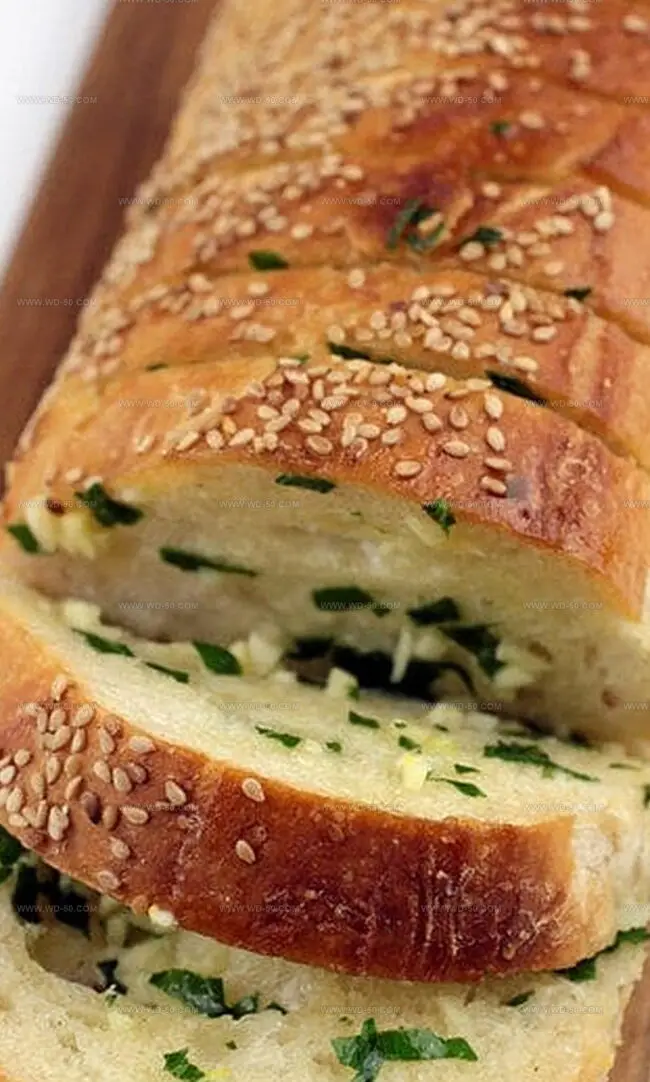
Gently slice the bread into connected sections, creating a beautiful fan-like pattern that will wow your dinner guests.
Carefully separate the bread slices and lovingly brush the magical garlic mixture between each section, ensuring maximum flavor in every bite.
Wrap the bread in a cozy aluminum foil blanket and let it rest in the warm oven for about 15 minutes, allowing the flavors to mingle and develop.
Sprinkle a generous handful of parmesan, cheddar, and mozzarella cheeses over the bread, creating a blanket of gooey deliciousness.
Slide the bread under the broiler, watching carefully as the cheese melts and turns into a golden, bubbling masterpiece that will make everyone’s mouth water.
Pull the bread from the oven and let it cool just enough to handle, then separate the slices and serve immediately to capture the perfect moment of cheesy, garlicky goodness.
Bread Tips: Garlic Intensity, Cheese Choices & More
How to Serve Garlic Bread That Steals the Show
Store It, Reheat It, Love It Later: Garlic Bread Advice
Print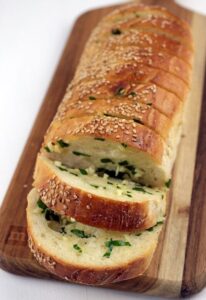
Irresistible Garlic Bread Recipe
- Total Time: 43 minutes
- Yield: 2 1x
Description
Mouthwatering cheesy garlic bread delivers irresistible comfort with crisp edges and melted cheese. Homemade goodness beckons readers to savor each garlicky, buttery slice straight from the oven.
Ingredients
- 1 loaf Italian bread (15 x 3.5 inches)
- 1 cup (240 ml) shredded mozzarella cheese
- 1 cup (240 ml) shredded white cheddar cheese
- ¼ cup (25 g) grated Parmesan cheese
- ¼ stick (57 g/2 oz) unsalted butter, softened
- 2 tbsps (30 ml) extra-virgin olive oil
- 2 tsps finely chopped garlic
- 2 tbsps finely chopped fresh flat-leaf parsley
- Italian seasoning (for sprinkling)
Instructions
- Preparation: Preheat oven to 350°F (175°C), positioning rack in middle position for optimal heat distribution.
- Garlic Herb Mixture: Whisk softened butter, olive oil, minced garlic, and chopped parsley into a smooth, fragrant blend that will infuse the bread with robust flavors.
- Bread Modification: Using a serrated knife, create strategic diagonal cuts across the bread loaf, maintaining a connected base to preserve the bread’s structural integrity.
- Flavor Infusion: Carefully separate bread sections and generously brush the garlic herb mixture between each slice, ensuring comprehensive seasoning coverage.
- Initial Baking: Wrap the prepared loaf completely in aluminum foil and bake for 15 minutes, allowing ingredients to meld and develop deep, complementary flavors.
- Cheese Preparation: While bread bakes, combine parmesan, cheddar, and mozzarella cheeses in a separate bowl, creating a rich, harmonious cheese blend.
- Final Broiling: Unwrap the bread, separate slices onto a baking sheet, sprinkle with cheese mixture and Italian seasoning, then broil for 3 minutes until cheese transforms into golden, bubbly perfection.
- Serving: Present immediately while bread remains warm and crispy, with cheese delicately melted and herbs radiating an enticing aroma.
Notes
- Slice Carefully: Cut bread without breaking bottom, creating connected “pull-apart” sections for even seasoning and serving.
- Butter Softness Matters: Use room temperature butter for smooth, easily spreadable garlic mixture that coats bread evenly.
- Cheese Watching Technique: Monitor broiler closely during final 3 minutes to prevent burning; golden-brown edges indicate perfect melting.
- Storage Tip: Reheat leftover bread within 2 days for best taste and texture, avoiding soggy or dried-out bread slices.
- Prep Time: 25 minutes
- Cook Time: 18 minutes
- Category: Appetizer, Snacks
- Method: Baking
- Cuisine: Italian
Nutrition
- Serving Size: 2
- Calories: 610
- Sugar: 2 g
- Sodium: 800 mg
- Fat: 32 g
- Saturated Fat: 17 g
- Unsaturated Fat: 12 g
- Trans Fat: 0 g
- Carbohydrates: 61 g
- Fiber: 3 g
- Protein: 23 g
- Cholesterol: 70 mg
Michael Reynolds
Founder, Head Recipe Developer & Cuisine Specialist
Expertise
Recipe Development and Testing, Modern American and European Cuisines, Food Styling and Photography, Culinary Education and Workshops
Education
Johnson & Wales University
Auguste Escoffier School of Culinary Arts
Michael Reynolds is the founder and head recipe creator at wd-50.com. With over 15 years of experience in the kitchen, he’s spent time working in top restaurants and now focuses on making great food easy for everyone at home.
Michael studied culinary arts at Johnson & Wales University and later trained in pastry at the Auguste Escoffier School. He knows his way around both savory meals and sweet treats.
At wd-50.com, his goal is to help you feel confident in the kitchen, whether you’re trying something new or cooking a favorite dish. He loves using fresh ingredients and simple steps that still bring out big flavors.