Easy Jamie Oliver Mars Bar Cake Recipe: Sweet Weekend Treat
Sweet chocolate lovers, Jamie Oliver’s mars bar cake represents pure indulgence in its most delectable form.
Childhood memories flood back with this nostalgic treat that combines crispy textures and rich chocolate sensations.
Simple ingredients transform into something magical when melted together with precision and care.
Each bite promises a symphony of crunch and smoothness that lingers delightfully on your palate.
Smooth chocolate and caramel intertwine with crisp cereal, creating a dessert that feels both comforting and exciting.
Minimal effort yields maximum satisfaction in this irresistible confection that speaks directly to your inner sweet tooth.
Professional chefs and home bakers will find joy in crafting this delightful recipe: prepare to be amazed.
Why Jamie Oliver’s Mars Bar Cake Recipe Wins Kids Over
Must-Have Ingredients for Mars Bar Cake
Base Ingredients:Chocolate Coating Ingredients:Decoration (Optional):Making a Fun Mars Bar Cake

Step 1: Prepare Baking Tin
Grease a 9×9-inch (23×23 cm) baking tin and line it completely with parchment paper, ensuring the paper covers the bottom and sides for easy removal.
Step 2: Melt Chocolate Bars and Butter
In a large saucepan, combine:Melt these ingredients over low heat, stirring constantly until the mixture becomes smooth and fully blended.
Step 3: Mix Cereal Coating
Add of Rice Krispies to the melted chocolate mixture. Gently stir until every single cereal piece is completely coated with the chocolatey mixture.
Step 4: Set the Base
Transfer the cereal mixture into the prepared baking tin. Use a spatula or the back of a spoon to press and smooth the top, creating an even layer.
Step 5: Add Chocolate Topping
Melt of milk chocolate using a double boiler or microwave. Pour the melted chocolate evenly over the cereal base. Optional: Chop 1-2 additional Mars Bars and sprinkle pieces on top for extra decoration.
Step 6: Chill and Serve
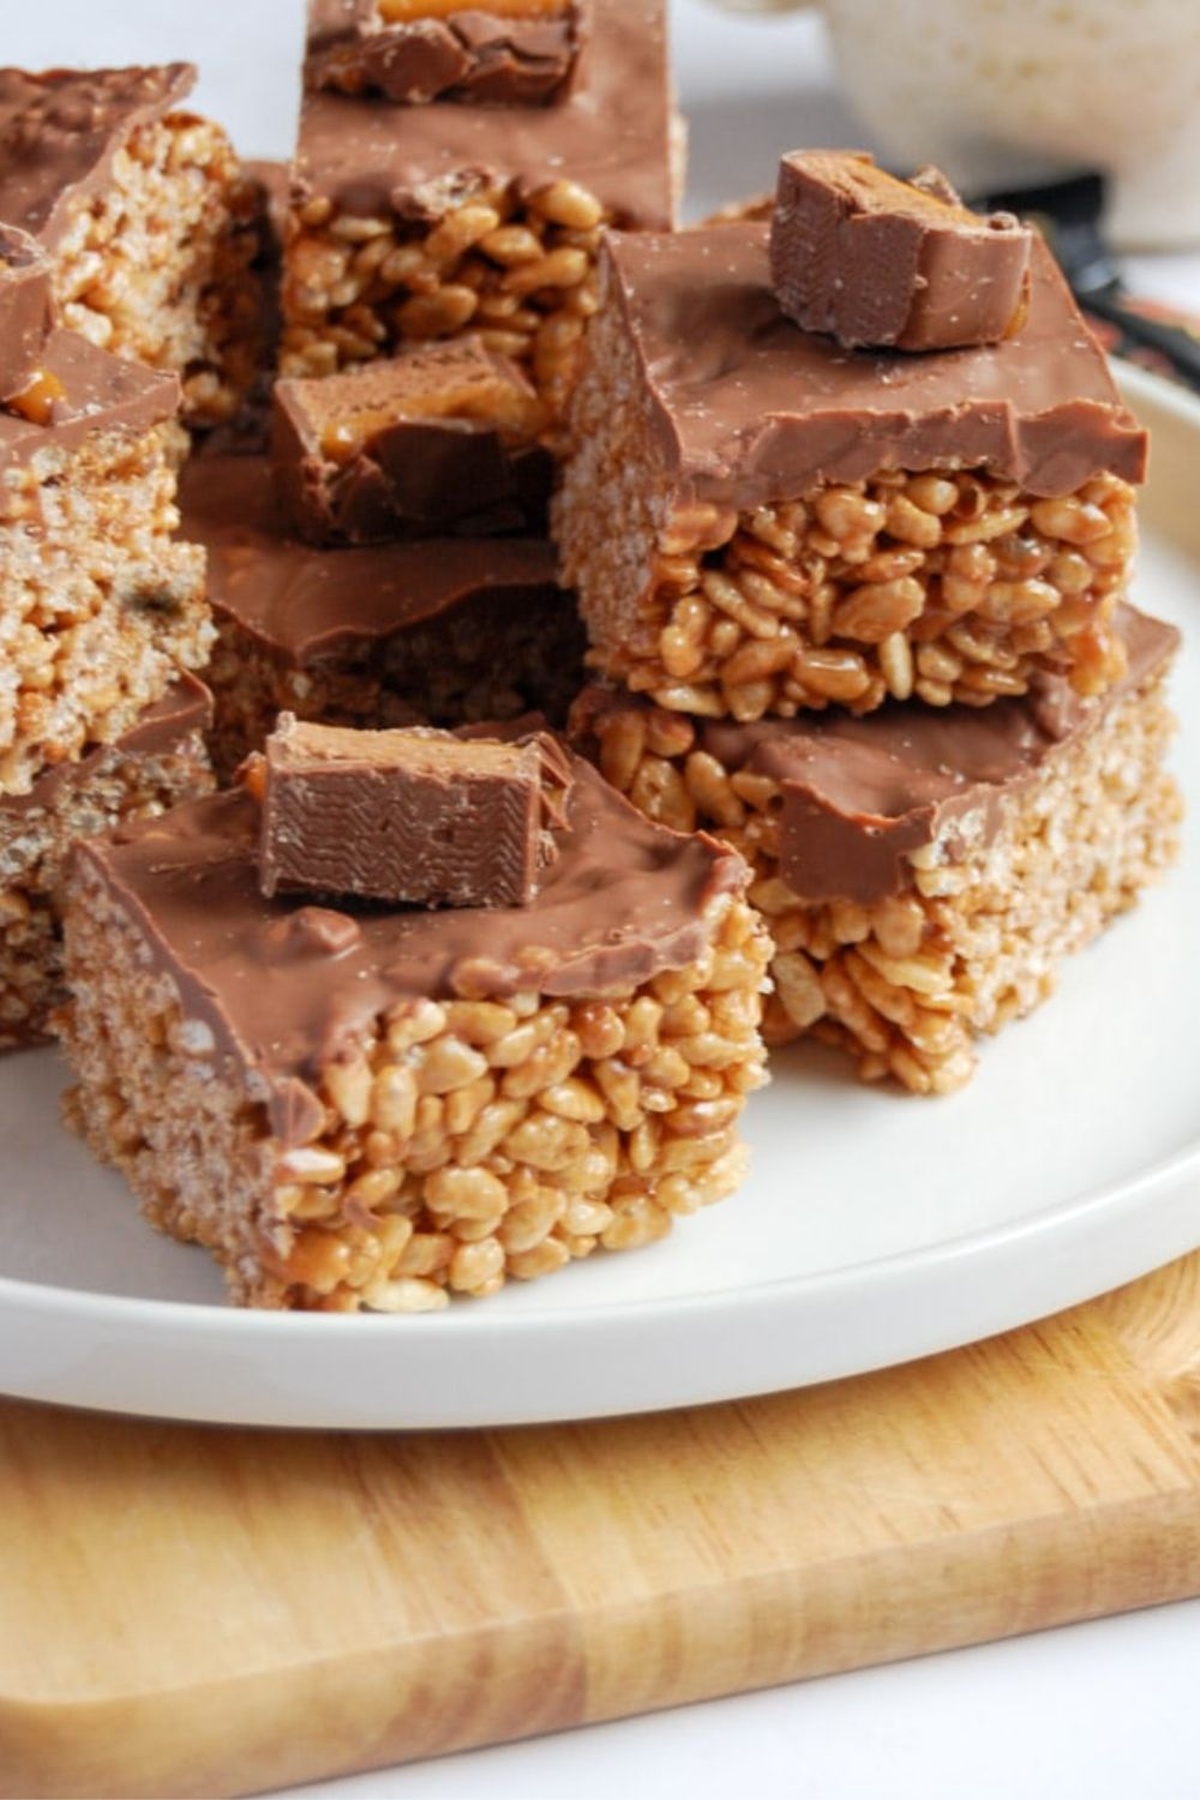
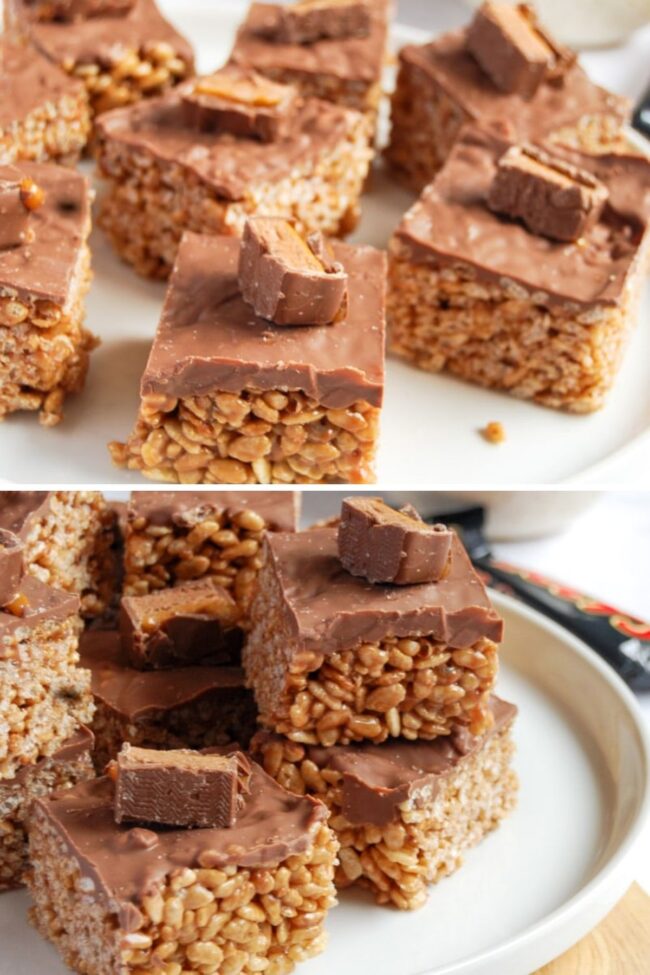
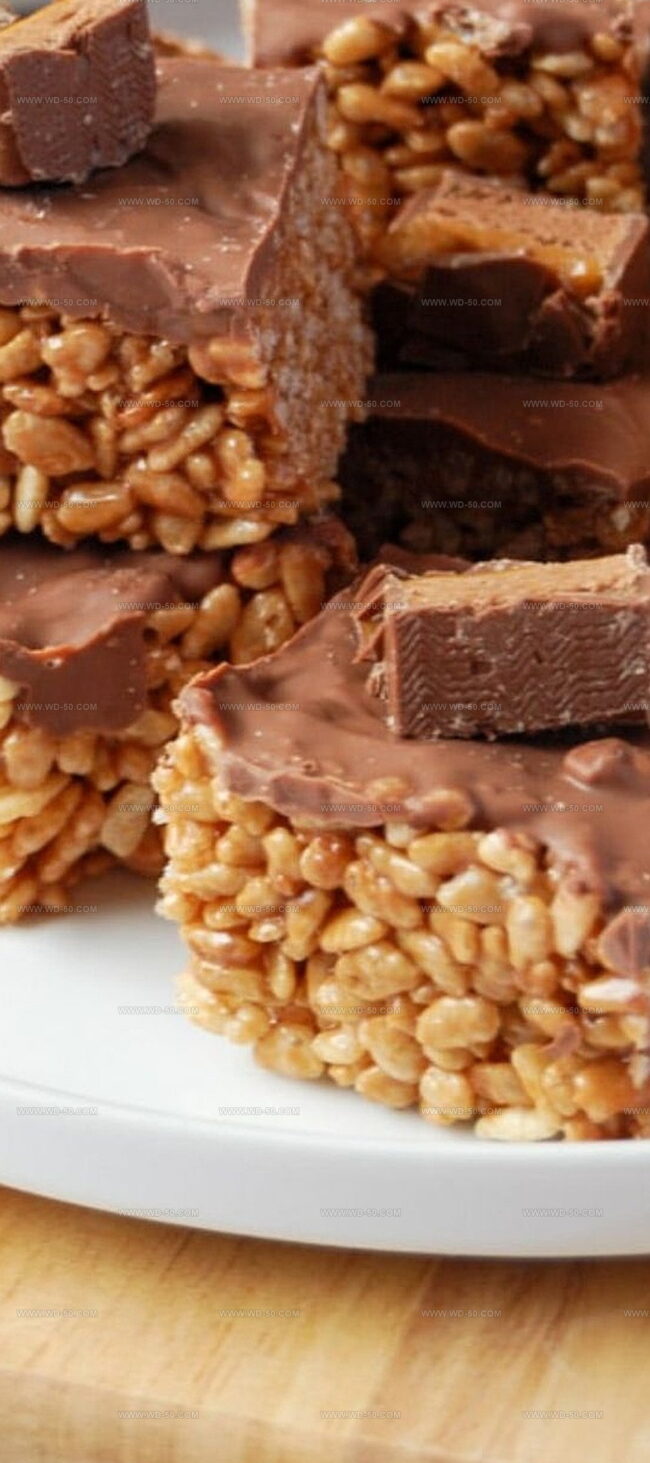
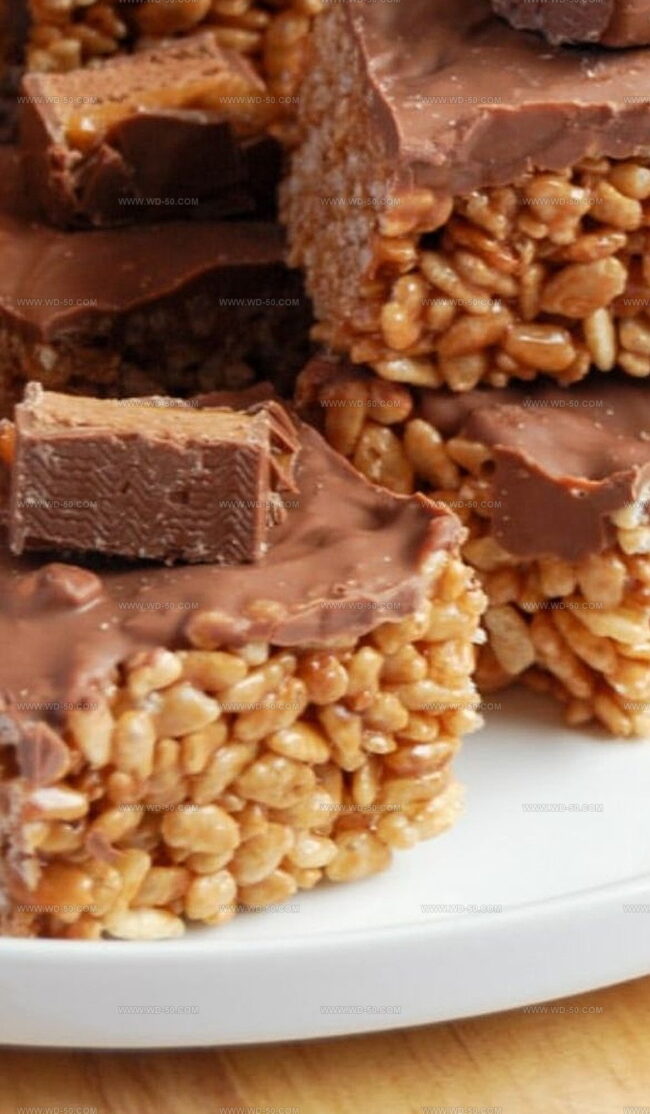
Refrigerate the cake for 1-2 hours until completely set. Once chilled, lift out the cake using the parchment paper and slice into 16 square pieces. Serve and enjoy!
Hints for Sweet Success
How to Store This Candy Cake
Exciting Ways to Jazz Up a Mars Bar Cake
Concluding Jamie Oliver Mars Bar Cake
Mars Bar Cake brings nostalgic chocolate magic straight to kitchen counters worldwide.
Sweet chocolate layers combine with crispy Rice Krispies for an irresistible treat.
Rich caramel notes dance through each delightful bite, creating pure indulgence.
Jamie Oliver’s signature touch makes this dessert simple yet spectacular.
Chocolate lovers will crave multiple servings of this quick masterpiece.
Grab ingredients, create memories, share happiness – scroll, like, comment, and spread sweet joy with friends who deserve this incredible chocolate experience.
Print
Jamie Oliver Mars Bar Cake Recipe
- Total Time: 20 minutes
- Yield: 12 1x
Description
Mars Bar Cake delights chocolate enthusiasts with its irresistible blend of classic British confectionery and homemade indulgence. Gooey chocolate, crispy rice cereal, and melted Mars Bars create a nostalgic treat you’ll want to savor slice after delicious slice.
Ingredients
Main Ingredients:
- 225 grams (8 ounces) Rice Krispies or similar crispy rice cereal
- 4 Mars Bars, chopped (51 grams each; if using multipack bars of 39.4 grams, use 6 bars)
Binding Ingredients:
- 75 grams (2.6 ounces) Butter
- 3 tablespoons Golden Syrup
Topping Ingredients:
- 200 grams (7 ounces) Milk Chocolate (use 300 grams for a thicker topping)
- 1 Mars Bar for decoration (optional)
Instructions
- Prepare a 9×9-inch (23×23 centimeter) baking pan by applying a light butter coating and lining with parchment paper, ensuring complete coverage of the bottom and sides.
- Break the Mars Bars into small chunks and combine with unsalted butter and golden syrup in a large heavy-bottomed saucepan. Gently heat over low temperature, stirring continuously until the mixture transforms into a smooth, glossy consistency.
- Remove the melted chocolate mixture from heat and immediately fold in the Rice Krispies cereal, ensuring every single piece gets thoroughly coated with the rich, gooey chocolate blend.
- Transfer the chocolate-coated cereal mixture into the prepared pan, using a spatula to press and distribute evenly, creating a compact and level surface.
- Allow the base to set at room temperature for 15-20 minutes or place in the refrigerator for faster cooling.
- Carefully melt the milk chocolate using a double boiler or microwave in 30-second intervals, stirring between each interval to prevent burning.
- Pour the melted milk chocolate evenly over the cooled cereal base, tilting the pan gently to ensure complete coverage.
- Optional: Chop additional Mars Bar pieces and sprinkle over the chocolate layer for extra texture and visual appeal.
- Refrigerate the dessert for 1-2 hours until the chocolate layer is completely set and firm. Cut into square or rectangular pieces using a sharp knife before serving.
Notes
- Whip up this decadent no-bake treat when craving something sweet without kitchen hassle.
- Skip baking and create a dessert that looks impressive but requires minimal effort.
- Refrigeration transforms simple ingredients into a luxurious chocolate masterpiece.
- Select fresh, crispy cereal to ensure maximum crunch and textural contrast.
- Cutting with a hot knife guarantees clean, picture-perfect slices every time.
- Prep Time: 15 minutes
- Cook Time: 5 minutes
- Category: Desserts, Snacks
- Method: Melting
- Cuisine: UK
Nutrition
- Serving Size: 12
- Calories: 194
- Sugar: 15g
- Sodium: 54mg
- Fat: 8g
- Saturated Fat: 4g
- Unsaturated Fat: 3g
- Trans Fat: 0g
- Carbohydrates: 27g
- Fiber: 0.5g
- Protein: 2g
- Cholesterol: 10mg
Isabella Rodriguez
Co-Founder & Content Creator
Expertise
Pastry Arts and Dessert Innovation, French and European Baking Techniques, Food Writing and Blogging, Culinary Event Planning
Education
Le Cordon Bleu Paris
Isabella Rodriguez is the co-founder and pastry chef at wd-50.com. She studied at Le Cordon Bleu in Paris, where she earned the Grand Diplôme®, a top award in both cooking and baking. After working in fancy bakeries and as a personal pastry chef, Isabella now shares her love for desserts in an easy way for home bakers to enjoy.
At wd-50.com, Isabella creates recipes for cookies, cakes, tarts, and more, always with clear steps and helpful tips. She believes baking should be fun, not stressful, and she hopes her recipes bring joy to your kitchen and smiles to your table.