
Easy Jamie Oliver Pear Chutney Recipe: Sweet & Tangy Magic
Pear chutney transforms ordinary ingredients into a vibrant, tantalizing condiment that dances across your taste buds.
Sweet and spicy elements merge beautifully in this remarkable preserve, creating complex flavor profiles that elevate simple dishes.
Crafting homemade chutney involves balancing delicate fruit notes with robust spices and aromatic herbs.
Unexpected combinations of ingredients unlock culinary magic, turning humble pears into a sophisticated accompaniment.
The magic happens when carefully selected components simmer together, releasing their intense essences and melding into something extraordinary.
Subtle heat and fruity undertones promise a delightful sensory experience that will revolutionize your meal preparations: Get ready to impress.
Why Jamie Oliver’s Pear Chutney Balances Sweet & Savory
Ingredients for Jamie Oliver Pear Chutney
Sweeteners and Liquids:Spices and Aromatics:Fruits:Straightforward Steps to Pear Chutney by Jamie Oliver
Step 1: Gather Your Flavor Ingredients
Collect these ingredients in a large pot:Bring the mixture to a rolling boil over medium-high heat, stirring occasionally.
Step 2: Add Fruity Excitement
Toss in the following:Reduce heat to low, allowing the mixture to gently simmer.
Step 3: Create Chutney Magic
Let the mixture simmer for 40 minutes, watching for these signs:Step 4: Introduce Sweet Bursts
Sprinkle sultanas into the pot, stirring gently to distribute evenly.
Step 5: Preserve Your Culinary Treasure
Remove pot from heat and let cool completely.
Carefully spoon the chutney into clean, sterilized glass jars.
Seal tightly and store in a cool, dark place.
Enjoy within 3 months for maximum flavor intensity.
Tips for a Tasty Pear Chutney
Preserving Jamie Oliver Pear Chutney
Easy Variations on Pear Chutney
Concluding Jamie Oliver Pear Chutney
Pear chutney emerges as culinary magic, blending sweet and spicy notes into a sensational preserve.
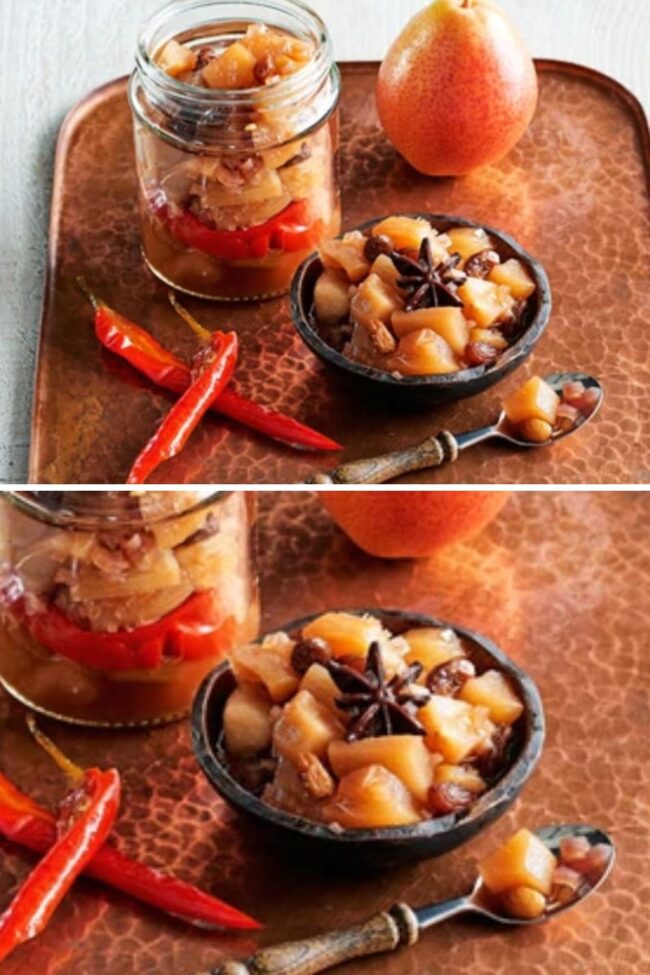
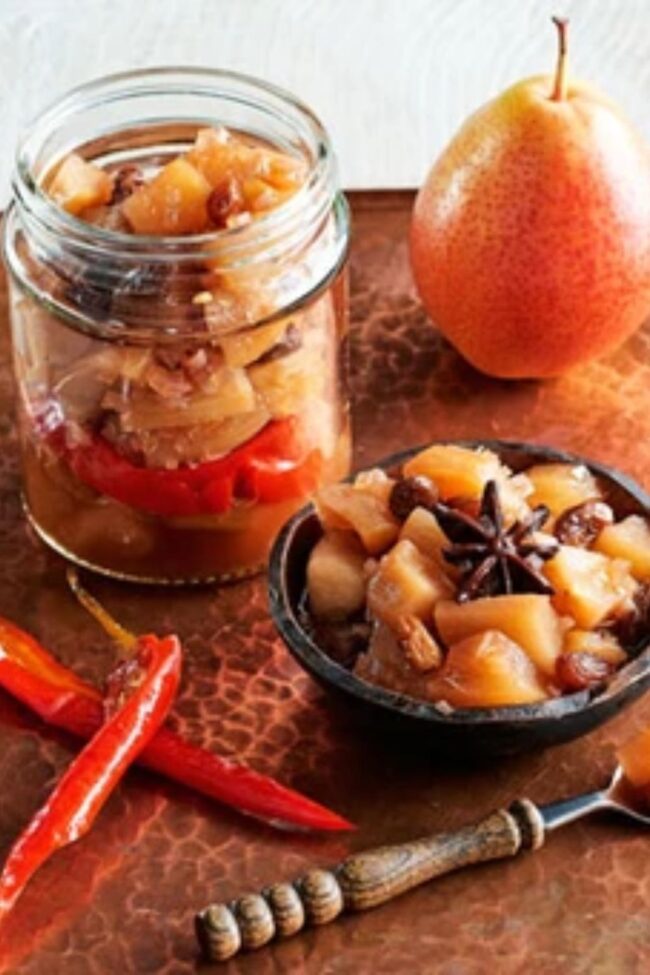
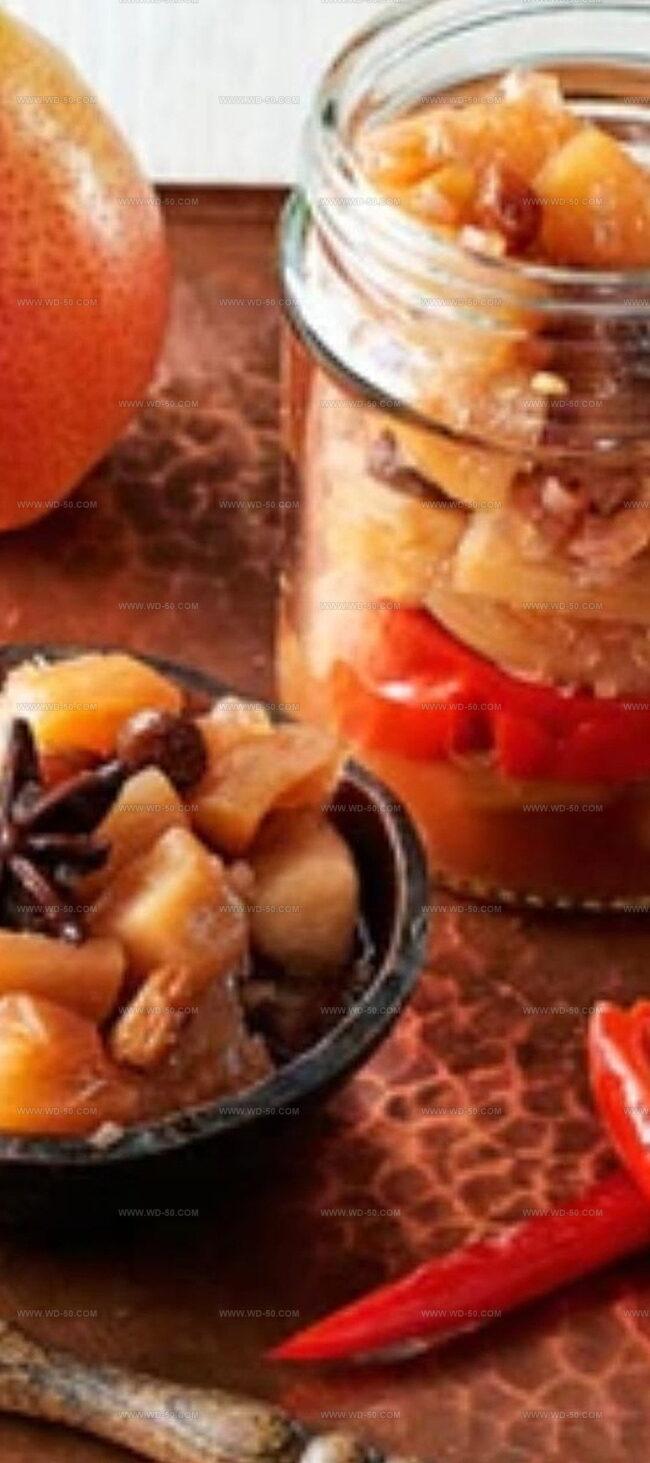
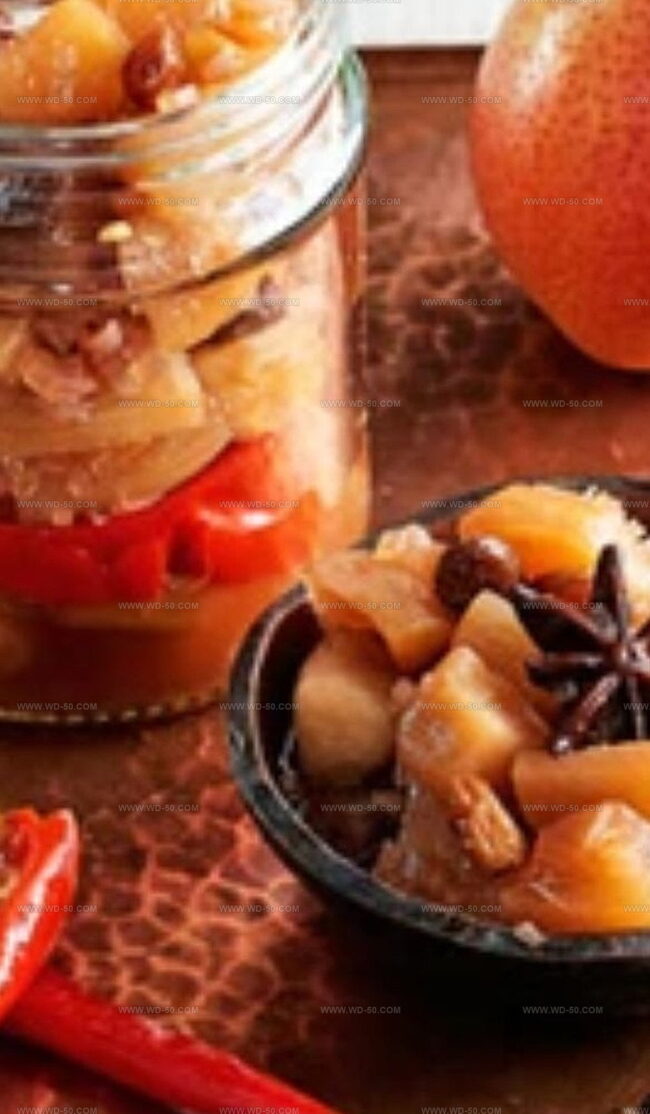
Cider vinegar and pear cider create an enchanting liquid backdrop for tender fruit chunks.
Star anise and cumin provide sophisticated depth, while red chilies spark unexpected excitement.
Sultanas add delightful complexity to this British-inspired condiment.
Homemade chutney becomes more than a recipe – it transforms into a personal culinary adventure.
Dive into this delicious creation, share your masterpiece with friends, spark conversation about your kitchen prowess, and let social media followers marvel at your gourmet skills.
Print
Jamie Oliver Pear Chutney Recipe
- Total Time: 55 minutes
- Yield: 6 1x
Description
Spice-laden pear chutney from Jamie Oliver brings rustic British countryside charm to your pantry. Fragrant vinegar, warm spices, and sweet pears create a complex condiment perfect for cheese boards and cold-weather meals.
Ingredients
Main Ingredients:
- 10 firm pears, peeled and chopped into bite-sized pieces
- 2 red onions, chopped
- Red chilies, halved (deseed if you like)
Sweeteners and Liquids:
- 200g (7 ounces) demerara sugar
- 200ml (6.8 fluid ounces) cider vinegar
- 100ml (3.4 fluid ounces) pear cider (perry)
- 50g (1.8 ounces) sultanas
Spices and Aromatics:
- 1 star anise
- 1 teaspoon ground cumin
- 1 teaspoon grated ginger
Instructions
- Combine granulated sugar, apple cider vinegar, pear cider, whole star anise, ground cumin, thinly sliced red onions, and minced fresh ginger in a large, heavy-bottomed saucepan.
- Raise the temperature to high and bring the aromatic liquid mixture to a vigorous rolling boil, stirring occasionally to ensure even heat distribution.
- Carefully fold in finely diced fresh pears and thinly sliced red chilies, then immediately reduce the heat to a gentle simmer.
- Allow the chutney to gently bubble and reduce, stirring periodically to prevent sticking, for approximately 35 to 45 minutes until the liquid transforms into a thick, glossy syrup and the pears become tender yet retain their structural integrity.
- Introduce golden sultanas (raisins) into the simmering mixture, stirring thoroughly to distribute evenly and incorporate them into the developing chutney.
- Remove the saucepan from the heat source and let the chutney cool completely to room temperature, which allows the flavors to meld and intensify.
- Once cooled, carefully transfer the chutney into sterilized glass jars, ensuring a clean rim for proper sealing, and store in a cool, dark pantry or refrigerator.
Notes
- Capture the essence of autumn with this vibrant, homemade pear chutney bursting with unexpected spice combinations.
- Transform ordinary meals into gourmet experiences by adding this versatile preserve as a stunning condiment.
- Create a sophisticated flavor profile that dances between sweet, tangy, and subtly spicy notes.
- Elevate cheese boards and sandwiches with a single, remarkable homemade spread that impresses guests.
- Craft an artisanal preserve that celebrates seasonal ingredients and culinary creativity.
- Preserve your creation in sterilized jars, ensuring delicious enjoyment for months to come.
- Prep Time: 15 minutes
- Cook Time: 40 minutes
- Category: Snacks, Appetizer
- Method: Simmering
- Cuisine: UK
Nutrition
- Serving Size: 6
- Calories: 150
- Sugar: 20g
- Sodium: 5mg
- Fat: 0.5g
- Saturated Fat: 0.1g
- Unsaturated Fat: 0.4g
- Trans Fat: 0g
- Carbohydrates: 35g
- Fiber: 3g
- Protein: 1g
- Cholesterol: 0mg
Isabella Rodriguez
Co-Founder & Content Creator
Expertise
Pastry Arts and Dessert Innovation, French and European Baking Techniques, Food Writing and Blogging, Culinary Event Planning
Education
Le Cordon Bleu Paris
Isabella Rodriguez is the co-founder and pastry chef at wd-50.com. She studied at Le Cordon Bleu in Paris, where she earned the Grand Diplôme®, a top award in both cooking and baking. After working in fancy bakeries and as a personal pastry chef, Isabella now shares her love for desserts in an easy way for home bakers to enjoy.
At wd-50.com, Isabella creates recipes for cookies, cakes, tarts, and more, always with clear steps and helpful tips. She believes baking should be fun, not stressful, and she hopes her recipes bring joy to your kitchen and smiles to your table.