
Easy Jamie Oliver Pickled Chillies Recipe: Spicy Homemade Magic
Jamie Oliver’s pickled chillies pack a serious punch of tangy, fiery goodness that transforms ordinary meals into culinary adventures.
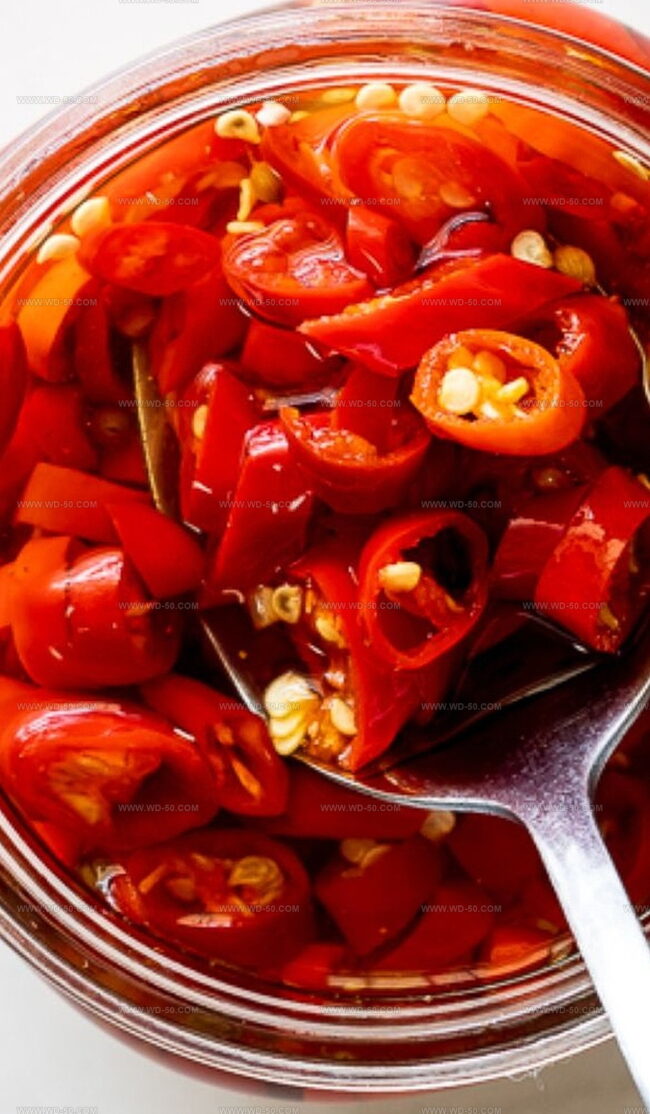
Vibrant peppers swimming in a zesty brine promise to electrify your taste buds with their bold personality.
These preserved chillies bring an explosive kick to countless dishes, elevating everything from sandwiches to salads with their intense flavor profile.
Traditional pickling techniques merge with fresh ingredients, creating a condiment that’s both nostalgic and modern.
Spice enthusiasts will appreciate the complex layers of heat and acidity dancing across their palate.
Homemade preservation allows you to control the intensity and character of each jar, ensuring a personalized condiment experience.
Food lovers seeking a simple yet impactful way to enhance their culinary repertoire will find these pickled chillies irresistibly compelling: prepare to unleash flavor magic.
Why Jamie Oliver’s Pickled Chillies Pack Heat & Zing
All the Ingredients for Jamie Oliver Pickled Chillies
Fresh Produce:Pickling Liquid Ingredients:Spices:Method to Make Jamie Oliver Pickled Chillies

Step 1: Prepare Jar and Ingredients
Gather a clean glass jar and sterilize it thoroughly. Slice fresh chillies and select a few bay leaves for extra flavor.
Step 2: Create Pickling Liquid
In a saucepan, combine:Bring the mixture to a rolling boil, stirring until sugar and salt completely dissolve.
Step 3: Fill Jar with Chillies
Carefully pack the sliced chillies and bay leaves into the sterilized jar, leaving a small space at the top.
Step 4: Pour Hot Pickling Liquid
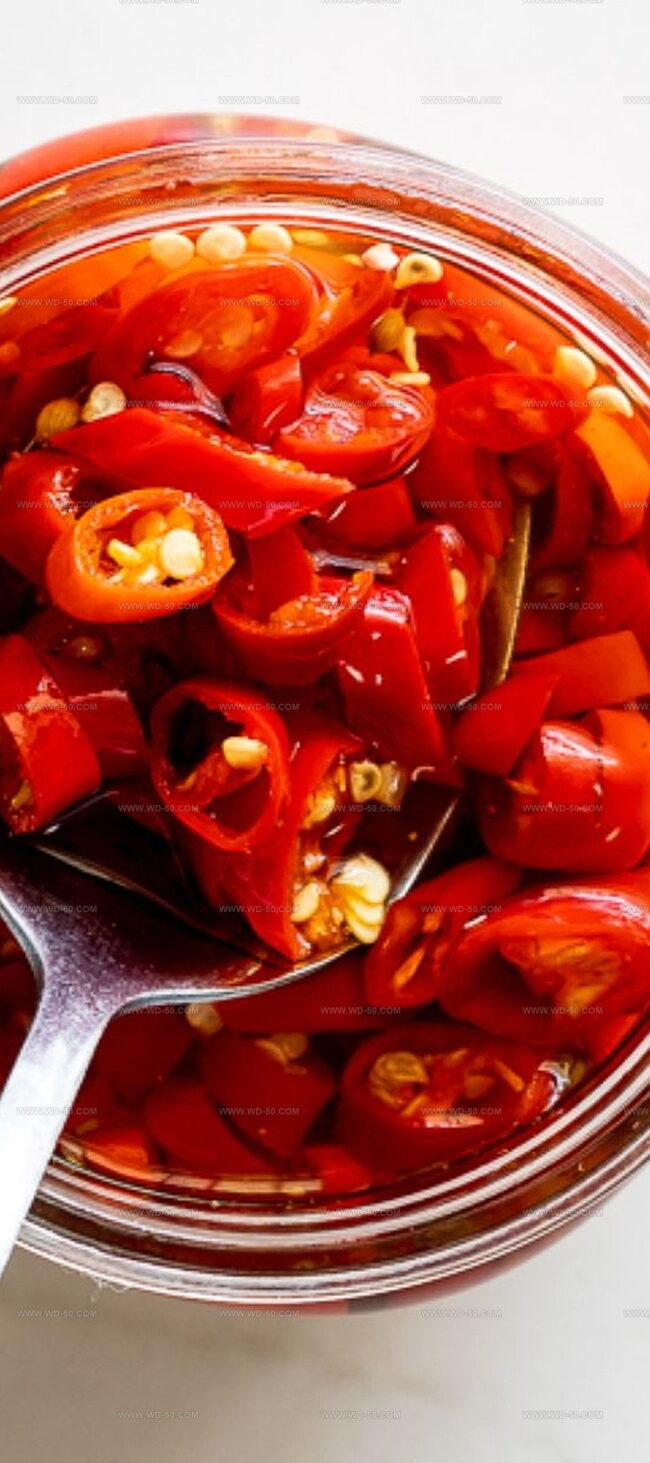
Using a ladle, slowly pour the boiling pickling liquid over the chillies, ensuring they are completely covered. Leave about 1/4 inch of headspace at the top of the jar.
Step 5: Seal and Cool
Wipe the jar rim clean, then securely close the lid using a cloth to protect your hands from the heat. Allow the jar to cool to room temperature.
Step 6: Refrigerate and Store
Once cooled, transfer the jar to the refrigerator. These spicy pickled chillies will stay fresh for up to 4 months when stored properly in the refrigerator.
Tips to Nail Spicy Jamie Oliver Chillies
Preserving Jamie Oliver Pickled Chillies
Different Takes on Jamie Oliver Pickled Chillies
Wrap-Up on Jamie Oliver Pickled Chillies
Spicy culinary adventures await with Jamie Oliver’s pickled chillies – a zesty condiment that transforms ordinary meals into extraordinary experiences.
Homemade pickles provide intense flavor bursts without complicated techniques.
Perfectly balanced vinegar and sugar create complex taste profiles that complement countless dishes.
Kitchen enthusiasts can elevate sandwiches, salads, and proteins with these vibrant preserved peppers.
Quick preparation means minimal effort for maximum taste impact.
Crave more flavor?
You’ll want to share this recipe, snap a photo, and tag fellow spice lovers – because great recipes deserve celebration and spread deliciousness faster than these chillies spread heat!
Print
Jamie Oliver Pickled Chillies Recipe
- Total Time: 20 minutes
- Yield: 10 1x
Description
Jamie Oliver Pickled Chillies bring fiery Mexican zest to any kitchen. Quick and simple preservation locks spicy peppers into tangy vinegar, delivering bold flavor that elevates sandwiches, tacos, and salads with authentic heat.
Ingredients
Main Ingredients:
- 500 grams (1 pound) chilies or peppers, sliced
- ½ cup white or cider vinegar
- ½ cup water
Sweeteners and Seasonings:
- ⅓ cup sugar
- 2 teaspoons salt
Spices and Herbs:
- 1 teaspoon mustard seeds
- 1 teaspoon coriander seeds
- 2 bay leaves
Instructions
- Prepare a clean, sterilized 475 milliliters (16 fluid ounces) glass jar by thoroughly washing and drying it.
- Layer the sliced chili peppers and bay leaves carefully inside the jar, ensuring they are evenly distributed.
- Combine white vinegar, granulated sugar, filtered water, kosher salt, and mixed pickling spices in a medium-sized saucepan.
- Heat the liquid mixture over high heat, stirring continuously until the sugar completely dissolves and the solution reaches a rolling boil.
- Remove the saucepan from the heat and allow the pickling liquid to cool for approximately 2-3 minutes.
- Slowly pour the hot pickling liquid over the chili peppers, leaving a small 6 millimeters (1/4 inch) headspace at the top of the jar.
- Use heat-resistant kitchen tongs or a cloth to carefully seal the jar lid, taking precautions to avoid burning your hands.
- Allow the jar to cool to room temperature for about 30 minutes before placing it in the refrigerator.
- Store the pickled chili peppers in the refrigerator for up to 4 months, ensuring the lid remains tightly sealed.
Notes
- Store these vibrant pickled chillies in the refrigerator, keeping them crisp and flavorful for up to four months.
- Impress food-loving friends and family with this homemade condiment that transforms ordinary meals into culinary adventures.
- Customize your heat level by selecting chilli peppers ranging from mild jalapeños to scorching habaneros.
- Pick fresh, bright chillies to ensure the most intense and colorful pickling results.
- Sterilize jars carefully to guarantee safe and long-lasting preservation of your spicy creation.
- Prep Time: 20 minutes
- Cook Time: 0 minutes
- Category: Snacks, Appetizer
- Method: Boiling
- Cuisine: UK
Nutrition
- Serving Size: 10
- Calories: 52
- Sugar: 10g
- Sodium: 466mg
- Fat: 0g
- Saturated Fat: 0g
- Unsaturated Fat: 0g
- Trans Fat: 0g
- Carbohydrates: 13g
- Fiber: 1g
- Protein: 1g
- Cholesterol: 0mg
Isabella Rodriguez
Co-Founder & Content Creator
Expertise
Pastry Arts and Dessert Innovation, French and European Baking Techniques, Food Writing and Blogging, Culinary Event Planning
Education
Le Cordon Bleu Paris
Isabella Rodriguez is the co-founder and pastry chef at wd-50.com. She studied at Le Cordon Bleu in Paris, where she earned the Grand Diplôme®, a top award in both cooking and baking. After working in fancy bakeries and as a personal pastry chef, Isabella now shares her love for desserts in an easy way for home bakers to enjoy.
At wd-50.com, Isabella creates recipes for cookies, cakes, tarts, and more, always with clear steps and helpful tips. She believes baking should be fun, not stressful, and she hopes her recipes bring joy to your kitchen and smiles to your table.