Easy Mary Berry Chilli Con Carne Recipe: Quick Family Favorite
Chilli con carne represents a mouthwatering culinary adventure that transforms ordinary ingredients into an extraordinary meal.
Warm spices dance through tender meat, creating complex layers of rich flavor that tantalize hungry palates.
Traditional recipes often blend robust ingredients with carefully selected seasonings to elevate this classic dish.
Passionate home cooks appreciate how such a straightforward combination can produce such remarkable results.
Professional chefs understand the delicate balance required to craft a truly memorable chilli con carne experience.
Regional variations showcase incredible diversity in preparation techniques and ingredient selections.
Comfort and satisfaction merge seamlessly in this hearty, soul-warming creation that brings people together around the dinner table: Get ready to impress everyone with your cooking skills!
What’s Hearty About Mary Berry’s Chilli Con Carne
The Ingredients Behind Mary Berry’s Chilli Recipe
Meat Base:Vegetables and Aromatics:Spices and Seasonings:Optional Flavor Enhancers:Cooking Essentials:How to Cook Chilli Con Carne Like Mary Berry
Step 1: Gather Delicious Ingredients
Collect all your chilli ingredients:Step 2: Prep Colorful Vegetables
Finely chop onion, red pepper, and garlic into small, uniform pieces.
Step 3: Sauté Aromatic Onions
Heat vegetable oil in a large skillet over medium heat. Cook onions until soft and translucent, about 5 minutes.
Step 4: Add Fragrant Spices
Toss in garlic, red pepper, and spices. Stir continuously to prevent burning.
Step 5: Brown Savory Beef
Add ground beef and cook until completely browned, breaking meat into small crumbles.
Step 6: Create Rich Sauce
Pour in beef stock, chopped tomatoes, marjoram, sugar (or chocolate), and tomato purée. Simmer on low heat for 20 minutes, stirring occasionally.
Step 7: Introduce Kidney Beans
Mix in kidney beans and continue cooking for 10 more minutes.
Step 8: Season and Perfect
Taste the chilli and adjust seasoning with salt and pepper as needed.
Step 9: Rest and Serve
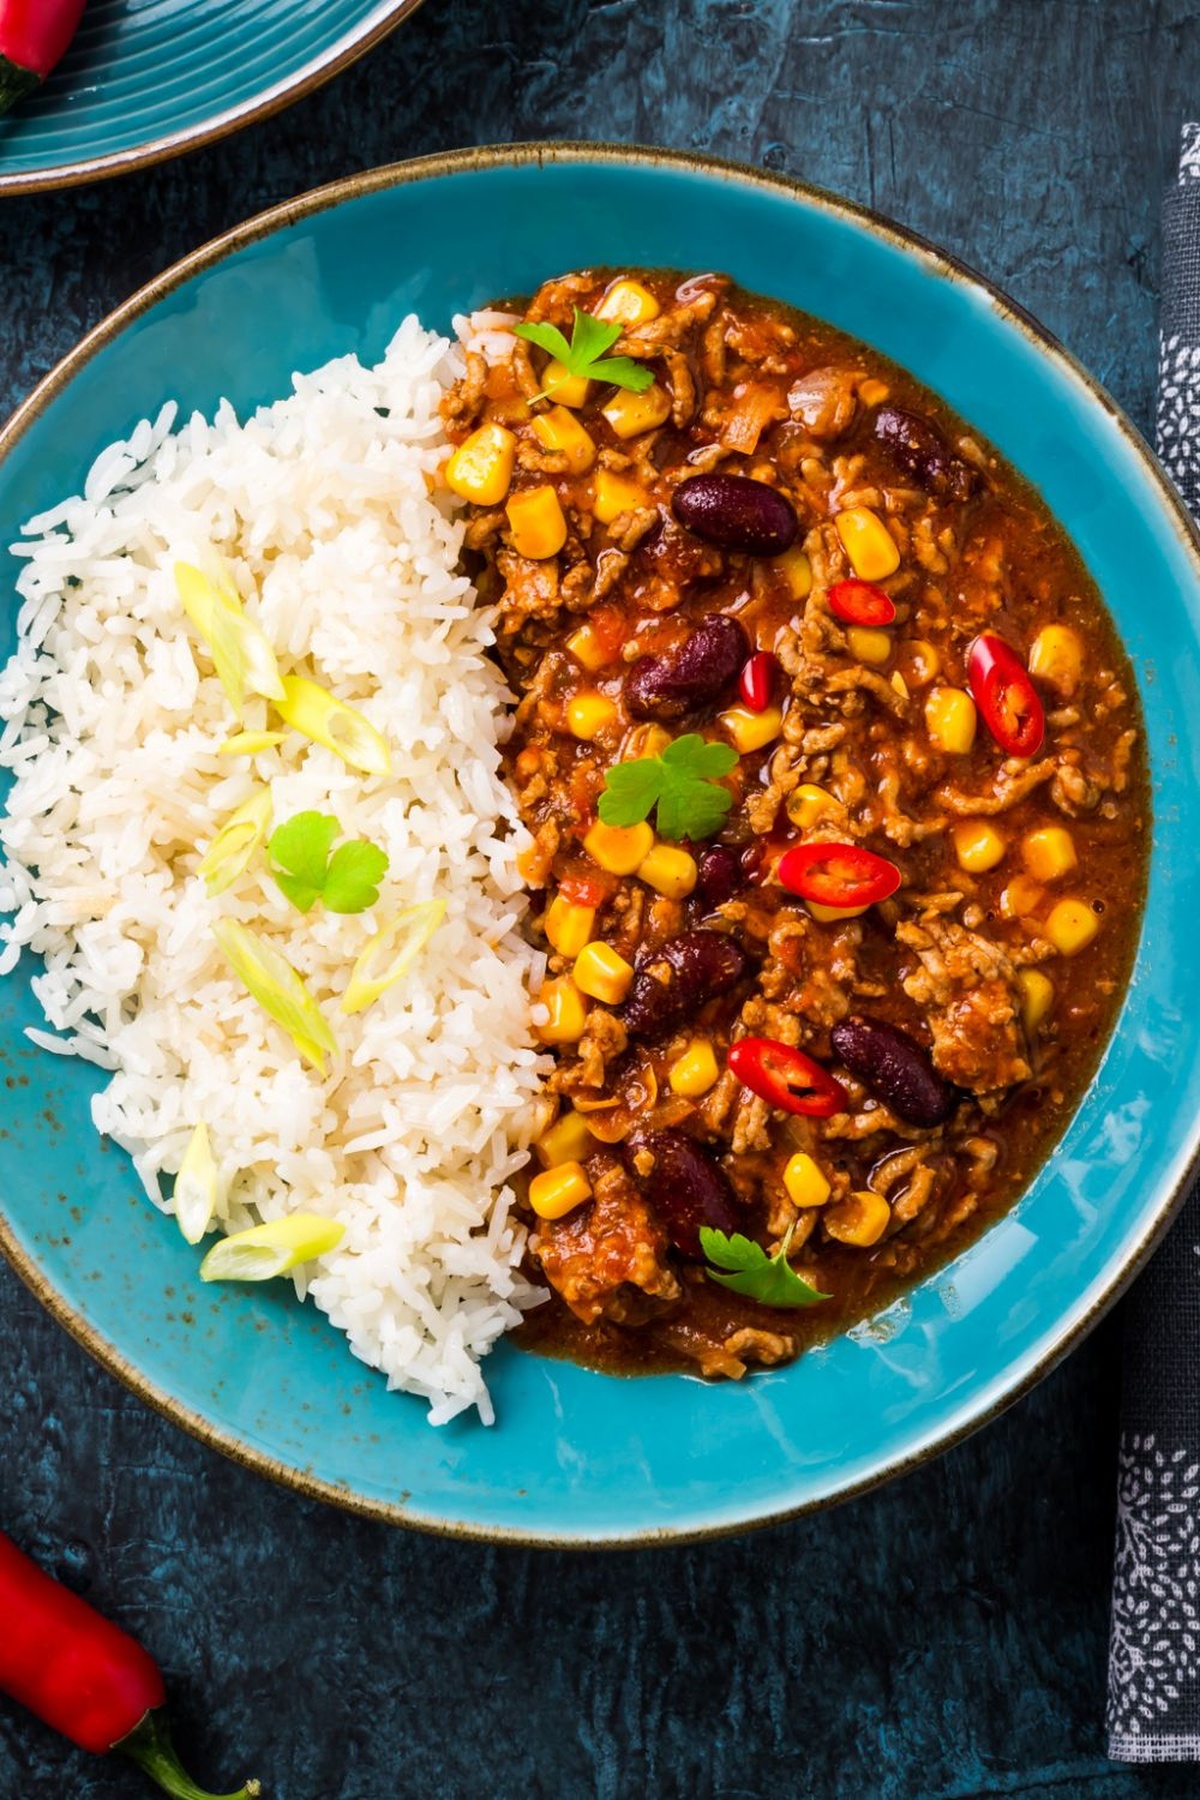
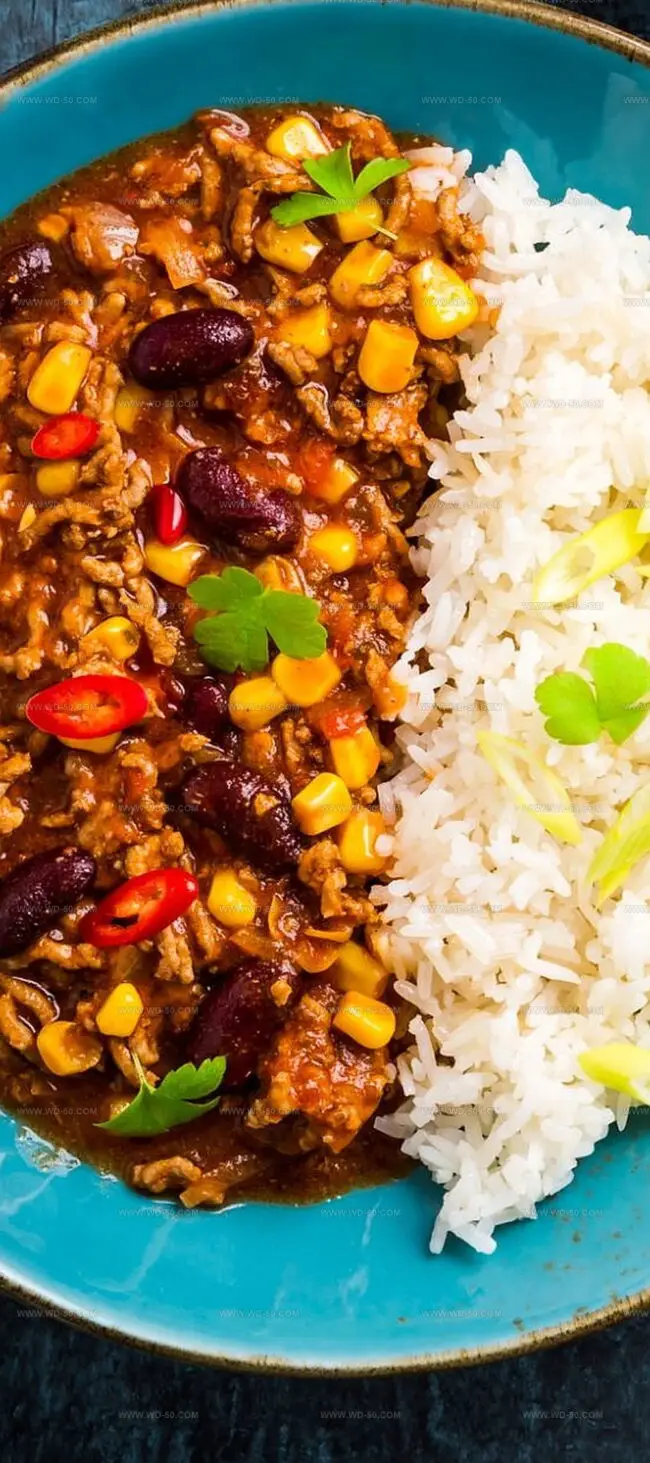
Remove from heat and let chilli rest for 10 minutes. Serve hot with fluffy rice and a generous dollop of soured cream.
Hot Tips for Mary’s Chilli Con Carne

Proper Storage for Leftover Chilli
Vacuum Seal for Maximum Freshness: Pack cooled chilli con carne into vacuum-sealed bags, eliminating air exposure completely. This method preserves flavor intensity and prevents freezer burn, extending storage life up to 4-5 months with minimal quality loss.
Portion and Freeze Strategically: Divide chilli into individual serving-sized containers before freezing. Smart portioning allows quick defrosting and reduces food waste, ensuring you can enjoy a perfect single serving whenever hunger strikes.
Revive with Liquid Magic: Restore moisture and prevent dryness when reheating by adding a splash of beef broth or water. Gentle stovetop warming helps maintain the dish’s original texture and prevents scorching, bringing your chilli back to life with restaurant-quality taste.
Flavor Twists for Spicing Things Up
Why Mary’s Chilli Con Carne Stands Strong
Mary Berry’s chilli con carne embodies Mexican culinary passion with British precision.
Her recipe transforms simple ingredients into a hearty masterpiece that warms household tables.
Classic techniques merge with bold flavors, creating a dish rich with complexity and comfort.
International palates will appreciate the balanced spice profile and robust meat selection.
Home cooks can easily recreate this legendary recipe with straightforward steps and common kitchen staples.
Spoon this extraordinary meal onto plates, savor each carefully crafted bite, share the recipe with friends, comment below, and spread delicious inspiration across your social circles.
Print
Mary Berry Chilli Con Carne Recipe
- Total Time: 1 hour 10 minutes
- Yield: 4 1x
Description
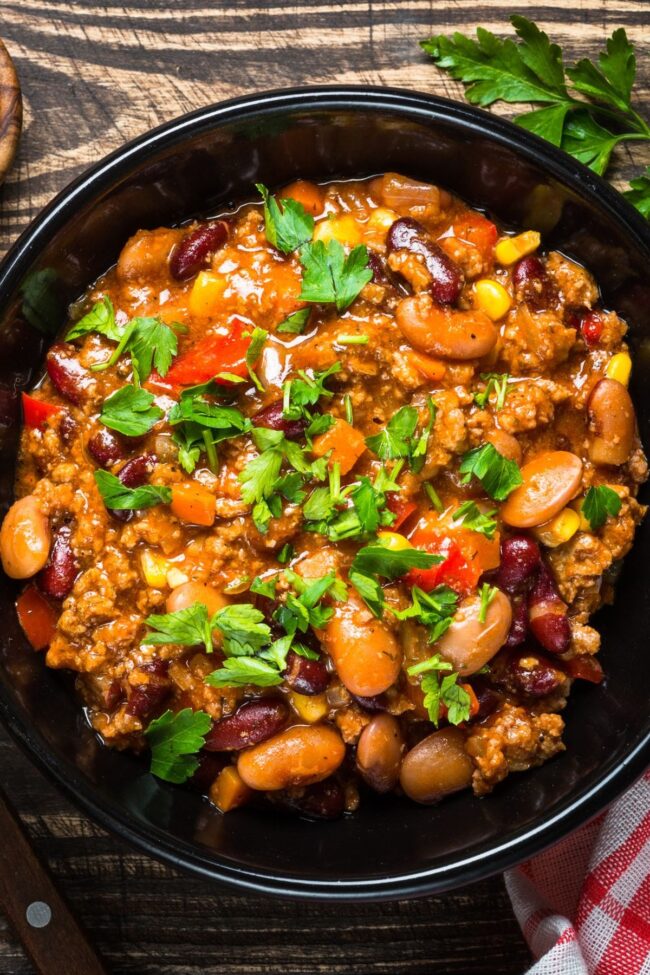
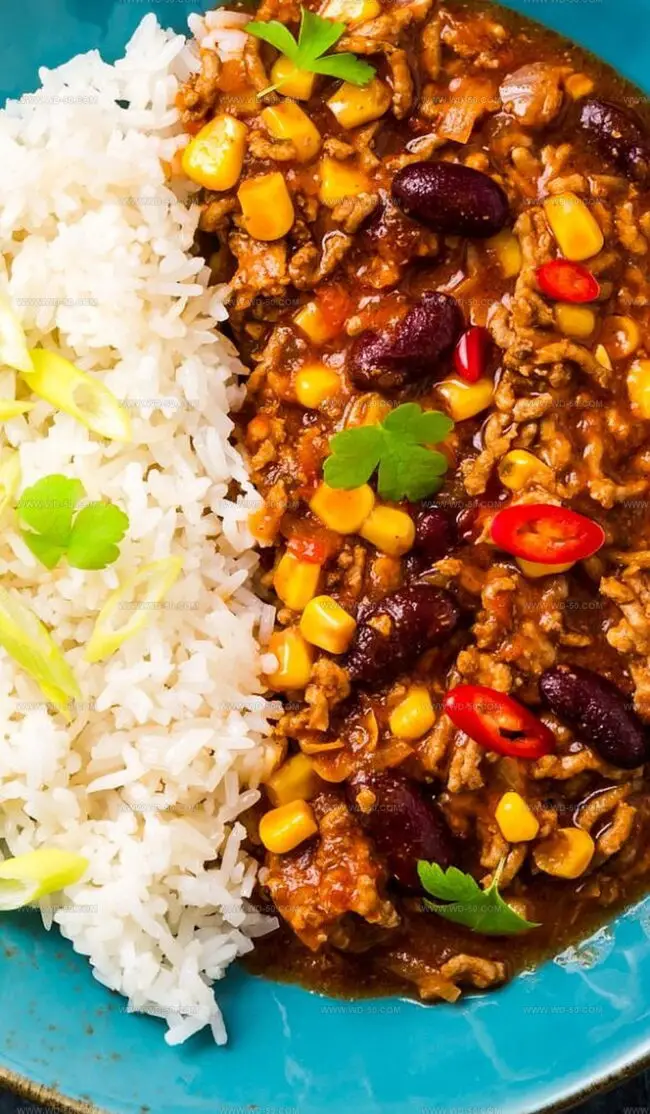
Mary Berry’s chilli con carne delivers robust flavors from classic British culinary expertise. Hearty beef, aromatic spices, and rich tomato sauce create a comforting meal that welcomes you to savor each delicious spoonful.
Ingredients
Main Ingredients:
- 500 grams (1.1 pounds) lean minced beef
- 410 grams (14.5 ounces) can of red kidney beans
- 400 grams (14 ounces) can of chopped tomatoes
Vegetables and Aromatics:
- 1 large onion
- 1 red pepper
- 2 garlic cloves
- 1 tablespoon oil
Seasonings and Garnishes:
- 1 beef stock cube
- 2 tablespoons tomato purée
- 1 heaped teaspoon hot chili powder (or 1 level tablespoon if only mild)
- 1 teaspoon paprika
- 1 teaspoon ground cumin
- ½ teaspoon dried marjoram
- 1 teaspoon sugar
- Plain boiled long-grain rice, to serve
- Soured cream, to serve
Instructions
- Prepare your culinary workspace by gathering all ingredients and kitchen tools, ensuring a clean and organized cooking environment.
- Meticulously dice the onion, red bell pepper, and mince the garlic cloves into uniform, small pieces to promote even cooking and flavor distribution.
- Heat olive oil in a large skillet or Dutch oven over medium-high heat (375°F/190°C), allowing the oil to shimmer but not smoke.
- Gently sauté the chopped onions until they become translucent and soft, approximately 3-4 minutes, stirring occasionally to prevent burning.
- Introduce minced garlic and diced red bell pepper to the pan, stirring continuously to release their aromatic essential oils and prevent scorching.
- Sprinkle in the selected spices, allowing them to bloom and intensify their flavors for approximately 30-45 seconds.
- Add ground beef to the skillet, breaking it into small crumbles using a wooden spoon or spatula, and cook until the meat transforms from pink to a rich, uniform brown color.
- Pour in beef stock (16 fluid ounces/473 milliliters), diced tomatoes, marjoram, sugar (or dark chocolate), and tomato purée, stirring to combine all ingredients thoroughly.
- Reduce heat to low, cover the skillet, and allow the mixture to simmer gently for 18-22 minutes, stirring occasionally to prevent sticking.
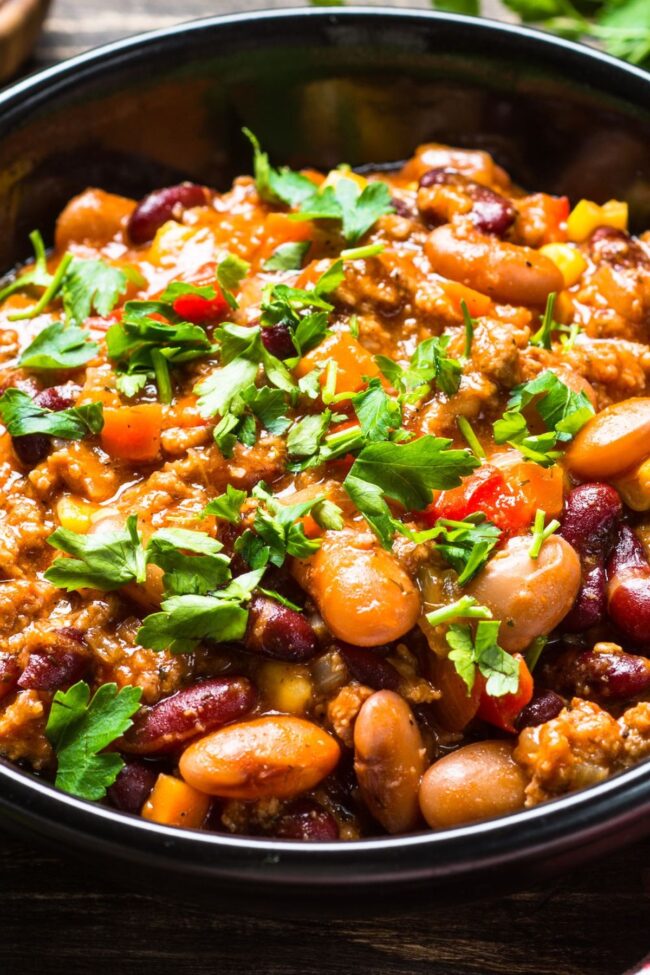
- Incorporate kidney beans, stirring carefully to distribute them evenly throughout the sauce, and continue cooking for an additional 8-12 minutes.
- Taste the chili and adjust seasoning with salt, pepper, or additional spices according to your preference.
- Remove from heat and let the chili rest for 5-7 minutes, allowing flavors to meld and sauce to slightly thicken.
- Serve hot over steamed rice, garnishing with a generous dollop of sour cream and optional fresh herbs for added complexity.
Notes
- Freeze individual portions for effortless future meals bursting with homemade flavor.
- Resting allows complex spices to mingle and deepen, transforming good chilli into extraordinary comfort food.
- Optional garnishes like fresh cilantro, zingy green onions, or melty cheese dramatically upgrade your dining experience.
- Ground beef with slightly higher fat content ensures juicier, more luxurious texture and richer taste.
- Slowly caramelizing onions creates a sweet, robust foundation that elevates the entire chilli’s flavor profile.
- A whisper of sugar or dark chocolate magically balances tomato acidity, adding unexpected depth to every bite.
- Prep Time: 10 minutes
- Cook Time: 1 hour
- Category: Dinner
- Method: Simmering
- Cuisine: UK
Nutrition
- Serving Size: 4
- Calories: 450 kcal
- Sugar: 5 g
- Sodium: 600 mg
- Fat: 20 g
- Saturated Fat: 6 g
- Unsaturated Fat: 12 g
- Trans Fat: 0 g
- Carbohydrates: 40 g
- Fiber: 10 g
- Protein: 30 g
- Cholesterol: 80 mg
Isabella Rodriguez
Co-Founder & Content Creator
Expertise
Pastry Arts and Dessert Innovation, French and European Baking Techniques, Food Writing and Blogging, Culinary Event Planning
Education
Le Cordon Bleu Paris
Isabella Rodriguez is the co-founder and pastry chef at wd-50.com. She studied at Le Cordon Bleu in Paris, where she earned the Grand Diplôme®, a top award in both cooking and baking. After working in fancy bakeries and as a personal pastry chef, Isabella now shares her love for desserts in an easy way for home bakers to enjoy.
At wd-50.com, Isabella creates recipes for cookies, cakes, tarts, and more, always with clear steps and helpful tips. She believes baking should be fun, not stressful, and she hopes her recipes bring joy to your kitchen and smiles to your table.