Quick & Cozy Mary Berry Pear Chutney Recipe for Fall Evenings
Tangy and rich, pear chutney transforms ordinary meals into culinary adventures with its complex flavor profile.
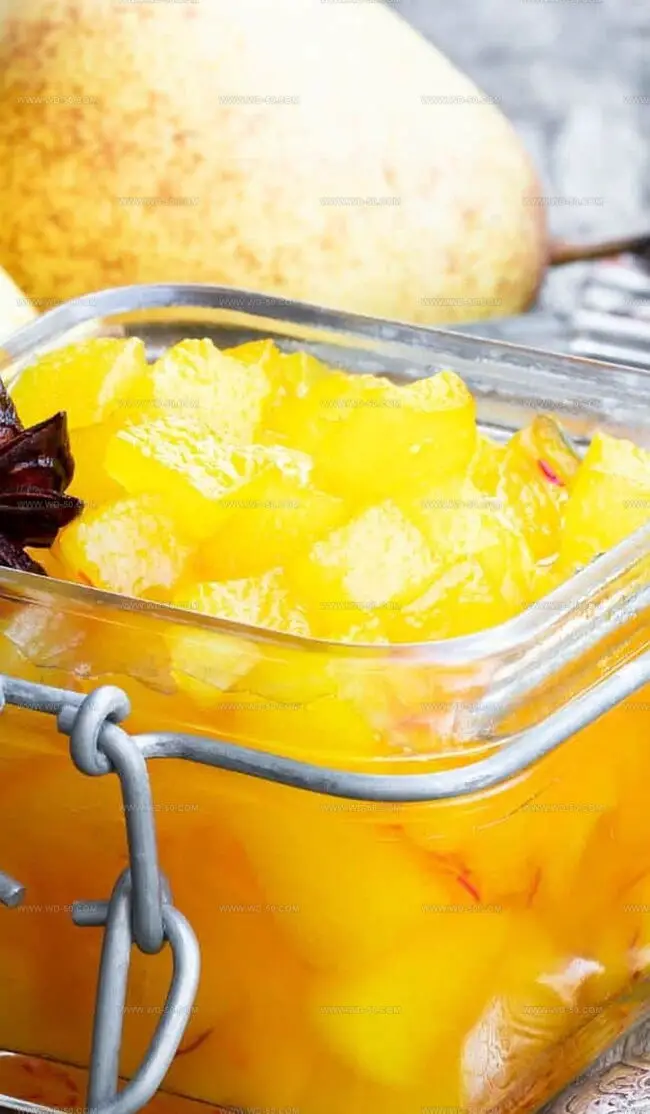
Sweet pears mingle beautifully with warm spices, creating a condiment that dances between savory and sweet dimensions.
Traditional British kitchens have long celebrated this versatile preserve as a staple accompaniment.
Homemade chutney represents more than just a spread – it’s a connection to generations of cooking wisdom.
Balanced ingredients merge seamlessly, producing a condiment that complements cheese platters, sandwiches, and roasted meats with elegant sophistication.
Each carefully crafted batch brings subtle nuances that store-bought versions cannot replicate.
Seasonal fruits and carefully selected spices elevate this recipe from simple preservation to gourmet craftsmanship: dive into a world of flavor excitement.
Why Mary Berry’s Pear Chutney Beats the Ordinary

Must-Have Ingredients for Mary Berry Pear Chutney
Fruit Base:Aromatics and Spices:Liquid and Sweeteners:How to Prepare Mary Berry Pear Chutney
Step 1: Combine and Heat Ingredients
Toss all ingredients into a large pot and place over medium heat. Stir everything together until the ingredients are well mixed and start to bubble gently.
Step 2: Simmer and Transform
Reduce heat to low and let the mixture simmer. Stir occasionally to prevent sticking. Watch as the pears soften and break down, creating a rich, fragrant mixture. This process takes about 30 minutes.
Step 3: Thicken the Chutney
If the mixture looks too watery, increase heat to high and continue cooking. The liquid will gradually evaporate, creating a thick, jammy consistency. Stir frequently to prevent burning.
Step 4: Cool and Store
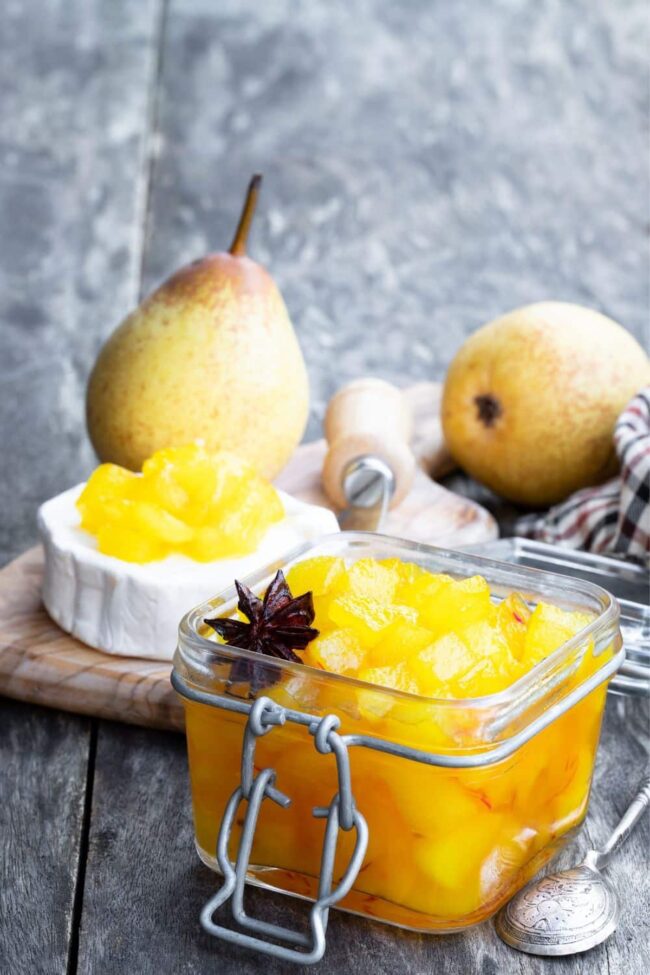
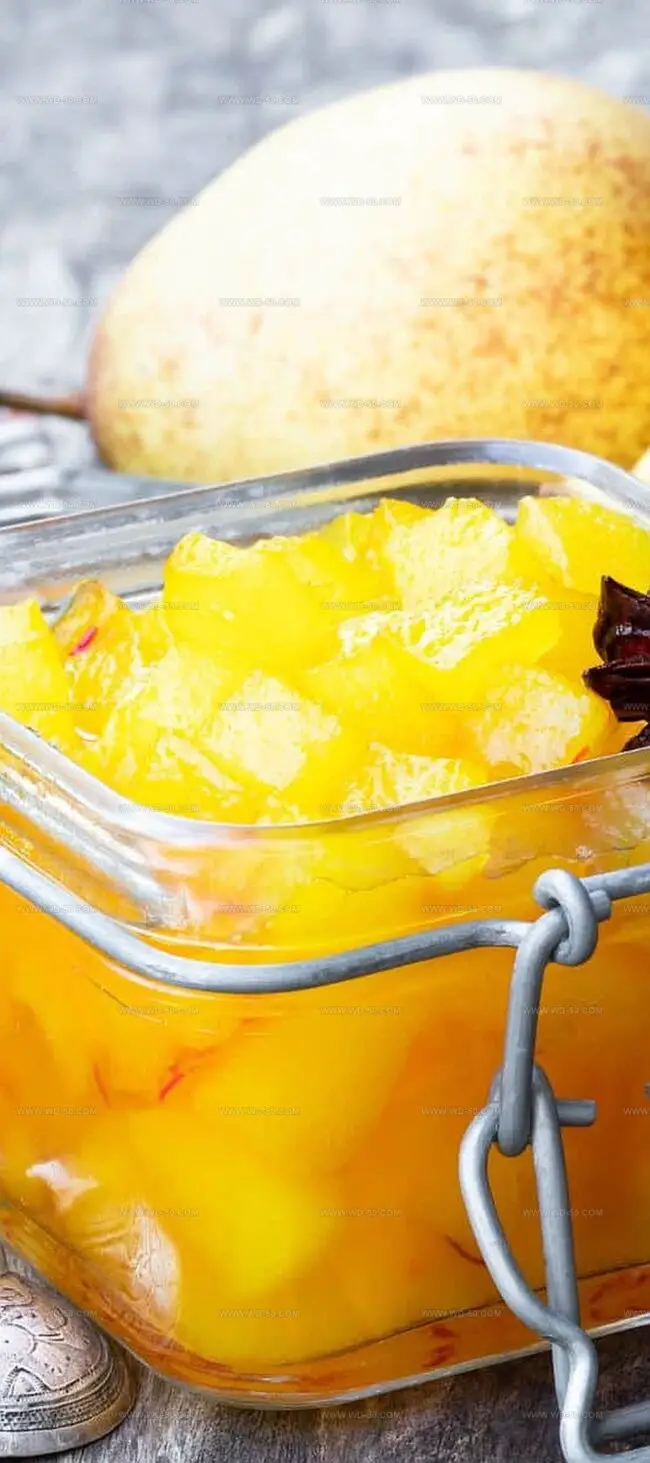
Remove from heat and let the chutney cool completely. Transfer to clean, airtight containers. You can:Pointers for a Fabulous Pear Chutney
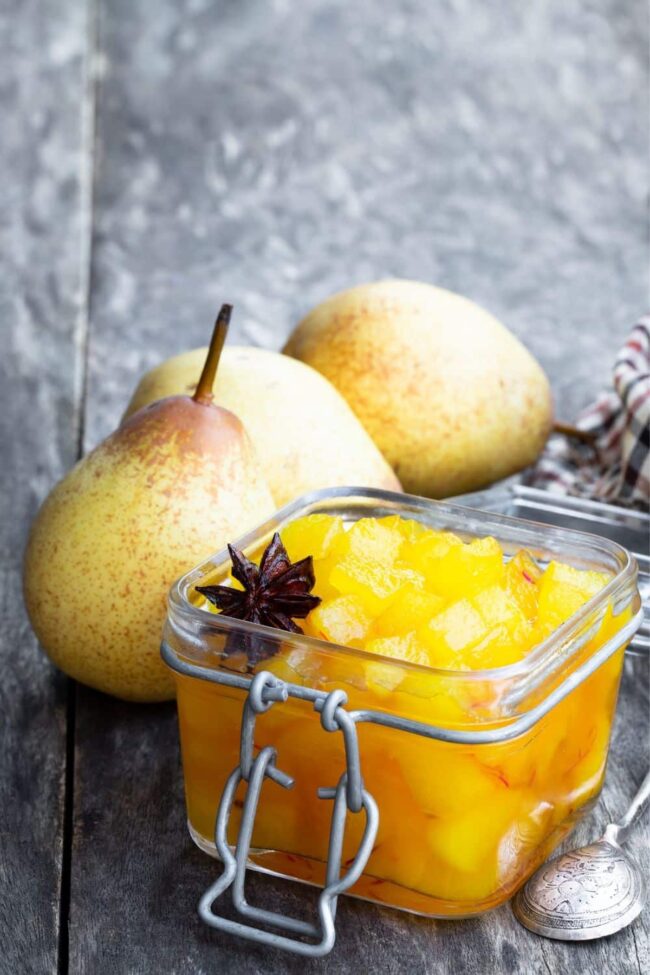
Storing Mary Berry Pear Chutney
Ways to Tweak Mary Berry Pear Chutney
A Note on Mary Berry Pear Chutney
Mary Berry’s Pear Chutney emerges as culinary magic, blending sweet and tangy notes into one remarkable condiment.
Complex flavor profiles dance across palates with each spoonful of this extraordinary preserve.
Spices mingle harmoniously, creating depth beyond simple fruit combinations.
Seasonal pears transform into a luxurious spread perfect for cheese boards or gifting to passionate home cooks.
Winter gatherings sparkle with this homemade delicacy that connects traditional British preserving techniques with contemporary taste expectations.
Adventurous souls: savor this recipe, share its delightful secrets on social media, and inspire fellow chutney enthusiasts to explore Mary Berry’s delectable creation!
Print
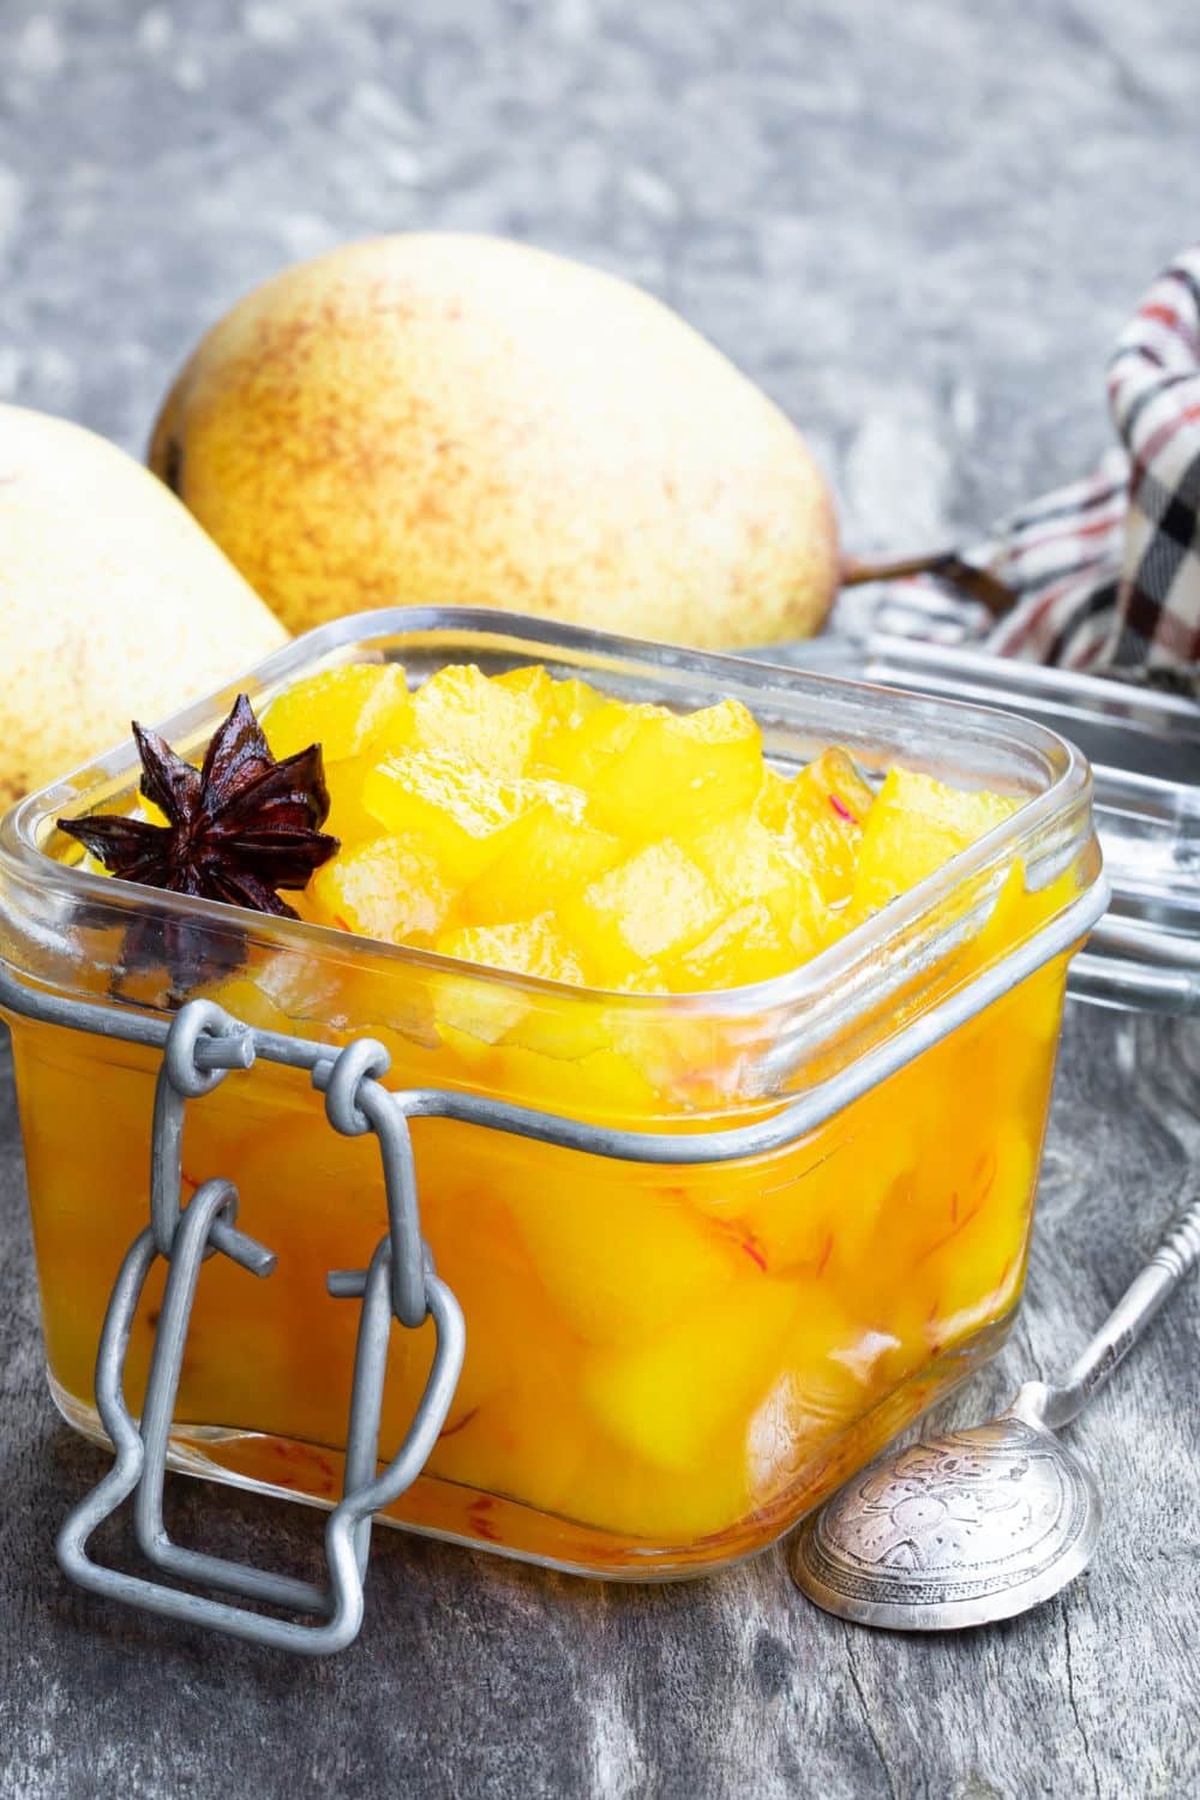
Mary Berry Pear Chutney Recipe
- Total Time: 1 hour
- Yield: 8 1x
Description
Mary Berry’s Pear Chutney brings European elegance to homemade preserves with its perfect balance of sweet pears and tangy spices. Home cooks discover a delightful condiment that pairs wonderfully with cheeses, cold meats, and rustic breads you’ll savor.
Ingredients
Main Ingredients:
- 3 pounds (1.36 kilograms) fresh pears, peeled, cored, and coarsely chopped
- 1 ½ cups (360 milliliters) apple cider vinegar
- 1 ¼ cups (250 grams) light brown sugar
- 1 ½ cups (225 grams) raisins
Aromatic Ingredients:
- ¼ cup (60 grams) peeled and finely chopped fresh ginger
- 1 small lemon, seeded and finely chopped or slivered
- 1 clove garlic, peeled and finely chopped
- 1 small hot chile pepper, finely chopped
Spices and Seasonings:
- ½ teaspoon kosher salt
- ¼ teaspoon ground allspice
- ¼ teaspoon freshly ground black pepper
- ¼ teaspoon ground coriander
- Pinch ground cloves
Instructions
- Combine diced pears, rich brown sugar, tangy apple cider vinegar, sweet raisins, zesty lemon juice, warm ginger, pungent garlic, spicy chile, mineral salt, aromatic allspice, sharp black pepper, earthy coriander, and fragrant cloves in a generously sized heavy-bottomed saucepan.
- Ignite the stovetop to medium heat, stirring the vibrant mixture continuously to prevent scorching and ensure even flavor distribution.
- Elevate the temperature until the contents reach a vigorous boil, then immediately reduce to a gentle simmer, allowing the ingredients to meld and transform.
- Maintain a low heat, periodically stirring the chutney to prevent sticking and promote uniform cooking, watching as the pears gradually soften and break down into a luscious, textured consistency.
- Monitor the liquid content carefully; if the mixture appears excessively watery after approximately 25 to 35 minutes, incrementally increase the heat to high, stirring constantly to encourage liquid reduction and intensify the flavors.
- Once the chutney reaches a thick, jam-like texture with pears nearly disintegrated, remove from heat and allow to cool completely at room temperature.
- Transfer the cooled chutney into sterilized airtight glass containers, ensuring a tight seal to preserve freshness and flavor intensity.
- Store in the refrigerator for up to 2 weeks, freeze for 3 months, or process in a water bath for shelf-stable preservation lasting up to 1 year.
Notes
- Develops deeper, more complex flavors when allowed to rest for 24-48 hours before serving.
- Freezes exceptionally well, maintaining vibrant taste and texture for several months.
- Stores beautifully in sealed jars for up to 3 weeks in the refrigerator.
- Provides a delightful balance of sweet, tangy, and spicy flavor profiles.
- Perfect for gifting to food-loving friends during holiday seasons.
- Creates a wonderful homemade gift when packaged in decorative glass jars.
- Prep Time: 25 minutes
- Cook Time: 35 minutes
- Category: Snacks, Dinner
- Method: Simmering
- Cuisine: UK
Nutrition
- Serving Size: 8
- Calories: 200
- Sugar: 35 g
- Sodium: 120 mg
- Fat: 1 g
- Saturated Fat: 0 g
- Unsaturated Fat: 0 g
- Trans Fat: 0 g
- Carbohydrates: 52 g
- Fiber: 3 g
- Protein: 1 g
- Cholesterol: 0 mg
Isabella Rodriguez
Co-Founder & Content Creator
Expertise
Pastry Arts and Dessert Innovation, French and European Baking Techniques, Food Writing and Blogging, Culinary Event Planning
Education
Le Cordon Bleu Paris
Isabella Rodriguez is the co-founder and pastry chef at wd-50.com. She studied at Le Cordon Bleu in Paris, where she earned the Grand Diplôme®, a top award in both cooking and baking. After working in fancy bakeries and as a personal pastry chef, Isabella now shares her love for desserts in an easy way for home bakers to enjoy.
At wd-50.com, Isabella creates recipes for cookies, cakes, tarts, and more, always with clear steps and helpful tips. She believes baking should be fun, not stressful, and she hopes her recipes bring joy to your kitchen and smiles to your table.