Quick & Easy Mary Berry’s Traditional Canterbury Tart Recipe
Mary Berry’s traditional Canterbury tart represents a quintessential British dessert that delights with its simplicity and rich flavor profile.
Generations of home bakers have embraced this sweet pastry as a comforting culinary treasure.
Soft, buttery crusts cradle a harmonious blend of seasonal ingredients that dance across your palate.
Delicate textures and balanced flavors characterize this beloved recipe that connects generations through shared culinary memories.
Regional baking techniques contribute to its unique charm and rustic appeal.
Each slice tells a story of traditional home cooking and cultural heritage.
You’ll fall in love with this elegant dessert that transforms humble ingredients into something truly spectacular: prepare to be amazed.
Why Mary Berry’s Canterbury Tart Is a Heritage Hit
Ingredient List for the Traditional Tart
Pastry Base:Fruit Layer:Filling Ingredients:How to Bake the Tart Like Mary Berry
Step 1: Prepare the Oven
Preheat your oven to 190°C (375°F or Gas Mark 5). Make sure the oven rack is in the middle position for even baking.
Step 2: Create the Pastry Base
Roll out the pastry on a lightly floured surface. Gently transfer the pastry to a 23cm (9-inch) tart tin. Use a fork to prick small holes in the base. Chill the pastry in the refrigerator for 30 minutes to firm up.
Step 3: Blind Bake the Crust
Line the chilled pastry with baking paper and fill with baking beans. Bake for 15 minutes to set the base. Remove the paper and beans, then return to the oven for an additional 5 minutes until the crust turns a beautiful golden brown. Let the crust cool completely.
Step 4: Add the Fruity Layer
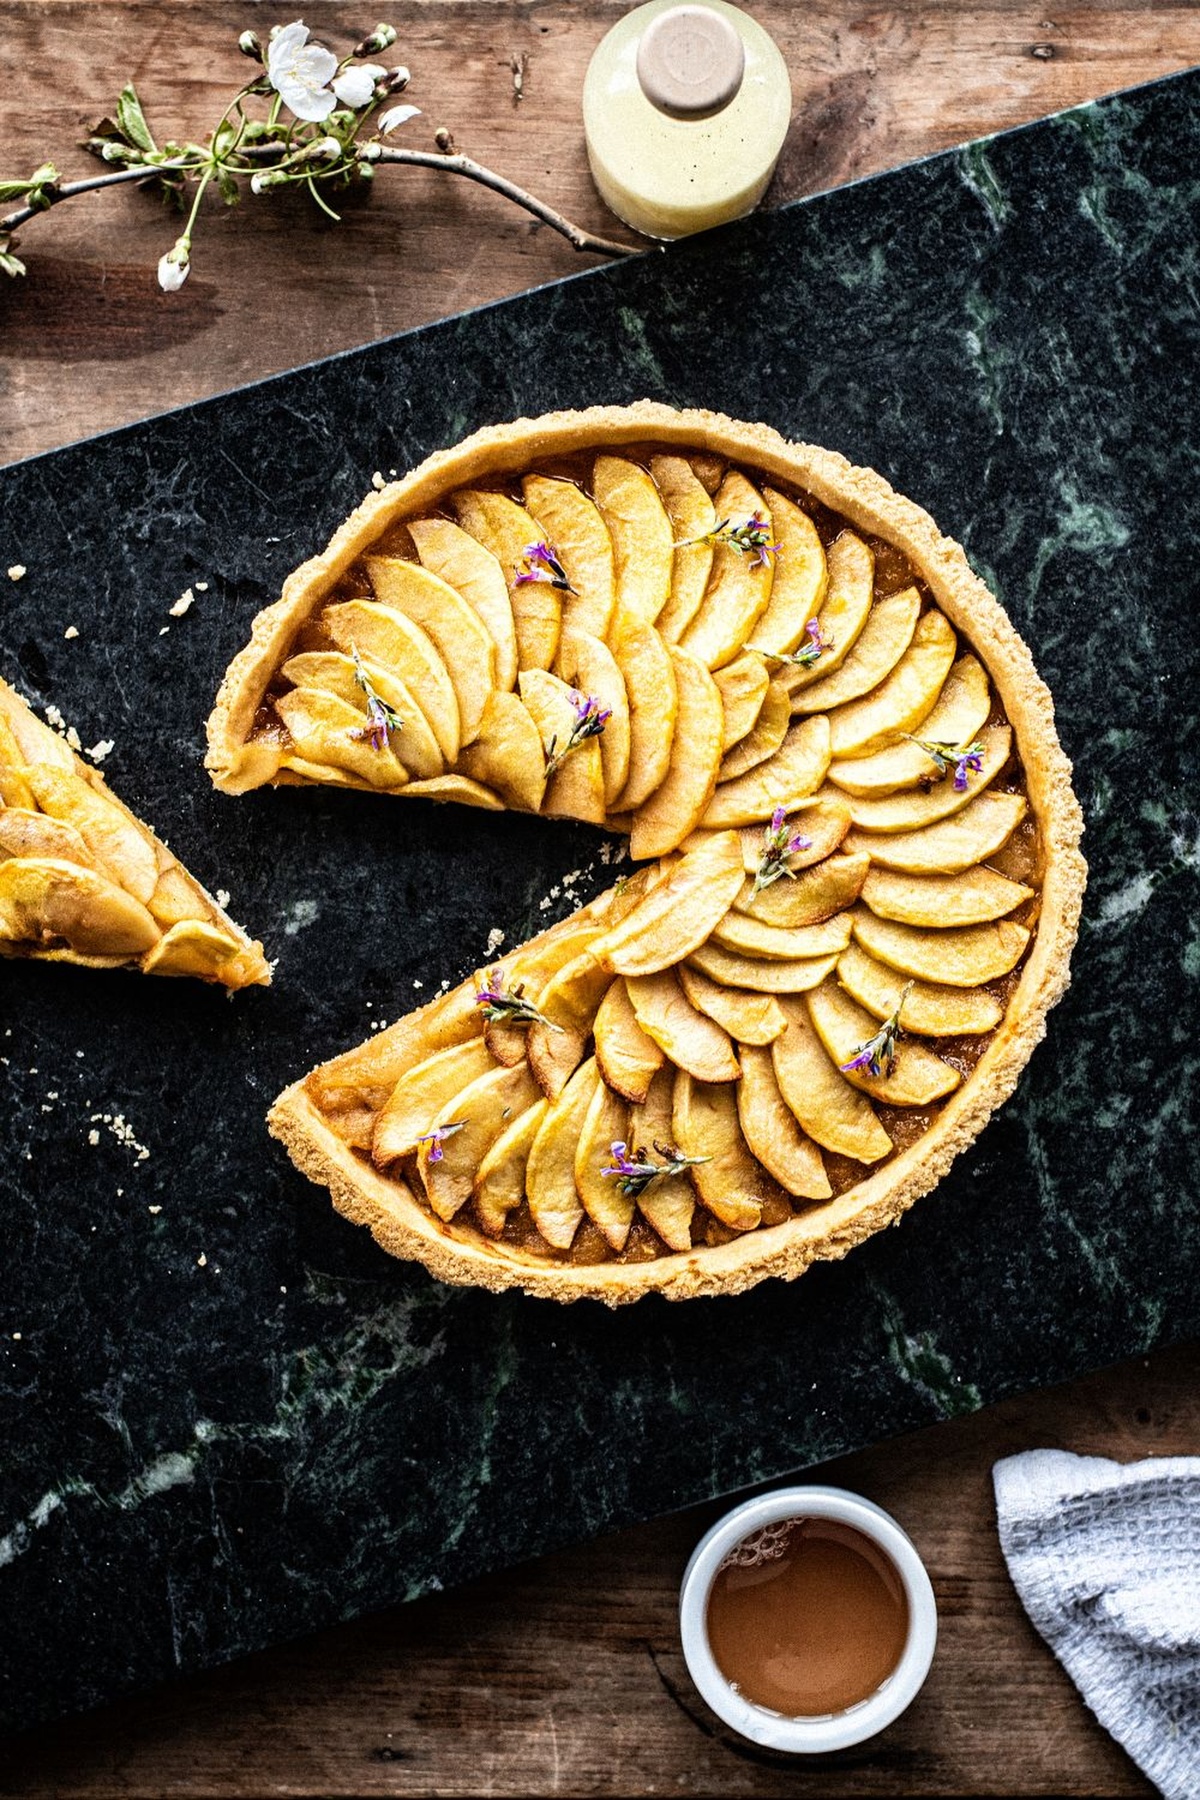
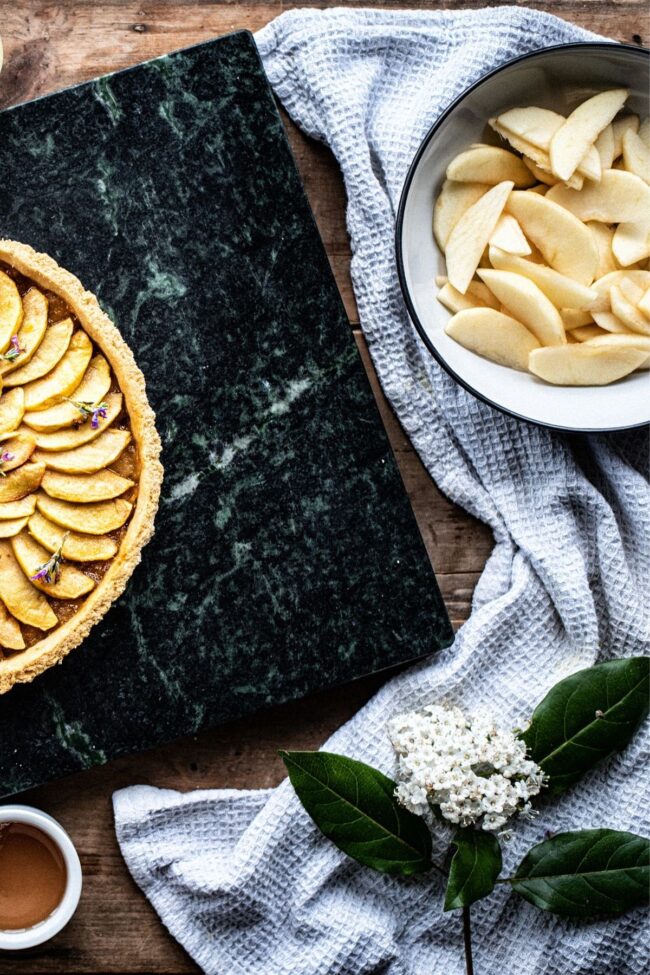
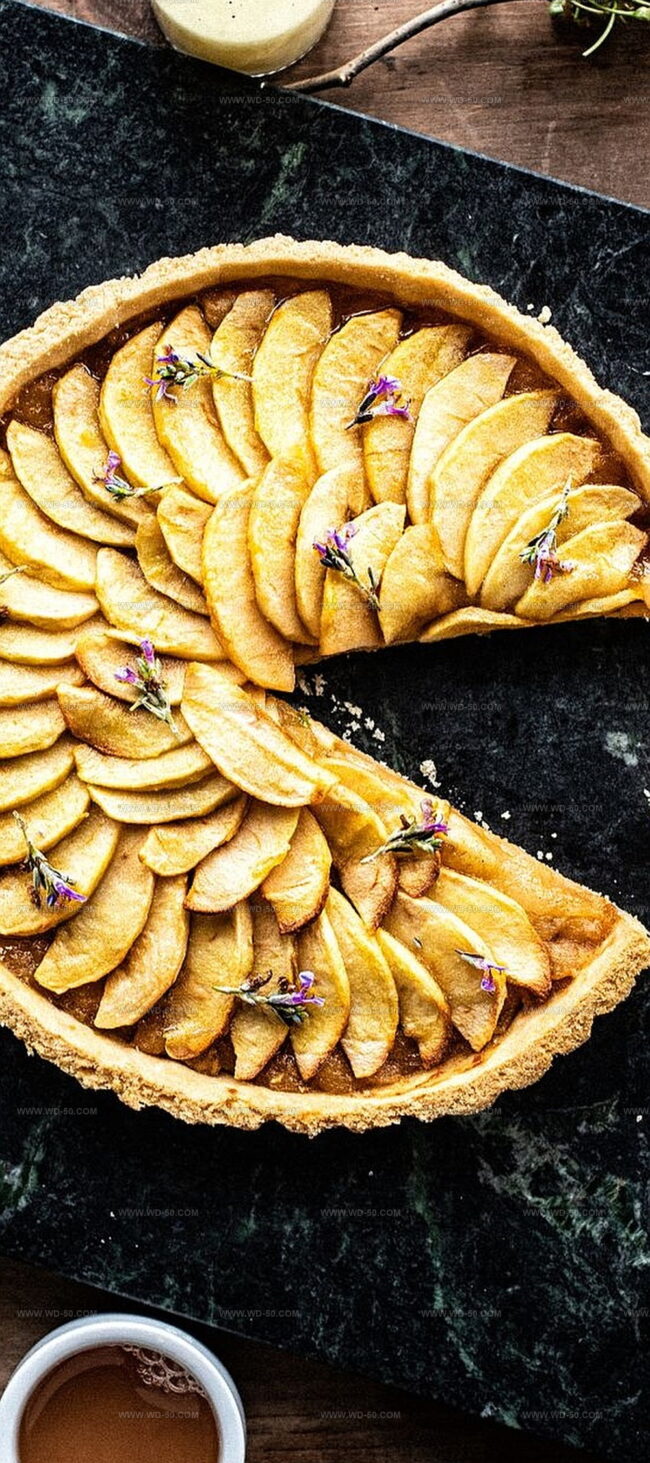
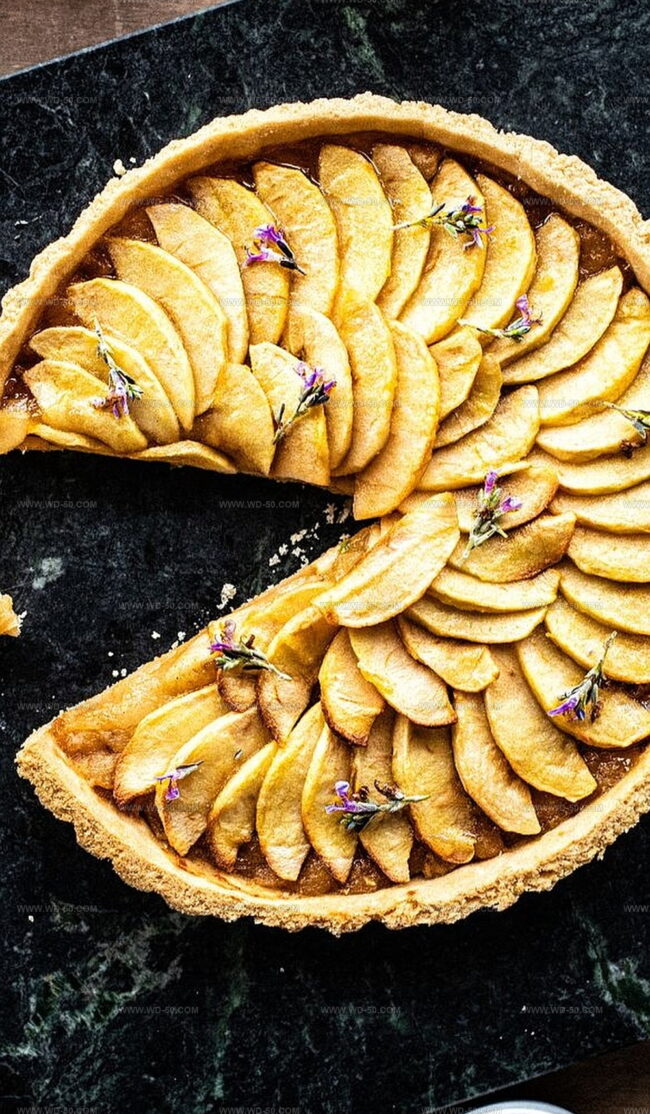
Spread a generous layer of blackcurrant jam across the cooled pastry base. Carefully arrange thinly sliced apples on top of the jam in an attractive pattern.
Step 5: Prepare the Almond Filling
In a mixing bowl, whisk together:Continue whisking until all ingredients are well combined and smooth.
Step 6: Finish and Bake
Pour the almond mixture evenly over the apple slices, ensuring complete coverage. Place the tart in the preheated oven and bake for 30-35 minutes. The tart is ready when the filling is set and has a gorgeous golden-brown color.
Step 7: Cool and Serve
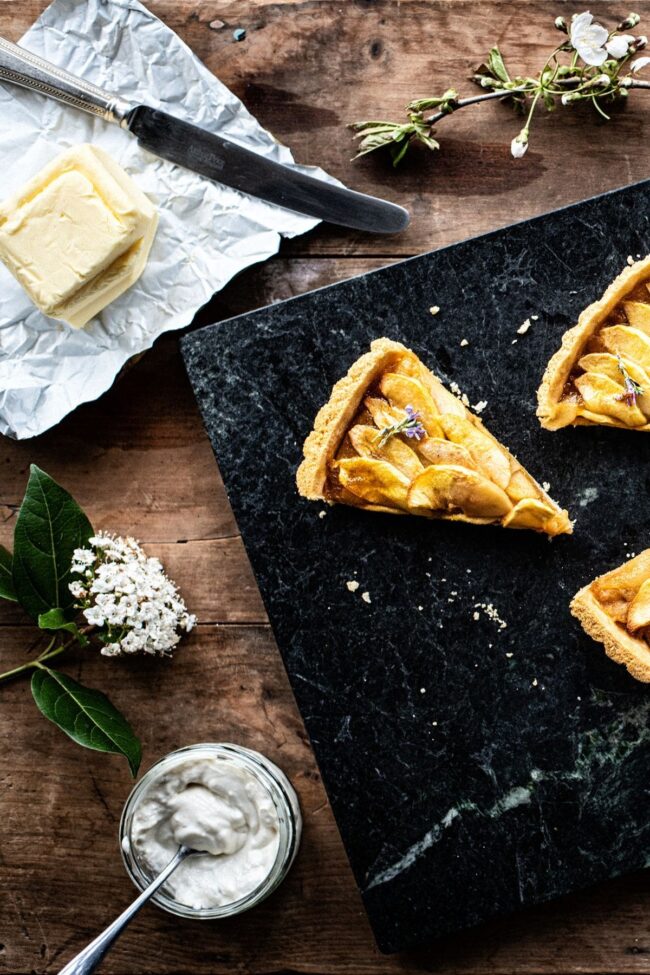
Remove the tart from the oven and let it cool completely. This allows the filling to set and makes slicing easier. Serve at room temperature and enjoy the delightful combination of sweet jam, tender apples, and nutty almond filling.
Tips to Bring Out the Flavors of the Filling
Best Ways to Store This Sweet, Sticky Dessert
Fun Twists on the Tart’s Presentation
Our Thoughts on Mary’s English Classic
Canterbury Tart embodies classic British baking charm with its delightful combination of crisp pastry, sweet blackcurrant jam, tender apples, and rich almond custard.
Mary Berry’s signature recipe reflects generations of culinary tradition from southeast England.
Her meticulous technique ensures a perfectly balanced dessert that celebrates local ingredients and seasonal produce.
Fruit-forward layers meld seamlessly with buttery pastry, creating an irresistible texture that whispers comfort and elegance.
Sophisticated yet approachable, this tart serves as a delectable narrative of regional heritage.
Passionate bakers and curious souls can savor this masterpiece, sharing its story through each delicious slice.
Hungry for more?
Dive into comments, spread culinary joy through shares, and connect with fellow baking enthusiasts who appreciate timeless recipes.
Print
Mary Berrys Traditional Canterbury Tart Recipe
- Total Time: 55 minutes
- Yield: 8 1x
Description
Mary Berry’s Traditional Canterbury Tart showcases British baking heritage with its rich custard filling and delicate pastry crust. Generations of home cooks have treasured this elegant dessert that promises comfort and nostalgia with each sublime slice.
Ingredients
Main Ingredients:
- 3 large cooking apples, peeled, cored and thinly sliced
- 225 g (8 ounces) sweet shortcrust pastry
- 50 g (2 ounces) ground almonds
Filling and Binding Ingredients:
- 2 large eggs
- 50 g (2 ounces) caster sugar
- 50 g (2 ounces) unsalted butter, melted
- 2 tablespoons blackcurrant jam
- 1 teaspoon vanilla extract
Instructions
- Meticulously prepare your kitchen workspace by positioning a rack in the middle of the oven and heating it precisely to 190°C/375°F (Gas Mark 5).
- Generously dust a clean work surface with flour and delicately roll out the pastry into a thin, even sheet that will comfortably cover a 23 centimeter (9 inch) tart tin.
- Carefully transfer the pastry into the tart tin, gently pressing it against the sides and base, then puncture the bottom with a fork to prevent air bubbles. Refrigerate the lined tin for 30 minutes to ensure a crisp foundation.
- Cover the chilled pastry with parchment paper and fill with ceramic baking weights or dried beans to prevent rising. Bake for 15 minutes to create a stable base.
- Remove the weights and parchment paper, then return the pastry to the oven for an additional 5 minutes until it achieves a golden-brown complexion. Let the shell cool completely.
- Spread a luxurious layer of blackcurrant jam across the pastry base, creating an even, glistening surface.
- Artfully arrange thinly sliced apples in an overlapping pattern across the jam-covered base.
- In a mixing bowl, vigorously whisk eggs, granulated sugar, melted butter, vanilla extract, and ground almonds until the mixture transforms into a smooth, homogeneous cream.
- Gently pour the almond cream over the arranged apple slices, ensuring complete and even coverage.
- Bake the tart for 30-35 minutes, watching for a set, golden-brown surface that signals perfect doneness. Allow the tart to cool completely before slicing and serving.
Notes
- Chill the pastry in the fridge for 30 minutes before rolling to prevent shrinkage and maintain its shape.
- Use cold butter when making the pastry to create a flaky, tender crust that melts in your mouth.
- Remove the tart from the pan carefully by placing it on a wide glass or can, letting the sides fall down gently.
- Dust with powdered sugar just before serving for an elegant, classic finishing touch that adds a sweet sparkle.
- Garnish with fresh mint leaves or additional berries to create a visually stunning presentation that impresses guests.
- Store leftover tart in an airtight container in the refrigerator for up to 3 days to maintain its delicious texture and flavor.
- Slice with a sharp, clean knife dipped in hot water for perfectly neat and clean cuts every time.
- Check the tart’s doneness by gently shaking the pan – the filling should have a slight wobble but not be completely liquid.
- Prep Time: 20 minutes
- Cook Time: 35 minutes
- Category: Desserts
- Method: Baking
- Cuisine: British
Nutrition
- Serving Size: 8
- Calories: 250 kcal
- Sugar: 10 g
- Sodium: 50 mg
- Fat: 12 g
- Saturated Fat: 6 g
- Unsaturated Fat: 5 g
- Trans Fat: 0 g
- Carbohydrates: 34 g
- Fiber: 3 g
- Protein: 4 g
- Cholesterol: 70 mg
Isabella Rodriguez
Co-Founder & Content Creator
Expertise
Pastry Arts and Dessert Innovation, French and European Baking Techniques, Food Writing and Blogging, Culinary Event Planning
Education
Le Cordon Bleu Paris
Isabella Rodriguez is the co-founder and pastry chef at wd-50.com. She studied at Le Cordon Bleu in Paris, where she earned the Grand Diplôme®, a top award in both cooking and baking. After working in fancy bakeries and as a personal pastry chef, Isabella now shares her love for desserts in an easy way for home bakers to enjoy.
At wd-50.com, Isabella creates recipes for cookies, cakes, tarts, and more, always with clear steps and helpful tips. She believes baking should be fun, not stressful, and she hopes her recipes bring joy to your kitchen and smiles to your table.