Granulated Sugar: Provides sparkling, sweet crunch on the galette’s exterior.
Tools That Help with Pear Galette Prep
Large baking sheet: Sturdy surface for creating and baking the galette.
Parchment paper: Essential for rolling out dough and preventing sticking.
Rolling pin: Helps flatten pie crust into a perfect circle.
Big mixing bowl: Needed for coating pears with sugar and spices.
Small bowl: Used for preparing egg wash.
Pastry brush: Helps apply egg wash evenly on dough edges.
Sharp knife: Useful for slicing pears into thin, even pieces.
Cooling rack: Allows galette to cool without getting soggy.
How to Assemble a Rustic Pear Galette
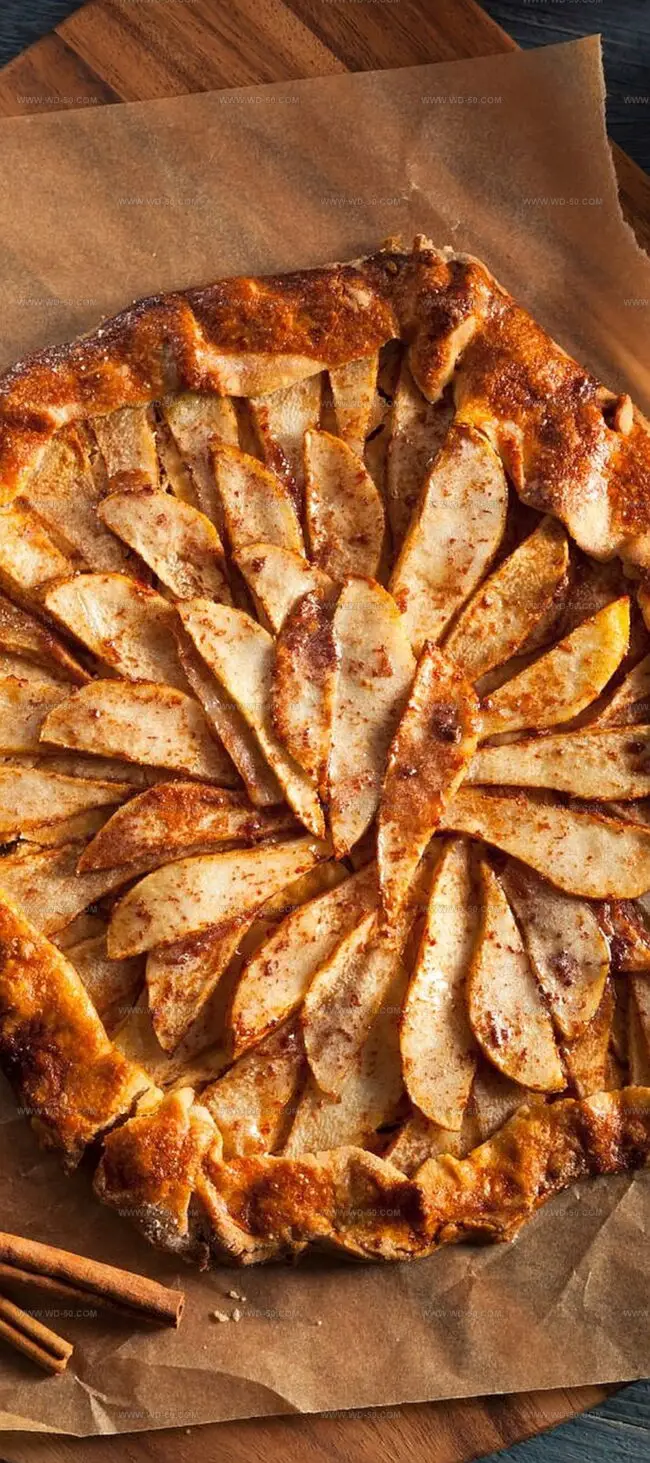
Rustic Pear Adventure
Dough Foundation A blank canvas of buttery pastry spread across parchment paper, creating a soft circular landscape that stretches about 12 inches wide.
Flavor Symphony Combine brown sugar, cornstarch, cinnamon, and a splash of lemon juice into a magical coating that transforms ordinary pear slices into a delectable treasure.
Artistic Arrangement Gently nestle the pear slices across the dough’s surface, leaving a generous border around the edges. Allow the fruit to create its own beautiful pattern, overlapping like gentle waves.
Elegant Edges Lovingly fold the dough’s perimeter over the fruit, creating a rustic frame. Dot small butter gems across the surface for an extra touch of richness.
Golden Finish Brush the folded edges with a whisked egg, then sprinkle a delicate sugar snow across the top to create a sparkling, caramelized crust.
Oven Magic Bake in a warm 400-degree haven until the edges turn a gorgeous golden brown and the pears bubble with sweet anticipation, typically around 35-40 minutes.
Patience Reward Allow your creation to rest and cool, letting the flavors mingle and settle for about 20 minutes before slicing into this beautiful dessert.
Add Flavor Twists to Your Pear Galette
Replace pears with apples, plums, or peaches for a delightful seasonal twist that keeps the recipe exciting and fresh.
Sprinkle ground nutmeg or cardamom into the sugar mixture to add warm, aromatic undertones that complement the sweet pears.
Scatter chopped almonds or walnuts over the filling before folding the edges for a delicious crunch that elevates the galette’s complexity.
Serve warm with a scoop of vanilla ice cream or drizzle with salted caramel sauce to transform this simple galette into an indulgent treat that wows guests.
Tips to Serve Pear Galette Just Right
Serve with Creamy Companions: Top each slice with a scoop of vanilla bean ice cream or a dollop of whipped mascarpone for a luxurious, cool contrast to the warm, spiced pears.
Pair with Comforting Drinks: Enjoy alongside a steaming mug of chai tea or a glass of crisp white wine like Riesling to complement the galette’s sweet and buttery flavors.
Create a Rustic Dessert Spread: Arrange the galette on a wooden board with a sprinkle of toasted almonds, a small pot of honey, and fresh mint leaves for an elegant, inviting presentation.
Elevate with Artisan Touches: Dust the galette with powdered sugar just before serving and add a few fresh pear slices on the side for a professional, restaurant-style finish.
Store Pear Galette Without Soggy Crust
Serve Fresh and Fast: Enjoy this pear galette within 2 days of baking for the absolute best flavor and crispy crust texture.
Refrigerate Wisely: Store leftover slices in an airtight container in the refrigerator, keeping them fresh for up to 3 days. Gently reheat in the oven at 300°F for 10 minutes to restore the crust’s crispness.
Freeze for Later: Wrap individual cooled slices in plastic wrap, then place in a freezer-safe container. Freeze up to 1 month for a delightful make-ahead dessert option.
Room Temperature Magic: Allow refrigerated or frozen galette to sit at room temperature for 15-20 minutes before serving to soften and enhance natural pear flavors.
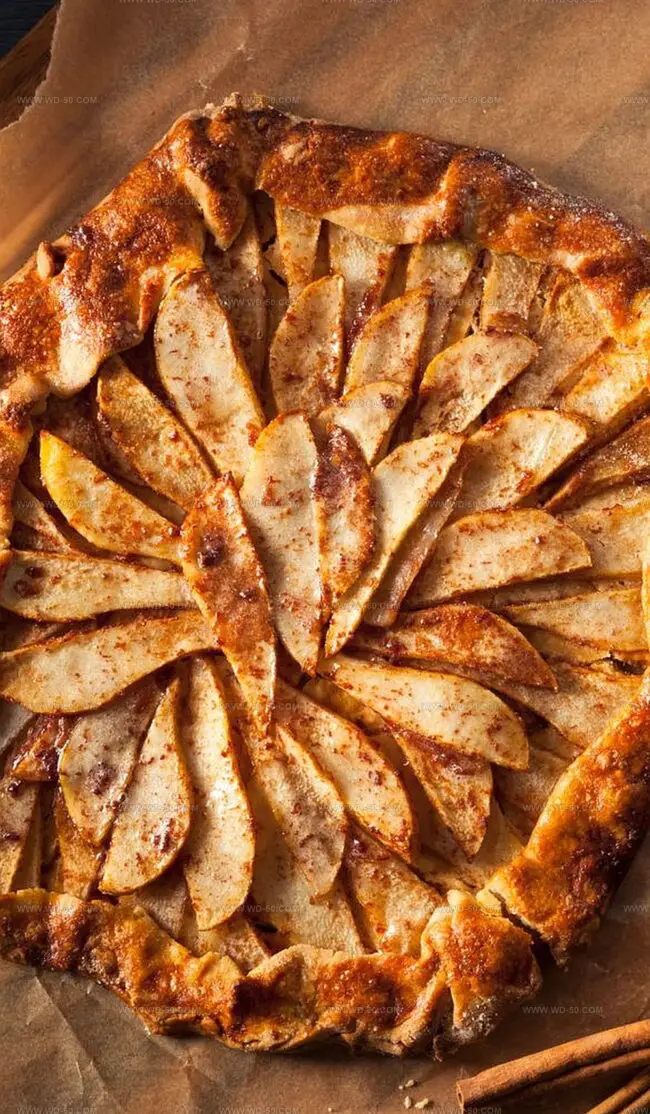
French-inspired pear galette showcases Ina Garten’s elegant dessert technique with rustic charm. Flaky pastry and caramelized pears create a simple yet sophisticated treat you’ll savor with each delightful bite.
Ingredients
Scale
4 Anjou pears (medium, peeled, cored, and sliced)
1 pre-made refrigerated pie crust dough (Pillsbury Refrigerated Pie Crust)
Preparation: Preheat the oven to 400°F (204°C) with the rack positioned centrally, creating an ideal baking environment for the galette.
Dough Shaping: Stretch the pie crust on parchment paper into a 12-inch circular shape, then transfer to a rimmed baking sheet, establishing the galette’s foundation.
Flavor Infusion: Blend brown sugar, cornstarch, cinnamon, and salt in a mixing bowl. Incorporate lemon juice to create a harmonious spice mixture that will elevate the pear’s natural sweetness.
Pear Coating: Gently fold pear slices into the spice mixture, ensuring each piece is evenly and thoroughly seasoned with the aromatic blend.
Artistic Assembly: Arrange the seasoned pear slices across the dough, leaving a 2-inch border. Create an elegant pattern by layering slices in concentric circles or artfully mounding them toward the center.
Rustic Edges: Carefully fold the dough’s outer edges inward, crafting a free-form border that partially embraces the pear filling, giving the galette its characteristic rustic appearance.
Flavor Enhancement: Strategically dot cold butter pieces across the surface to introduce rich, luxurious undertones to the dessert.
Final Touches: Whisk egg with water to create a glossy wash, brush the dough edges, and sprinkle granulated sugar to achieve a golden, crisp exterior.
Baking and Cooling: Bake for 35-40 minutes until the crust turns a deep golden brown and the filling begins to bubble. Allow the galette to rest on a wire rack for 20 minutes, enabling the filling to set and the crust to firm, creating the perfect texture for serving.
Notes
Prep Like a Pro: Slice pears uniformly to ensure even cooking and beautiful presentation.
Crust Care: Keep pie dough cold until ready to use for maximum flakiness and prevent tearing.
Sugar Strategy: Sprinkle granulated sugar on edges for a professional bakery-style golden, crispy finish.
Cooling Technique: Let galette rest after baking to allow filling to set and prevent soggy bottom crust.
Founder, Head Recipe Developer & Cuisine Specialist
Expertise
Recipe Development and Testing, Modern American and European Cuisines, Food Styling and Photography, Culinary Education and Workshops
Education
Johnson & Wales University
Degree: Bachelor of Science in Culinary Arts
Focus: Comprehensive training in classical and modern cooking techniques, kitchen management, and global cuisines.
Auguste Escoffier School of Culinary Arts
Program: Diploma in Pastry Arts
Focus: Specialized education in baking and pastry, emphasizing artisanal bread, confections, and plated desserts.
Michael Reynolds is the founder and head recipe creator at wd-50.com. With over 15 years of experience in the kitchen, he’s spent time working in top restaurants and now focuses on making great food easy for everyone at home.
Michael studied culinary arts at Johnson & Wales University and later trained in pastry at the Auguste Escoffier School. He knows his way around both savory meals and sweet treats.
At wd-50.com, his goal is to help you feel confident in the kitchen, whether you’re trying something new or cooking a favorite dish. He loves using fresh ingredients and simple steps that still bring out big flavors.


Michael Reynolds
Founder, Head Recipe Developer & Cuisine Specialist
Expertise
Recipe Development and Testing, Modern American and European Cuisines, Food Styling and Photography, Culinary Education and Workshops
Education
Johnson & Wales University
Auguste Escoffier School of Culinary Arts
Michael Reynolds is the founder and head recipe creator at wd-50.com. With over 15 years of experience in the kitchen, he’s spent time working in top restaurants and now focuses on making great food easy for everyone at home.
Michael studied culinary arts at Johnson & Wales University and later trained in pastry at the Auguste Escoffier School. He knows his way around both savory meals and sweet treats.
At wd-50.com, his goal is to help you feel confident in the kitchen, whether you’re trying something new or cooking a favorite dish. He loves using fresh ingredients and simple steps that still bring out big flavors.