
Rustic Elegance: Ina Garten’s Dreamy Pear Tart Recipe
Sweet, buttery, and elegantly rustic, this Ina Garten pear tart recipe captures the essence of simple French desserts.
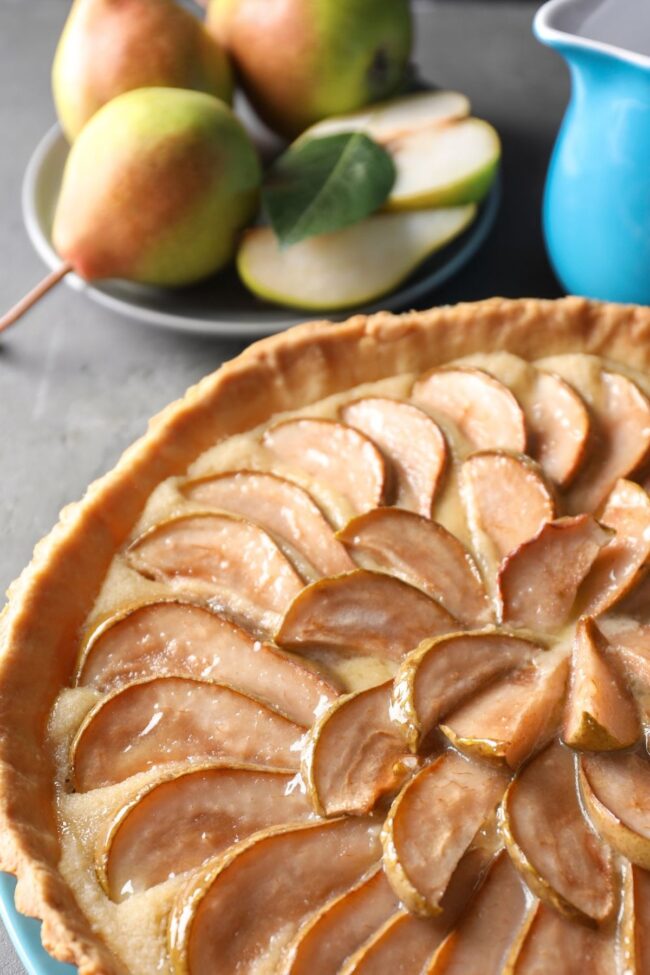
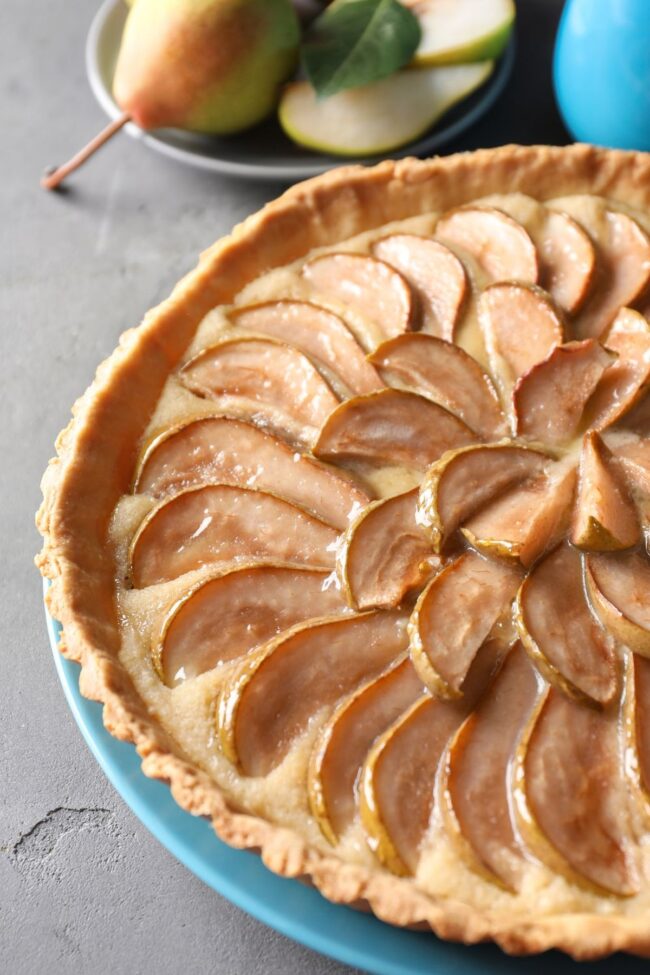
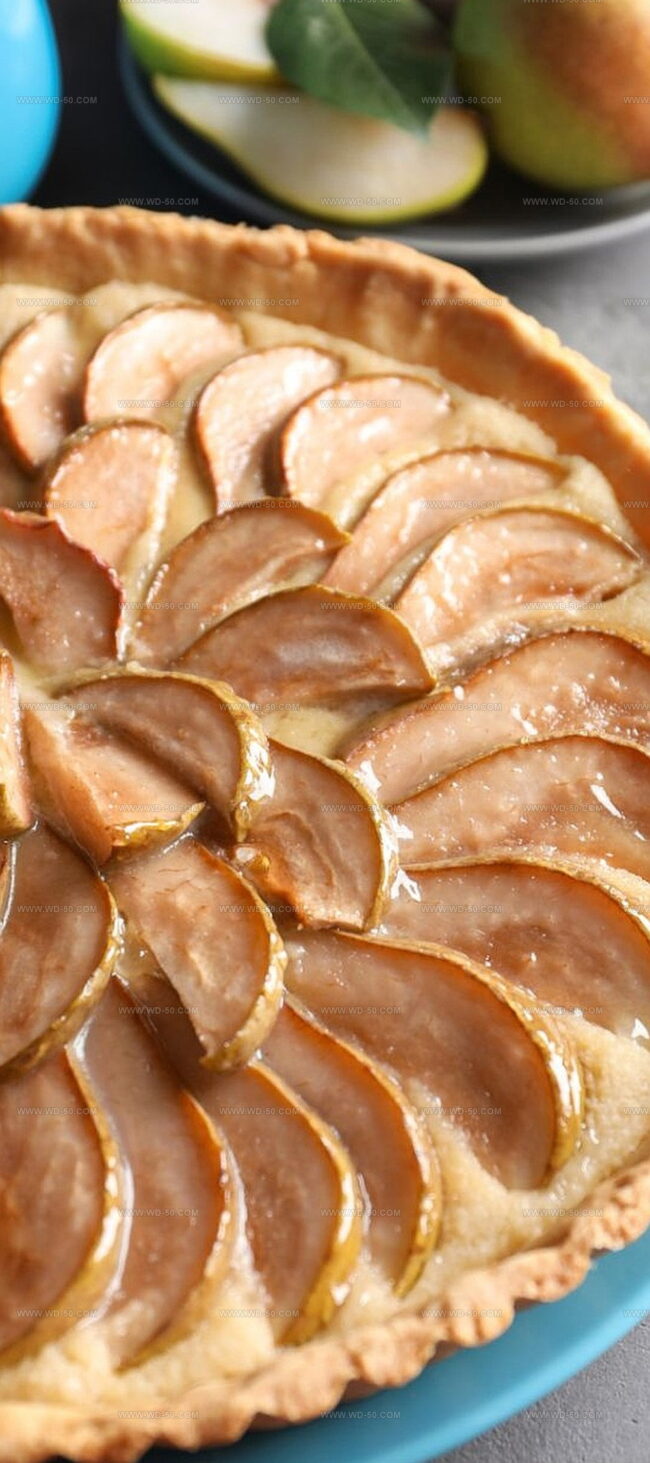
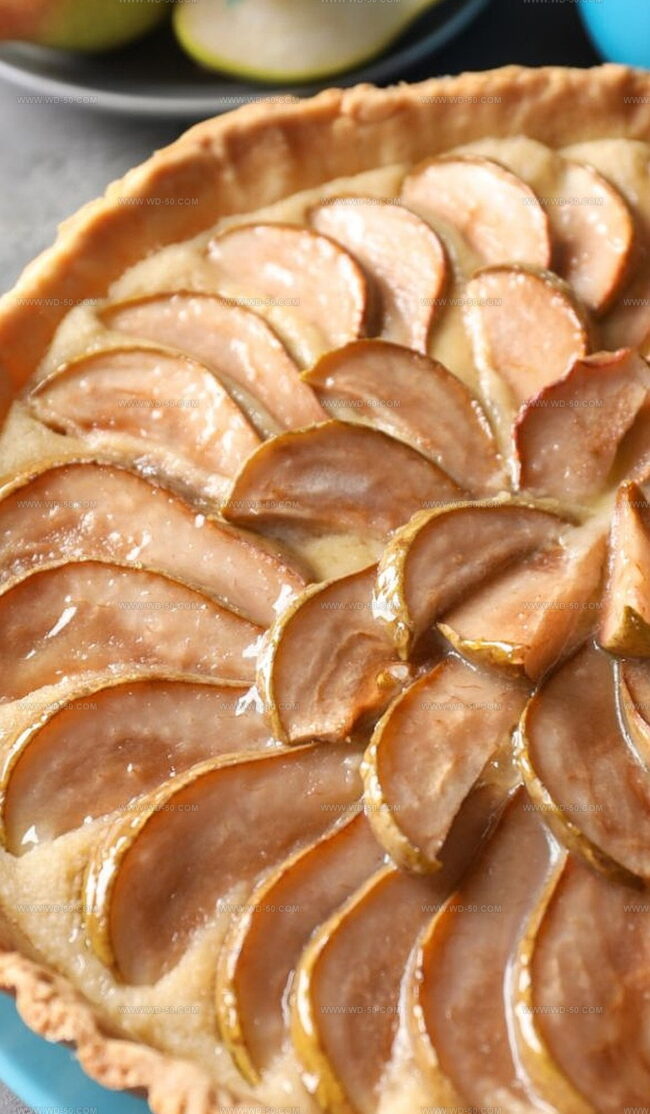
Delicate pears nestle in a golden, flaky pastry that melts in your mouth with every bite.
Seasonal fruit transforms into a stunning centerpiece that looks far more complicated than its straightforward preparation suggests.
The balance of flavors combines rich butter, subtle sweetness, and a hint of warmth from subtle spices.
Garten’s style shines through in this approachable yet sophisticated dessert that seems plucked straight from a Parisian patisserie.
Each slice promises a perfect harmony of textures and tastes that will impress even the most discerning dessert lover.
Grab your ingredients and get ready to create a show-stopping treat that celebrates the natural beauty of fresh pears.
Quick Recipe Overview
All the Ingredients for Ina Garten’s Pear Tart
For Crust Ingredients:For Filling Ingredients:For Topping Ingredients:Bake Tools to Make the Perfect Pear Tart
Follow These Steps to Bake Ina’s Pear Tart
Craft a delicate, buttery base that will cradle the sweet pears. Use flour, a touch of salt, and a hint of sugar to create a tender crust that melts in your mouth. The secret is gentle mixing and a light touch.
Combine oils, milk, and a splash of vanilla to bring moisture and depth to your pastry. This liquid magic transforms simple ingredients into a smooth, pliable dough that will hug the tart pan beautifully.
Tenderly press the dough into an elegant tart pan, allowing it to climb partway up the sides. Your fingertips will become sculptors, creating a canvas for the fruity masterpiece to come.
Layer ripe, juicy pears across the prepared crust. Their golden curves will nestle into the pastry, promising a symphony of flavors that dance between sweet and subtle.
Sprinkle a heavenly topping of flour, sugar, and margarine over the fruit. This crumbly layer will transform into a golden, crisp blanket during baking, adding texture and excitement.
Slide the tart into a preheated oven, watching as it bubbles and bronzes. The kitchen will fill with an irresistible aroma of caramelized fruit and buttery crust. After 35-45 minutes, your creation will emerge as a stunning dessert ready to be savored.
Customize Your Pear Tart with Ina’s Twist
Serve Pear Tart Like It’s Straight from Ina’s Oven
Save and Reheat Ina Garten Pear Tart with Care
Print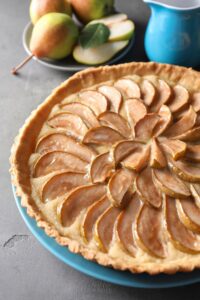
Rustic Pear Tart Recipe
- Total Time: 1 hour 5 minutes
- Yield: 8 1x
Description
Ina Garten’s classic pear tart delights with elegant French-inspired flavors from simple ingredients. Sweet pears nestled in buttery pastry create a delectable dessert that beckons you to savor each refined slice.
Ingredients
- 3 to 4 pears (large, ripe, cored, and sliced about ⅓-inch thick) or peaches (sliced with stone removed)
- 1 ½ cups flour (half whole wheat)
- ¾ cups sugar
- 2 tbsps margarine or butter (cold)
- ¼ cup vegetable or canola oil
- ¼ cup mild olive oil
- 2 tbsps milk or water
- ½ tsp vanilla
- ½ tsp salt
- 1 tsp sugar
- 2 tbsps flour
Instructions
- Preparation: Preheat the oven to 425°F (218°C) and position an aluminum foil or baking sheet on the lower rack to catch potential drippings.
- Dough Creation: In a medium bowl, blend flour, salt, and sugar. Whisk oils, milk, and vanilla extract in a separate bowl, then gently incorporate into the dry ingredients using a fork to form a soft, cohesive dough.
- Tart Shell Formation: Press the dough into an 11-inch tart pan, using fingertips to distribute evenly across the bottom and sides, creating a smooth, uniform base.
- Crumb Topping Development: Combine flour, sugar, and margarine, mixing until the texture resembles coarse, irregular crumbs that will provide a delightful textural contrast.
- Assembly and Baking: Arrange pears in the prepared tart shell, sprinkle the crumb topping uniformly over the fruit, ensuring complete coverage. Bake for 35-45 minutes until the surface becomes glossy, bubbling, and the crust begins to brown.
- Cooling and Serving: Remove from the oven and transfer to a wire rack. Allow the tart to cool completely, serving either warm or at room temperature to enhance its delectable flavor profile.
Notes
- Crumb Topping Technique: Blend ingredients until they form irregular, coarse crumbs for a perfect textural contrast in the tart.
- Dough Handling Tip: Avoid overmixing when combining liquid and dry ingredients to prevent a tough, dense crust.
- Baking Precision: Watch carefully during the 35-45 minute baking window, looking for a glossy, bubbling surface and initial crust browning as key doneness indicators.
- Cooling Strategy: Allow the tart to cool completely on a wire rack to set the filling and enhance overall flavor development.
- Prep Time: 20 minutes
- Cook Time: 45 minutes
- Category: Desserts
- Method: Baking
- Cuisine: American
Nutrition
- Serving Size: 8
- Calories: 260
- Sugar: 22 g
- Sodium: 150 mg
- Fat: 12 g
- Saturated Fat: 2 g
- Unsaturated Fat: 9 g
- Trans Fat: 0 g
- Carbohydrates: 36 g
- Fiber: 2 g
- Protein: 3 g
- Cholesterol: 5 mg
Michael Reynolds
Founder, Head Recipe Developer & Cuisine Specialist
Expertise
Recipe Development and Testing, Modern American and European Cuisines, Food Styling and Photography, Culinary Education and Workshops
Education
Johnson & Wales University
Auguste Escoffier School of Culinary Arts
Michael Reynolds is the founder and head recipe creator at wd-50.com. With over 15 years of experience in the kitchen, he’s spent time working in top restaurants and now focuses on making great food easy for everyone at home.
Michael studied culinary arts at Johnson & Wales University and later trained in pastry at the Auguste Escoffier School. He knows his way around both savory meals and sweet treats.
At wd-50.com, his goal is to help you feel confident in the kitchen, whether you’re trying something new or cooking a favorite dish. He loves using fresh ingredients and simple steps that still bring out big flavors.