Buttery Bisquick, Sour Cream, and 7-Up Biscuit Recipe
Fluffy, golden biscuits emerge from a magical combination of bisquick and sour cream that creates an irresistible texture.
These biscuits promise a delightful twist on traditional recipes.
A secret splash of 7-up adds unexpected lightness and tenderness to the dough.
Melted butter brushed across the tops guarantees a rich, golden finish that beckons hungry diners.
Each bite delivers a delicate, melt-in-your-mouth experience that surpasses ordinary biscuit expectations.
The simple ingredients blend into a culinary marvel that transforms an everyday side dish into something extraordinary.
Let’s find out this easy recipe and prepare to be amazed by its incredible simplicity and remarkable flavor.
Quick Recipe Overview

What’s in Bisquick, Sour Cream, 7-Up and Butter Mix
Tools to Mix Bisquick, Sour Cream, 7-Up and Butter
How to Cook Bisquick, Sour Cream, 7-Up and Butter
Gather your Bisquick, sour cream, 7-Up, and butter for a quick and delightful biscuit adventure. These ingredients will transform into fluffy, irresistible treats that’ll have everyone asking for seconds.
In a large mixing bowl, combine Bisquick and sour cream until they become a smooth blend. Slowly pour in the 7-Up, stirring gently to create a soft, pillowy dough that promises deliciousness.
Sprinkle some extra Bisquick on your work surface. Tenderly knead the dough, folding it a few times to ensure even texture. Pat it down to about an inch thick, ready for cutting.
Melt butter and spread it evenly across a baking dish. This golden layer will create a crispy, rich bottom for your biscuits that screams comfort food.
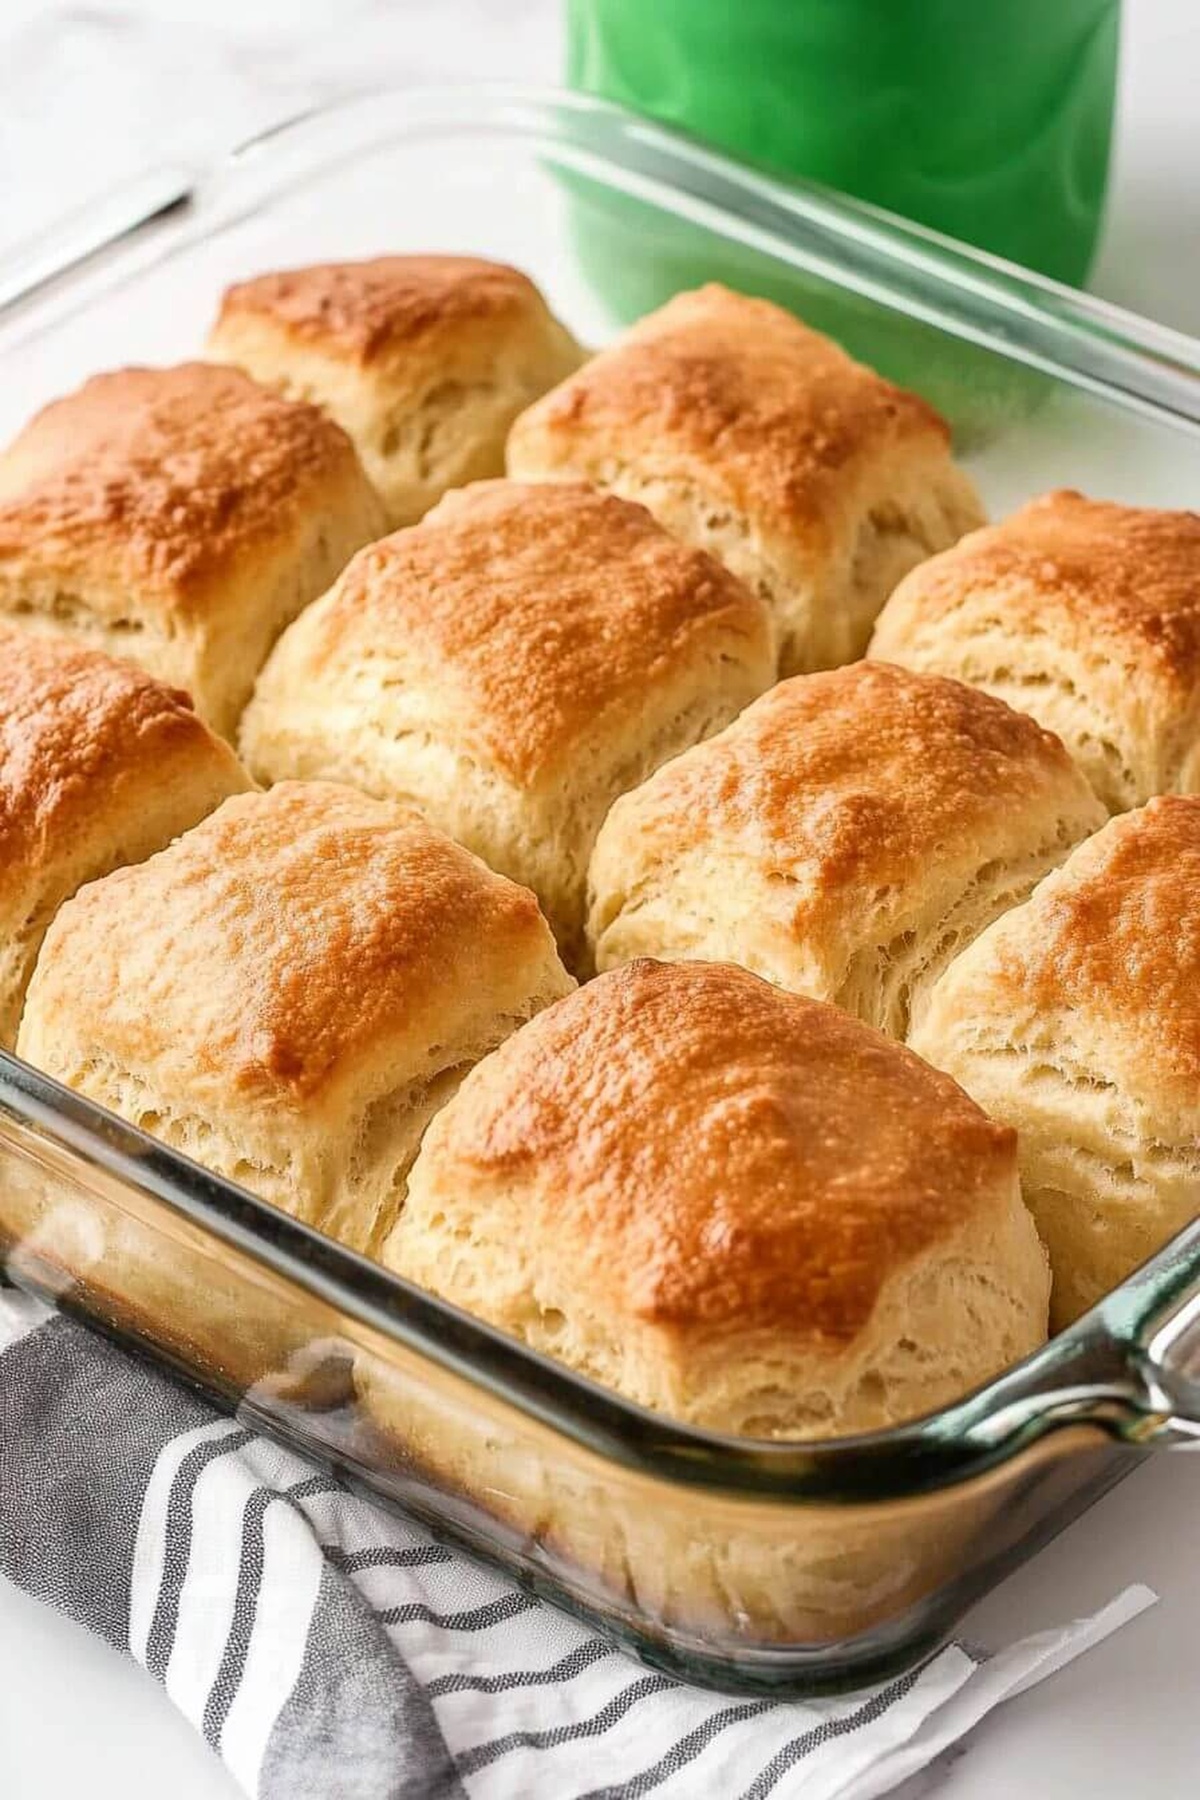
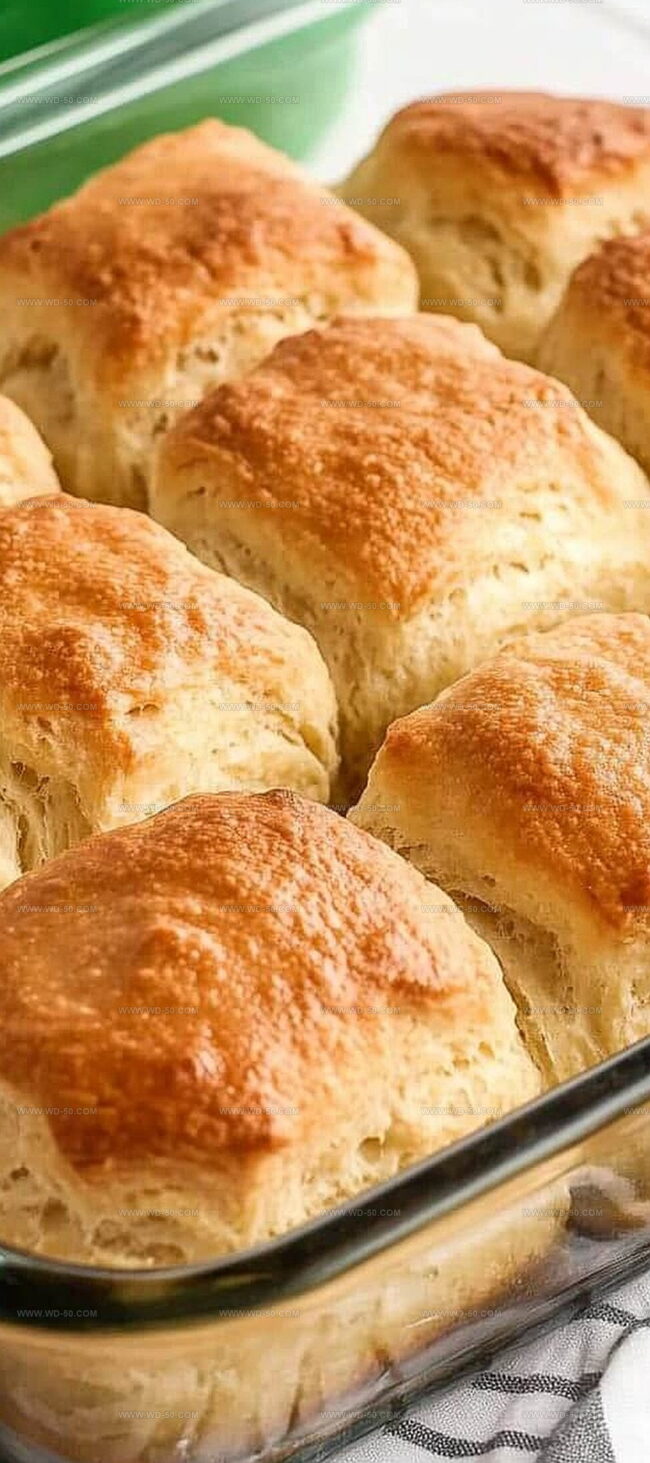
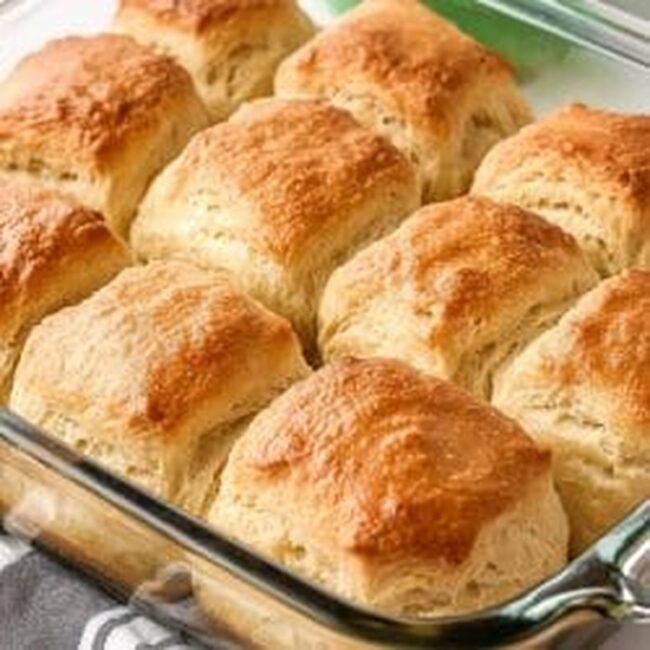
Arrange the cut biscuits in the buttery pan, giving them just enough space to rise and shine. Pop them into a preheated oven at 425°F for 12-15 minutes until they turn a gorgeous golden brown.
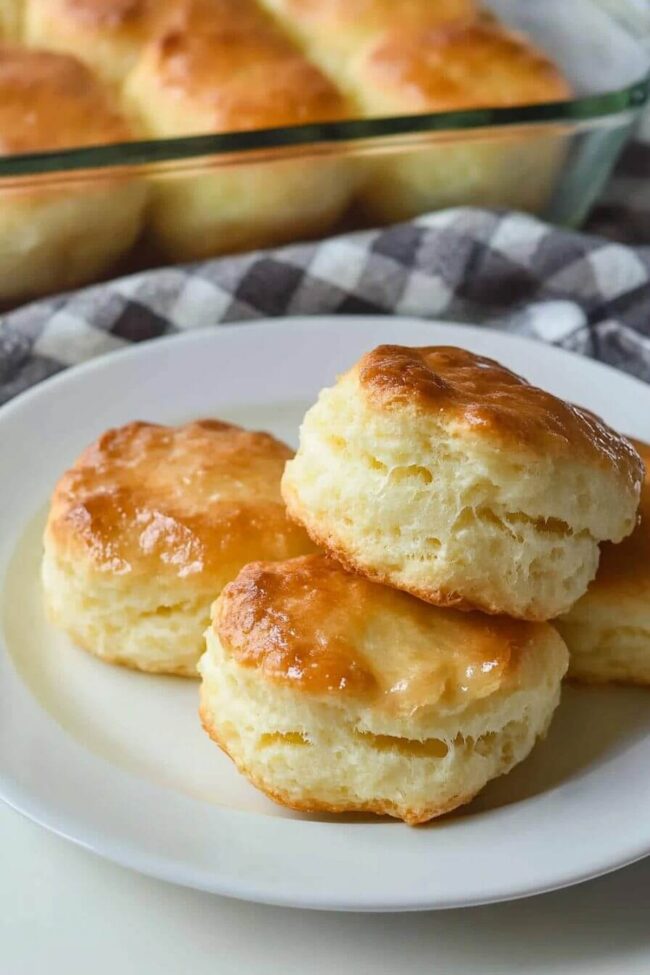
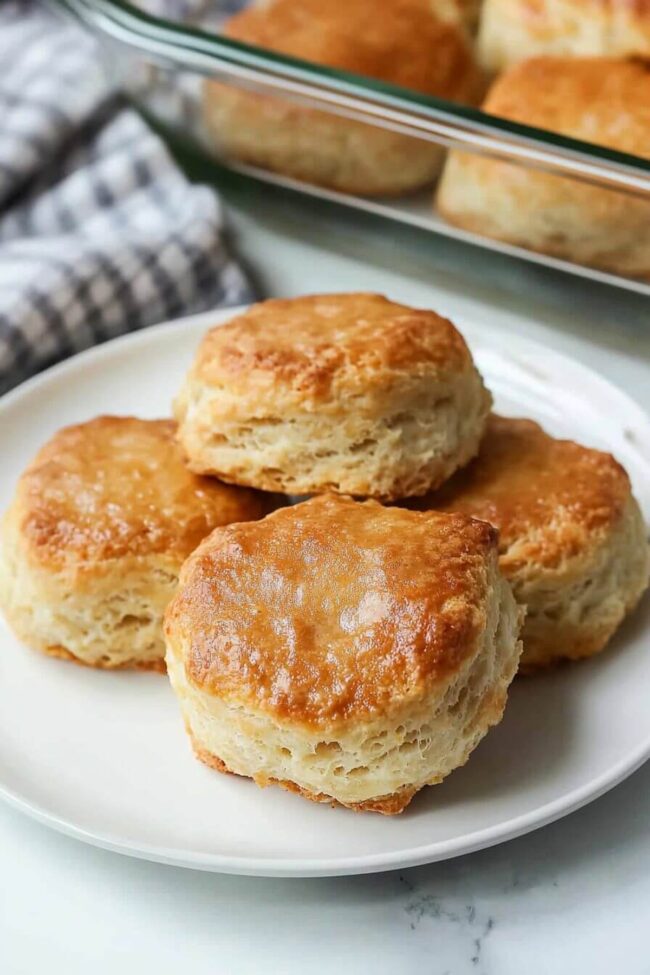
Pull out these heavenly biscuits and serve them warm. Slather with extra butter or your favorite spread for a mouthwatering experience that’ll become an instant family favorite.
Tips for Better Bisquick, Sour Cream, 7-Up and Butter
How to Serve Bisquick, Sour Cream, 7-Up and Butter
Saving Bisquick, Sour Cream, 7-Up and Butter Leftovers


Fluffy Bisquick, Sour Cream, 7-Up, and Butter Recipe
- Total Time: 25 minutes
- Yield: 13 1x
Description
Creamy 7-up biscuits blend Bisquick with sour cream and 7-up for a light, tangy side dish. Southern kitchens have long cherished this simple yet irresistible recipe you’ll want to serve alongside hearty meals.
Ingredients
- 4 cups (or 946 ml) Bisquick baking mix
- 1 cup (or 240 ml) sour cream
- 1 cup (or 240 ml) lemon-lime soda (7-Up)
- ½ cup (or 120 ml) melted butter
Instructions
- Mixture Preparation: Combine Bisquick and sour cream in a large mixing bowl, blending thoroughly until a uniform consistency develops.
- Dough Formation: Pour 7-Up into the mixture, gently stirring to create a soft, pliable dough that holds together smoothly.
- Dough Handling: Dust a clean work surface with Bisquick, transfer the dough, and knead delicately, folding multiple times to ensure even texture and distribution.
- Shaping Process: Roll or press the dough to approximately 1-inch thickness, then use a round cookie cutter to create uniform biscuit shapes.
- Butter Preparation: Melt butter and spread evenly across the bottom of a 9×13-inch baking dish, creating a rich, golden base.
- Baking Arrangement: Carefully place biscuit rounds in the buttered dish, positioning them with slight spacing to allow proper rising and browning.
- Oven Technique: Position the dish on the center rack of an oven preheated to 425°F, baking for 12-15 minutes until the biscuits achieve a rich, golden-brown exterior.
- Serving Suggestion: Remove from the oven and let rest for 2-3 minutes, then serve warm, optionally accompanied by additional butter or preferred spread.
Notes
- Dough Hydration Tip: Mix sour cream and 7-Up slowly to control moisture and prevent overly wet or dry biscuit texture.
- Kneading Technique: Fold dough gently 4-5 times maximum to maintain tender, flaky layers without developing tough gluten.
- Butter Application: Ensure melted butter covers entire baking dish bottom evenly for consistent golden, crispy biscuit bottoms.
- Baking Temperature Warning: Use exact 425°F and center rack position to achieve perfect golden-brown exterior with soft, fluffy interior.
- Prep Time: 10 minutes
- Cook Time: 15 minutes
- Category: Breakfast, Snacks
- Method: Baking
- Cuisine: American
Nutrition
- Serving Size: 13
- Calories: 165
- Sugar: 2 g
- Sodium: 330 mg
- Fat: 9 g
- Saturated Fat: 5 g
- Unsaturated Fat: 4 g
- Trans Fat: 0 g
- Carbohydrates: 20 g
- Fiber: 0 g
- Protein: 2 g
- Cholesterol: 25 mg
Michael Reynolds
Founder, Head Recipe Developer & Cuisine Specialist
Expertise
Recipe Development and Testing, Modern American and European Cuisines, Food Styling and Photography, Culinary Education and Workshops
Education
Johnson & Wales University
Auguste Escoffier School of Culinary Arts
Michael Reynolds is the founder and head recipe creator at wd-50.com. With over 15 years of experience in the kitchen, he’s spent time working in top restaurants and now focuses on making great food easy for everyone at home.
Michael studied culinary arts at Johnson & Wales University and later trained in pastry at the Auguste Escoffier School. He knows his way around both savory meals and sweet treats.
At wd-50.com, his goal is to help you feel confident in the kitchen, whether you’re trying something new or cooking a favorite dish. He loves using fresh ingredients and simple steps that still bring out big flavors.